6
DO-IT-YOURSELF MAINTENANCE
28
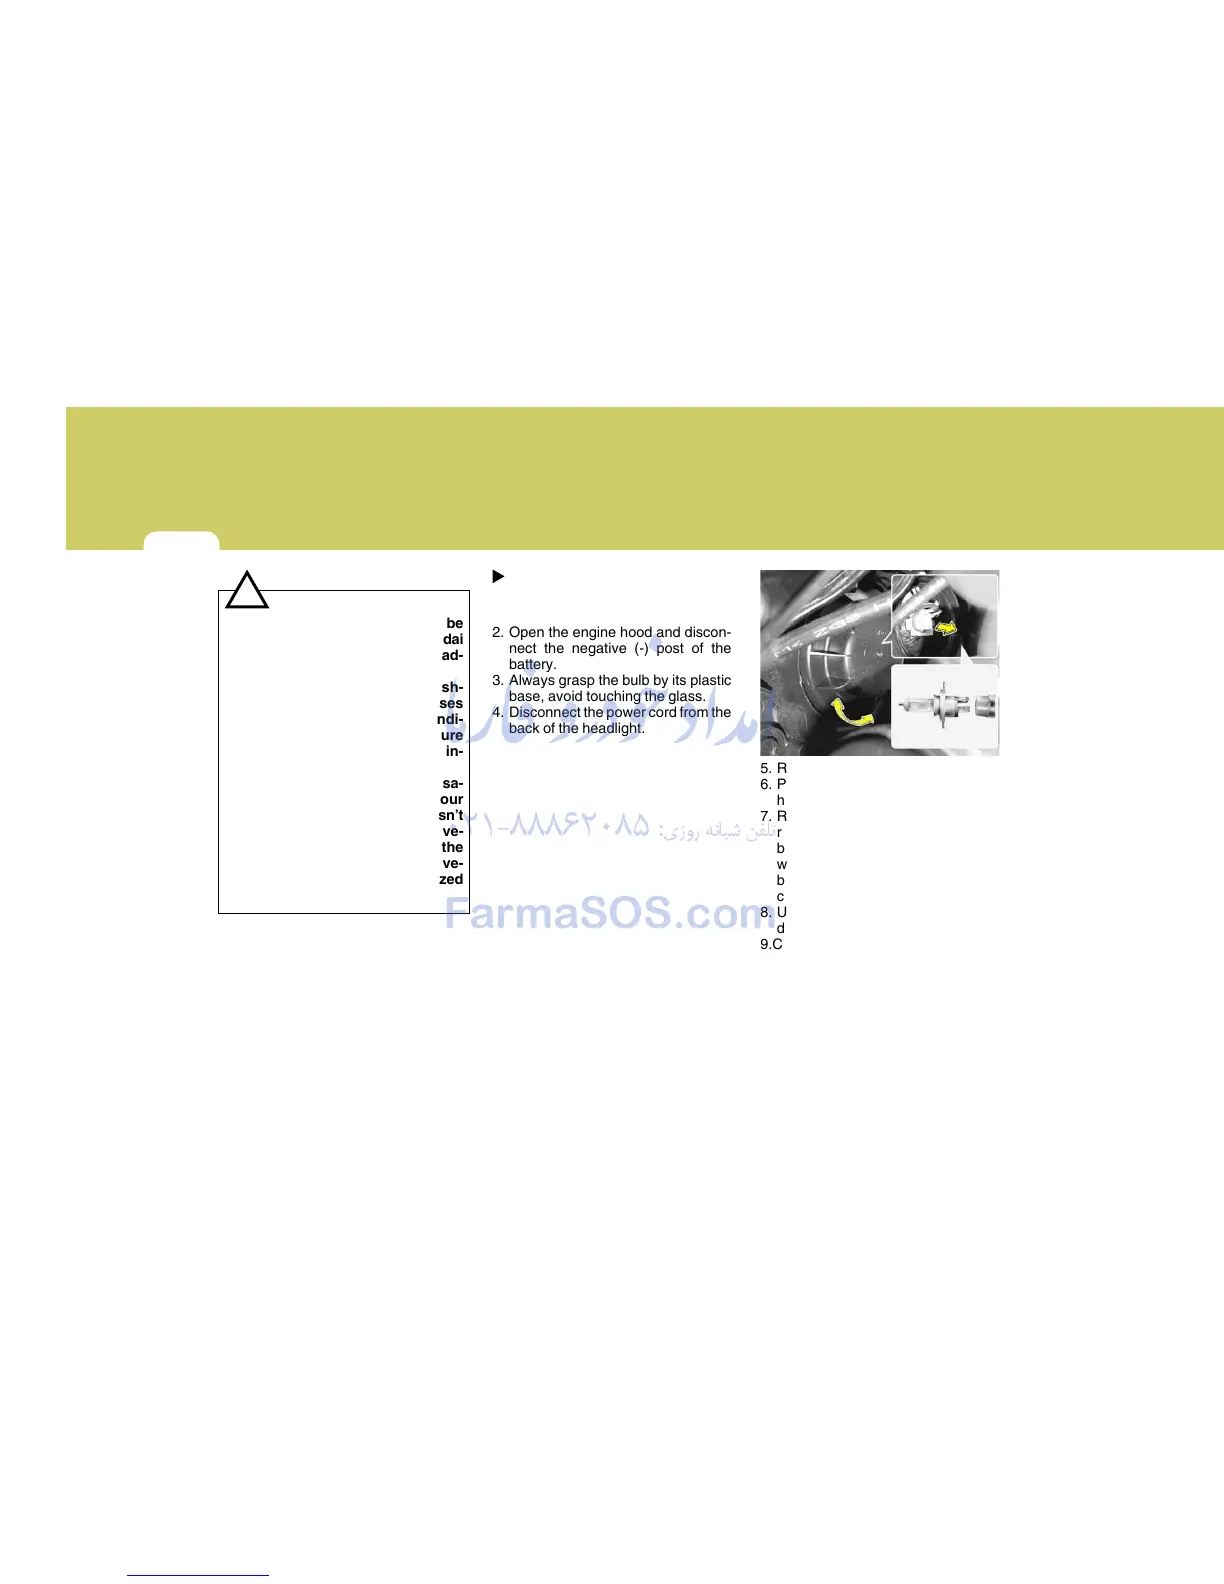
5. Remove the socket cover.
6. Push the bulb spring to remove the
headlight bulb.
7. Remove the protective cap from the
replacement bulb and install the new
bulb by matching the plastic base
with the headlight hole. Reattach the
bulb spring and install the socket
cover. Reconnect the power cord.
8. Use the protective cap and carton to
dispose of the old bulb.
9.Check for proper headlight aim.
Headlight (Type A)
1. Allow the bulb to cool. Wear eye
protection.
2. Open the engine hood and discon-
nect the negative (-) post of the
battery.
3. Always grasp the bulb by its plastic
base, avoid touching the glass.
4. Disconnect the power cord from the
back of the headlight.
OMC055022
CAUTION:
o The headlight aiming should be
checked by an authorized Hyundai
dealer after replacing the head-
light bulbs.
o After heavy, driving rain or wash-
ing, headlight and taillight lenses
could appear frosty. This condi-
tion is caused by the temperature
difference between the lamp in-
side and outside.
This is similar to the condensa-
tion on your windows inside your
vehicle during the rain and doesn’t
indicate a problem with your ve-
hicle. If the water leaks into the
lamp bulb circuitry, have the ve-
hicle checked by an authorized
Hyundai dealer.
!
 Loading...