Accessing the Advanced System Management Interface (ASMI)
__ Connect the server to the same PC that you connected the null modem cable to for access to the ASMI. For
instructions, see Accessing the ASMI using a Web browser.
Attaching devices by using a system port
__ If you have an IBM System p5 or eServer p5 server and want to access the ASMI when the system is in standby,
attach an ASCII terminal to a system port on the back of the server. For views of the back of each server, see
References.
__ If you have an IBM System p5 or eServer p5 server and want to access the ASMI remotely when the system is in
standby, attach a modem to a system port on the back of the server. For views of the back of each server, see
References.
__ If you have an IBM System p5 or eServer p5 server and you are connecting it to an uninterruptible power
supply, see the documentation that is included with your uninterruptible power supply. You might need
additional hardware.
Notes:
1. For the IBM System p5 or eServer p5 servers, any other application that uses a system port requires a system port
adapter to be installed into a PCI slot.
2. The attachment of high availability cluster multiprocessing IBM (HACMP) cables to a system port on the back of
the server is not supported.
Connecting the power cords
__ Connect the power cords from the display and attached devices to a power source.
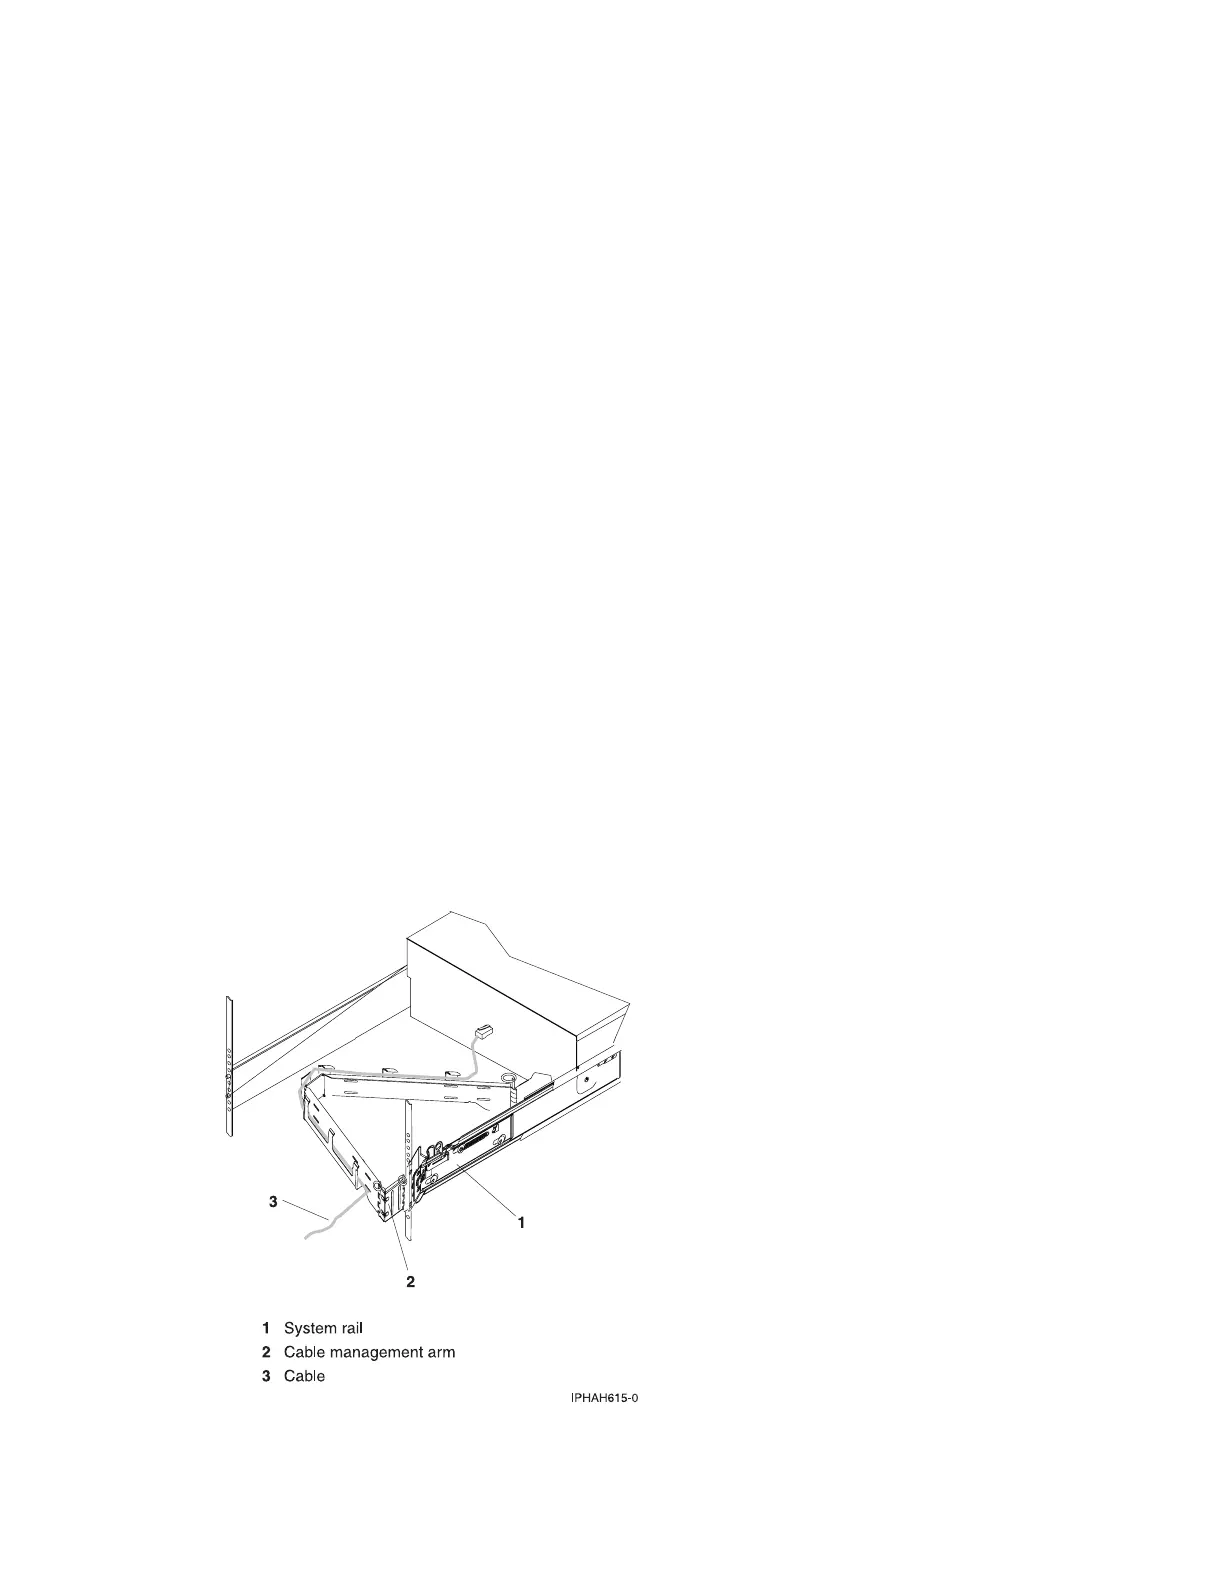
Routing the cables through the cable-management arm
__ Is your server installed in a rack?
v No. Proceed to the next section, After you finish.
v Yes. Do the following:
__ Place the system into the service position. For instructions, see Place the model 51x or 710 in the service
position.
__ Route the cables through the hooks that are located along the cable-management arm and secure them with
the straps that are provided, as shown here:
Cabling your server 133
 Loading...