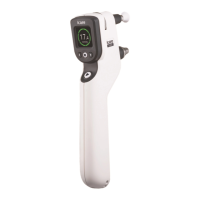
2. Turning the tonometer on:
• Press the power button. All indicator lights on the back panel will ash
once and you will hear a short beep.
• The Load light will ash alone when the tonometer is ready to load the
probe.
• The tonometer turns o automatically after 3 minutes if you do not
use it.
3. Loading the probe:
• Unwrap the probe.
• Remove the lid of the probe container.
• By holding the probe container drop the probe into the probe base
without touching the probe.
• Press the measurement (play) button briey (1 second) to activate the
probe.
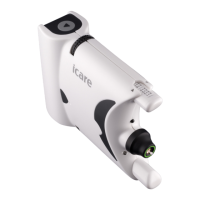
4. Adjusting the measurement distance:
• Carefully, without touching the patient’s eye, set the distance between
the tip of the probe and the center of the cornea for the patient at
4-8mm (5/32-5/16”) by turning knobs to adjust forehead and cheek
support positioning as needed.
• Write the settings down on a support position tag for the patient.
• Repeat for the patient’s other eye.
5. Explain and show illustrations for how to position the tonometer (use a
separate illustration sheet from the labeling for this):
• Sit or stand in front of a mirror and hold the tonometer sideways in
front of your face.
• Align probe tip with center of cornea and rotate the tonometer until
probe tip points straight at cornea.
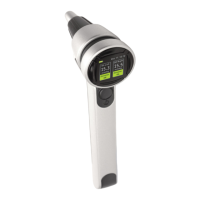
• Make sure probe base light is green. If probe base light is red, make
sure you are facing straight ahead (i.e., head held at a 90° angle) and
tilt tonometer until probe base light turns green.
• The probe base light does not turn red in response to horizontal
deviations. For this reason make sure the probe is centered in sight to
ensure the probe contacts the center of cornea during measurement
even if the probe base light is green. If the probe is not centered
in your sight, repeat 5 and 6. This is very important because the
tonometer with the probe must not be tilted more than 10 degrees
away from the center of the cornea and without visualizing the probe
base light it is dicult to judge the horizontal angle of the device.
6. Explain how to take the measurement:
• Explain that the Measure light will ash when the tonometer is ready
to measure.
• Explain that the user must take six individual measurements for the
IOP result and that the results are stored in the tonometer.
• Explain that the measurement button must be depressed to obtain the
sequence of 6 measurements until a long beep is heard and the green
“Done” light is illuminated on the back panel. The probe base light
turns o at the same time.