EXCEL Canada 17 Owner’s Manual
OFFSET CHIMNEY
If it is necessary to offset the chimney in order for it to pass through an
upstairs cupboard or to clear a joist, do this by using 15°, 30° or 45°
insulated elbows.
The maximum number of elbows permitted is four (typically this would
consist of two sets of an offset and a return).
To determine the parts required for your installation refer to the drawing on
page 20 and the offset tables on page 18 and 19.
You may find it convenient to install an adjustable length between the
elbows. This will allow you to offset the exact distance you require. The
offset table on page 18 should be used when no adjustable length is
required. Use the table on page 19 when an adjustable length is required.
The maximum length of unsupported offset chimney is 8'. If the offset
chimney is longer than 8', then it must be supported at 6' intervals using an
offset support (EOS).
When you reach the height at which the elbow will be installed,
proceed as follows:
1. Install the insulated elbow on the chimney length. Turn it in the required
direction and fasten it to the chimney with the 3 metal screws provided.
Since the offset direction varies from installation to installation the
pre-punched holes will not line up.
2. Place the required length of chimney on the elbow. Fasten it to the
elbow with the three metal screws provided.
3. Use another elbow to turn the
chimney vertically. Again secure
the elbow to the chimney length
using three metal screws.
4. Install the remaining chimney as
described in the support
instructions.
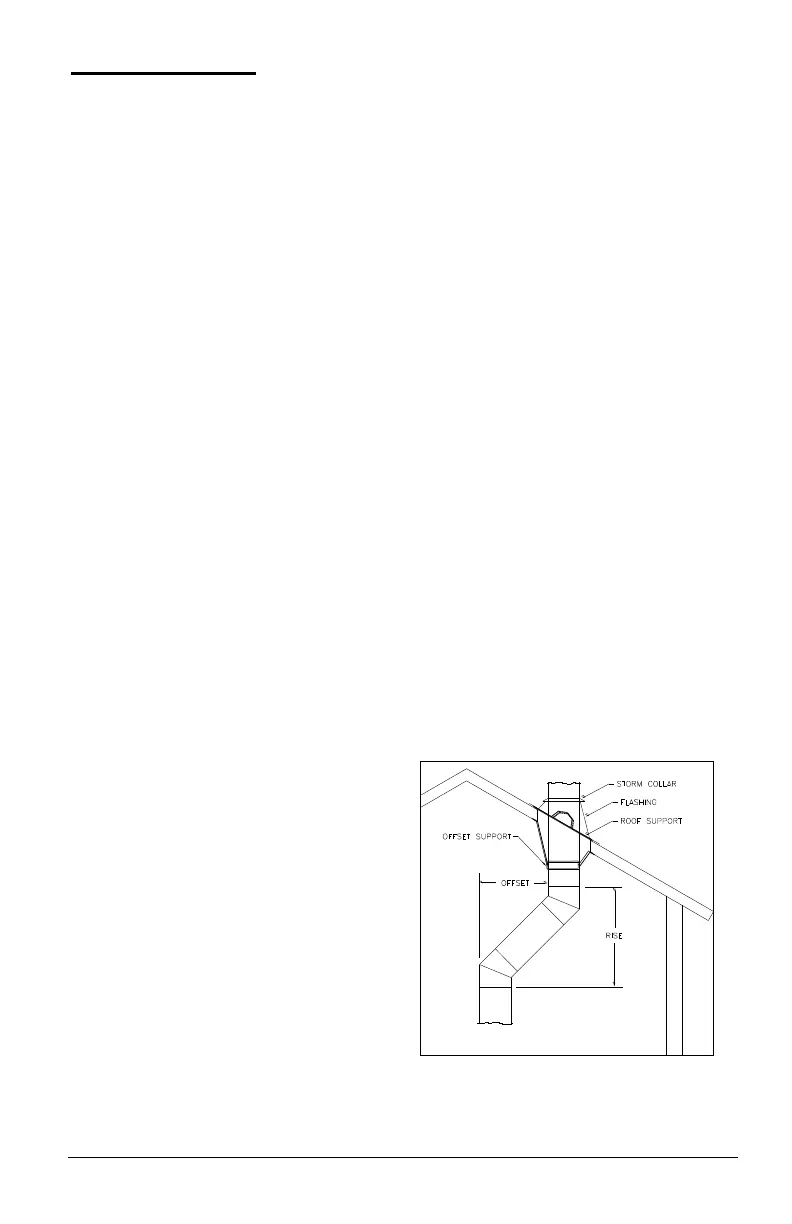
5. An Offset or Roof Support must
be installed above each offset
(two elbows) to support the
chimney above the offset. This
support may be installed on any
convenient location on the
vertical run above the offset.