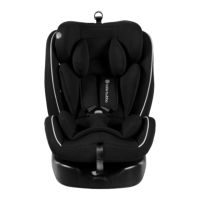
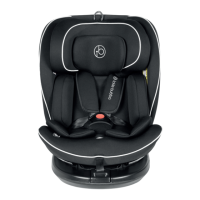
12 13icklebubba.com icklebubba.com
The belt must be routed as shown in the manual.
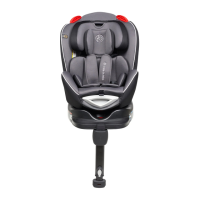
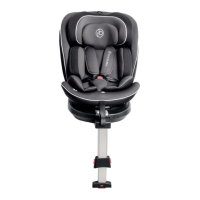
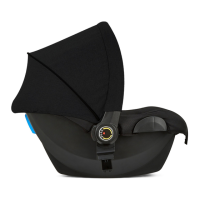
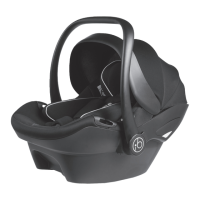
• Press the ISOFIX release button and push the ISOFIX
connectors forward as far as possible.
• Push the ISOFIX connectors directly into the anchorages until you hear an audible
sound "click”
• Press the rotation button and turn the seat against the direction of travel, as
rearward facing position. Grasp the recline button and press the child seat into the
most reclined position
• Tip: If the ISOFIX connectors are correctly installed, the Release button will pop out,
and you can see a clear green mark on it.
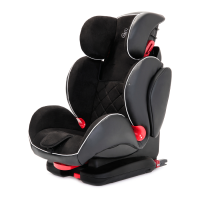
Installation of Group 2/3 (15-36kg)
• Grasp the seat body to check the seat if it is fastened tightly or shakes. If the seat
shakes and the ISOFIT connectors are pulled out, please repeat the above steps
and install it again.
• Pull the shoulder strap axle out, untie the shoulder strap and pull the harness strap
out from the harness slot.
• Place your child into the baby car seat and let the car belt pass the Belt guide.
Fasten the car belt with an audible sound"click".
• Make sure the Lap belt is stretched as low as possible over the child's hips, within
the Belt guides, and fastened into the buckle.the Shoulder belt must cross midway
between child's shoulder and neck.
Please make sure that any lap strap is worn low down, so that
the pelvis is firmly engaged.
Care and Maintenance
Removing the Soft Seat Trim
1. Remove the infant inserts by loosening the harness and pulling them out from around the
waist and shoulder straps.
2. Remove the buckle pad by sliding it off the buckle.
3. Remove the headrest padding by first releasing the press studs around the shoulder straps
and then pulling the cover up and away from the headrest
4. Remove the body padding by first releasing the four
internal press studs from around the harness. Once
released, disconnect the external press studs from the
seat plastics as shown in image F-1 and then untuck the
cover from around the edges of the seat. Once the seat
is untucked, pull the fabric cover off and away from the
plastic shell.
NOTE: Adjust the headrest into the lowest position to
make this process easier.
Cleaning the Car Seat
The seat cover can be washed at 30 degrees celsius with
mild detergent using the delicate setting on your washing
machine. Never tumble dry or dry-clean, only line dry
inside out.
The plastic and metal components can be cleaned using soapy water but do not use harsh
cleaning agents or solvents.
Cleaning the Harness Buckle
The buckle may need periodic cleaning if the child regularly eats and drinks whilst seated in
the restraint. Ensure the buckle is checked regularly for accumulating debris or dried liquids
that could prevent operation. If the buckle’s audible click becomes muted or is no longer
latching, clean it immediately before use.
Remove the buckle by releasing the retention clip underneath the seat and threading it back
through the slot.
Once removed, rinse thoroughly under warm water to loosen any debris.
If this is ineffective, allow the buckle to soak in warm water over night.
DO NOT take apart or attempt to disassemble the buckle or any of its components.
DO NOT use solvents, detergents or and washing liquids as this may cause irreparable
damage to the buckle or buckle straps.
DO NOT lubricate or oil any part of the buckle, affiliated components or any partsof the seat.
L
PULL
PULLPULL
1