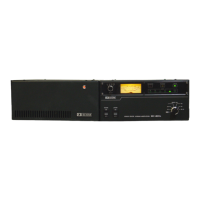
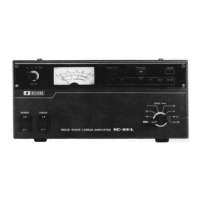
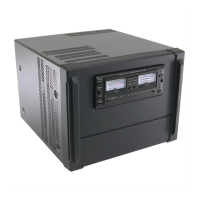
Do you have a question about the Icom 2KL and is the answer not in the manual?
Steps for removing the unit, disconnecting cables, and preparing the chassis for modification.
Identifying and removing specific components and jumpers from the LPF unit as per instructions.
Installing the specified jumpers onto the LPF board, ensuring they are flush to the board.
Guidelines for clean soldering and connecting specific wires for the modification, referencing diagram details.
Installing the remaining specified components (relays, jumpers, coils, diodes, capacitors) onto the LPF board.
Performing final checks for cleanliness and correctness, then re-installing the LPF cover plate.
Re-installing the LPF unit into the chassis, securing it, and re-connecting cables.
Accessing the front panel to modify a specific circuit trace on the LED Display board.
Putting the front panel back on, adjusting the ALC pot, and acknowledging the modification's completion.
Recommendations for removing the LPF unit and identifying specific components for removal (L31, C57, C58).
Discussion on desoldering challenges, the use of jumper components, and the location of hidden jumpers.
Details on installing specific wires (N and G) and their routing paths on the board.
Instructions for cutting a trace on the LED Display board and final remarks on the modification's outcome.
Detailed steps for installing a 10-meter indicator LED on the front panel, including drilling and mounting.
Suggests a more involved upgrade using an 'E' version bandswitch for a factory look with multiple LEDs.