Please Note: The comprehensive User Guide can be downloaded from our website support page:
https://www.icontime.com/support/
2. REGISTER YOUR PRODUCT
Registering your product activates your 30 days of free setup support, which includes:
Unlimited telephone and email support
Remote login assistance
Troubleshooting
Registering your product also ensures that you will be notified about software updates.
To register your product, please visit: https://www.icontime.com/registration/
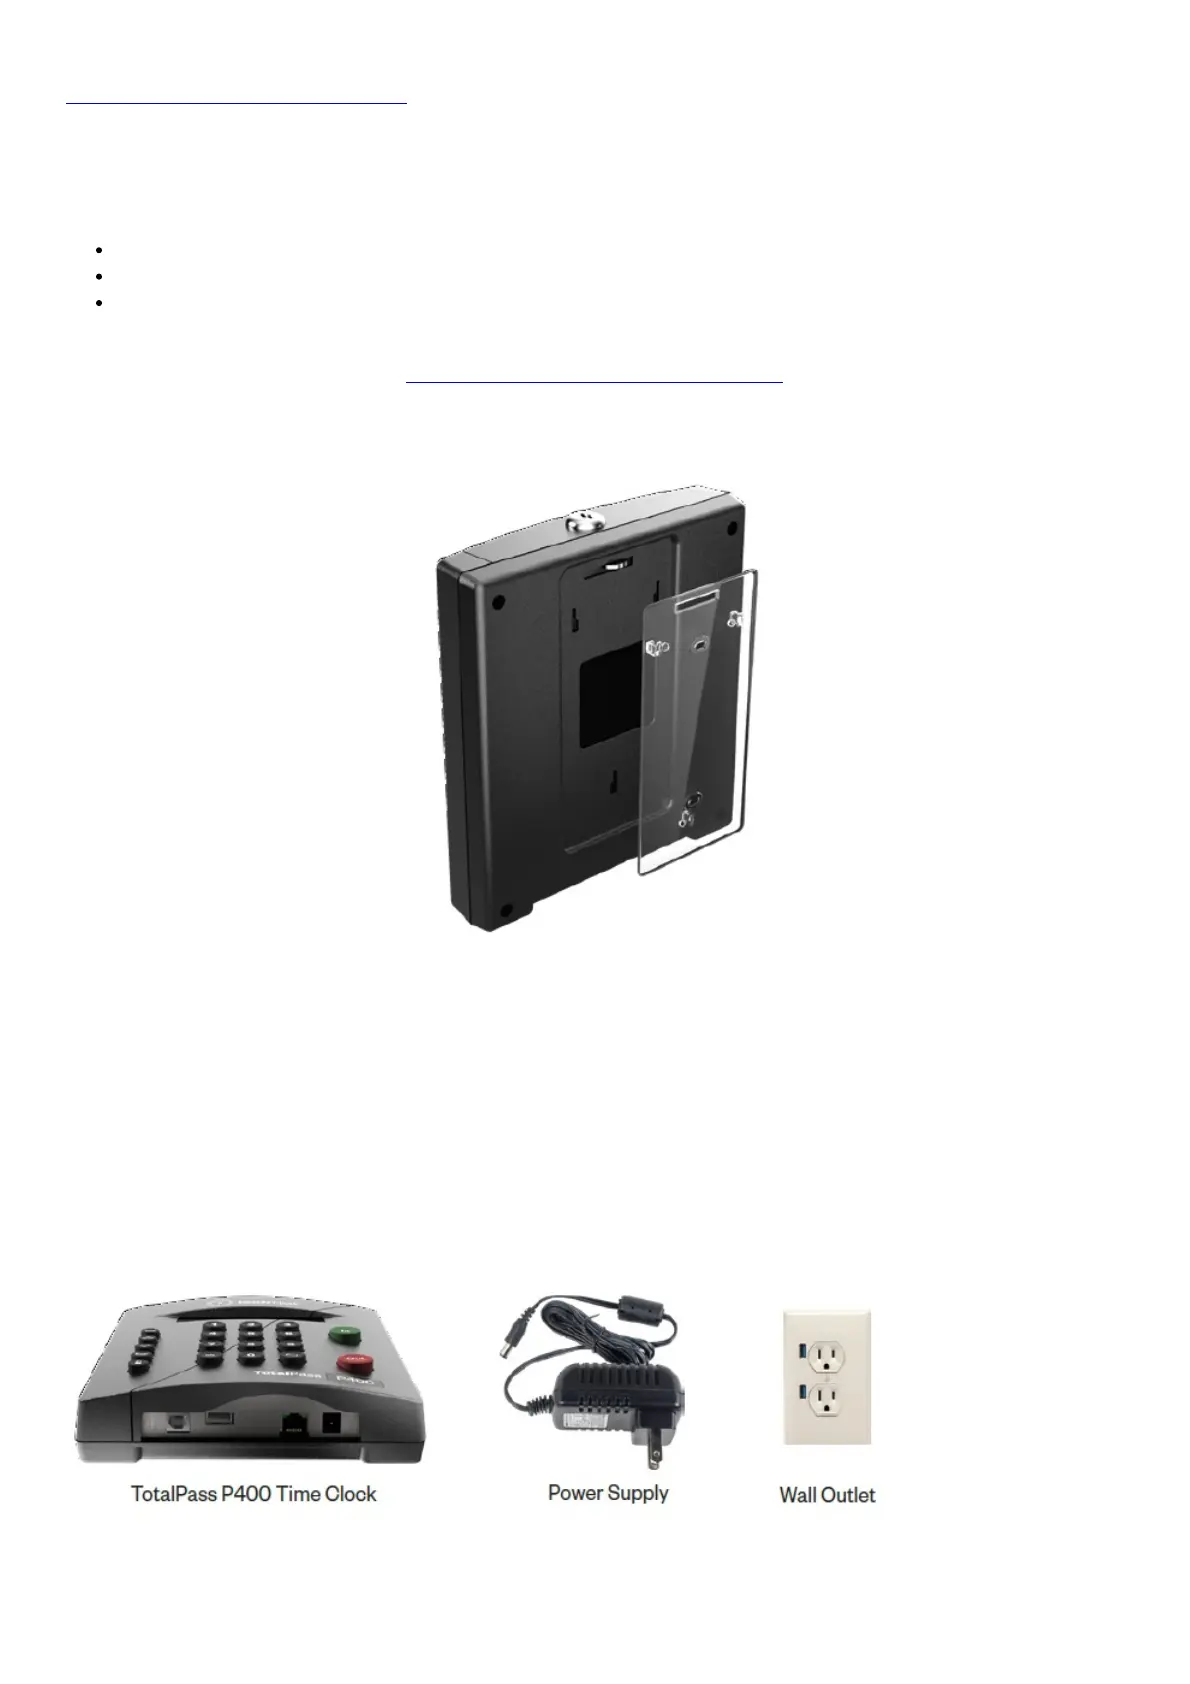
3. MOUNT YOUR TIME CLOCK TO THE WALL
1. Determine your desired height for the clock.
2. Use the 2 wall mount screws provided and attach the bracket to the wall.
3. Insert the key and turn it clockwise a quarter of a turn.
4. Push the time clock onto the mounting bracket so that the tabs fit into the 3 matching slots on the back of the
clock.
5. Slide the clock downward until the tabs click into place.
6. Use the key to lock the clock to the mounting bracket.
7. Remove the key.
4. SET THE DATE AND TIME
1. Plug the power supply into the port located on the bottom of the clock.
2. Plug the power supply into a wall outlet.
 Loading...