18
19
CAUTION!
STARTUP PROCEDURE
TESTING FOR DOOR SPRING BALANCE
THIS STEP MUST BE DONE BEFORE POWER IS CONNECTED.
The Pulse operator is intended for use only with balanced doors. Improperly balanced doors could significantly
aect the performance of the operator. We recommend that once the door and operator are completely installed
that you test the door’s balance prior to power up.
To do this, ensure that the batteries are connected, power is o, and attempt one full cycle up and down under
battery power (push and hold the OPEN button, and push and hold the CLOSE button). The door should travel at
a slow, steady pace upwards and downwards. If the door can achieve a full cycle under battery power, it is setup
properly for use with the Pulse operator. If the battery cannot move the door in either direction fully, the spring tension
on the door must be adjusted.
POWER UP
Apply power to the unit. The Control Panel LED Screen should light up and run a self-diagnostic. If LCD screen is not lit,
refer to Trouble Shooting on Page 25. Once it has run through its self-diagnostic, the screen will read ‘Door is Ready’.
DO NOT TRY TO OPEN THE DOOR AFTER INITIAL POWER UP - ACCESS STARTUP MENU ONLY!
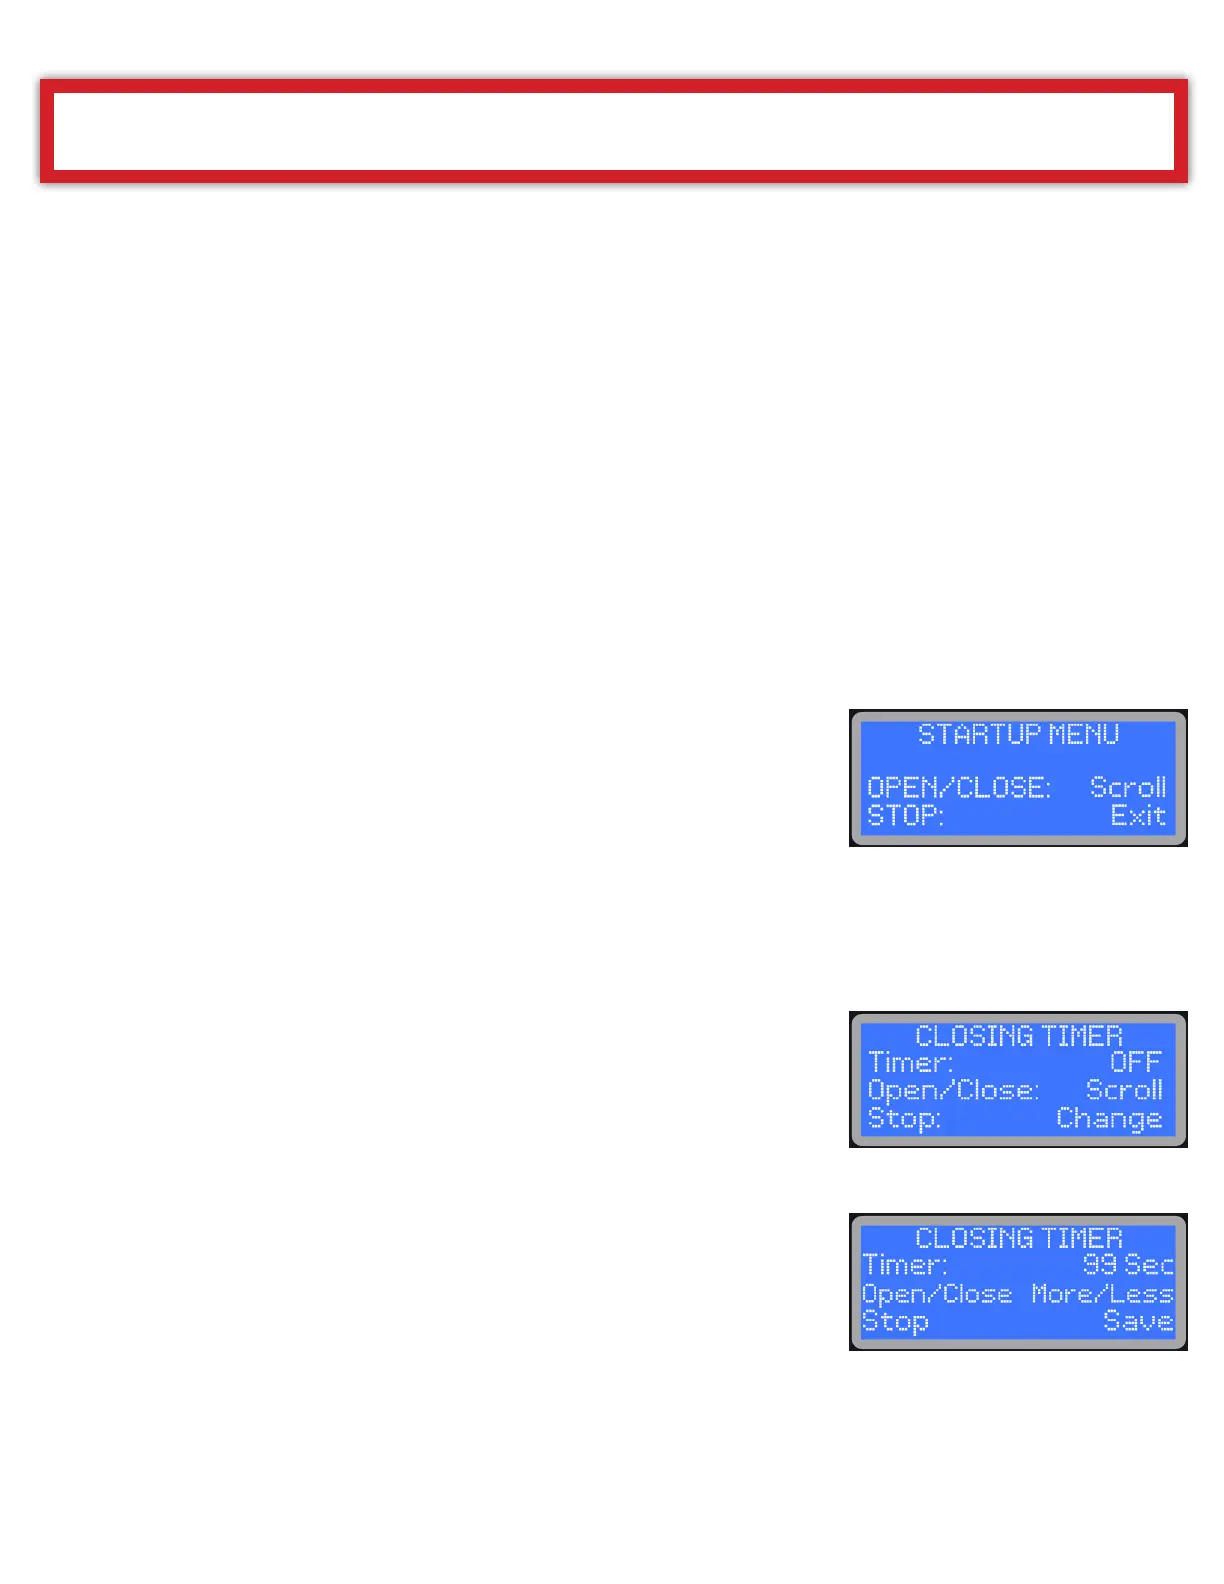
STARTUP MENU & ACCESSING ALL MENU SELECTIONS
NOTE THAT ALL FACTORY MENU SETTINGS ARE RECOMMENDED FOR
SECTIONAL DOORS ONLY. CONTACT iCONTROLS FOR SETTINGS FOR OTHER
DOOR STYLES (i.e. Rolling Steel, etc.)
For access to the STARTUP MENU press and hold the STOP BUTTON FOR 10
SECONDS - do not release until STARTUP MENU appears on the screen. Once
accomplished, you can scroll between the various STARTUP MENU options by
pressing the OPEN and CLOSE buttons. Once you have reached a selection that
you would like to alter, press the STOP button. Use the OPEN and CLOSE buttons to
scroll/toggle between options within the selection, and then press STOP to save
your selection and return to the STARTUP MENU.
CLOSING TIMER
IT IS NOT RECOMMENDED TO SET THE CLOSING TIMER UNTIL AFTER THE UNIT HAS BEEN
FULLY TESTED.
The Closing Timer will automatically close the door aer opening by the preset
number of seconds that have been programmed using this STARTUP MENU option.
Once you have accessed this option, use the OPEN and CLOSE buttons to
increase or decrease the closing timer value in 1 second intervals. If it is not
required, ensure that the Closing Timer is set to OFF. If it is required, set it to any
number of seconds from 1 to 99. Remember that this is the number of seconds
that the door will remain open before automatically closing. Press the STOP
button to save the value and return to the SETUP MENU.
The Closing Timer will de-activate in the event that a reversing device fails, and
manual Push and Hold to Close protocols will apply to door closing operations.
Before applying power to the Pulse operator, ensure that the unit is firmly in positioned on
the door sha and securely fastened to the torque arm/bolt. Also that Limit brackets are in
place and that the encoder is properly fastened on the gearbox.