- 11 -
MOVING THE OUTLET MECHANISM TO THE TOP
OF THE FITTING (For fixed head exposed riser)
Important! Mixer must not be connected to the water supply when moving the outlet mechanism.
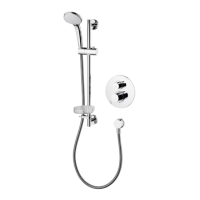
1. Using a small screwdriver carefully remove the plug cap from the sealing plug at the top of the mixer.
2. Remove the sealing plug securing grubscrew from the rear of the mixer with a 2.5mm hexagonal key
(supplied).
3. Remove the sealing plug, using pliers to grip the central peg.
4. Remove the outlet securing grubscrew from the rear of the mixer with a 2.5mm hexagonal key
(supplied).
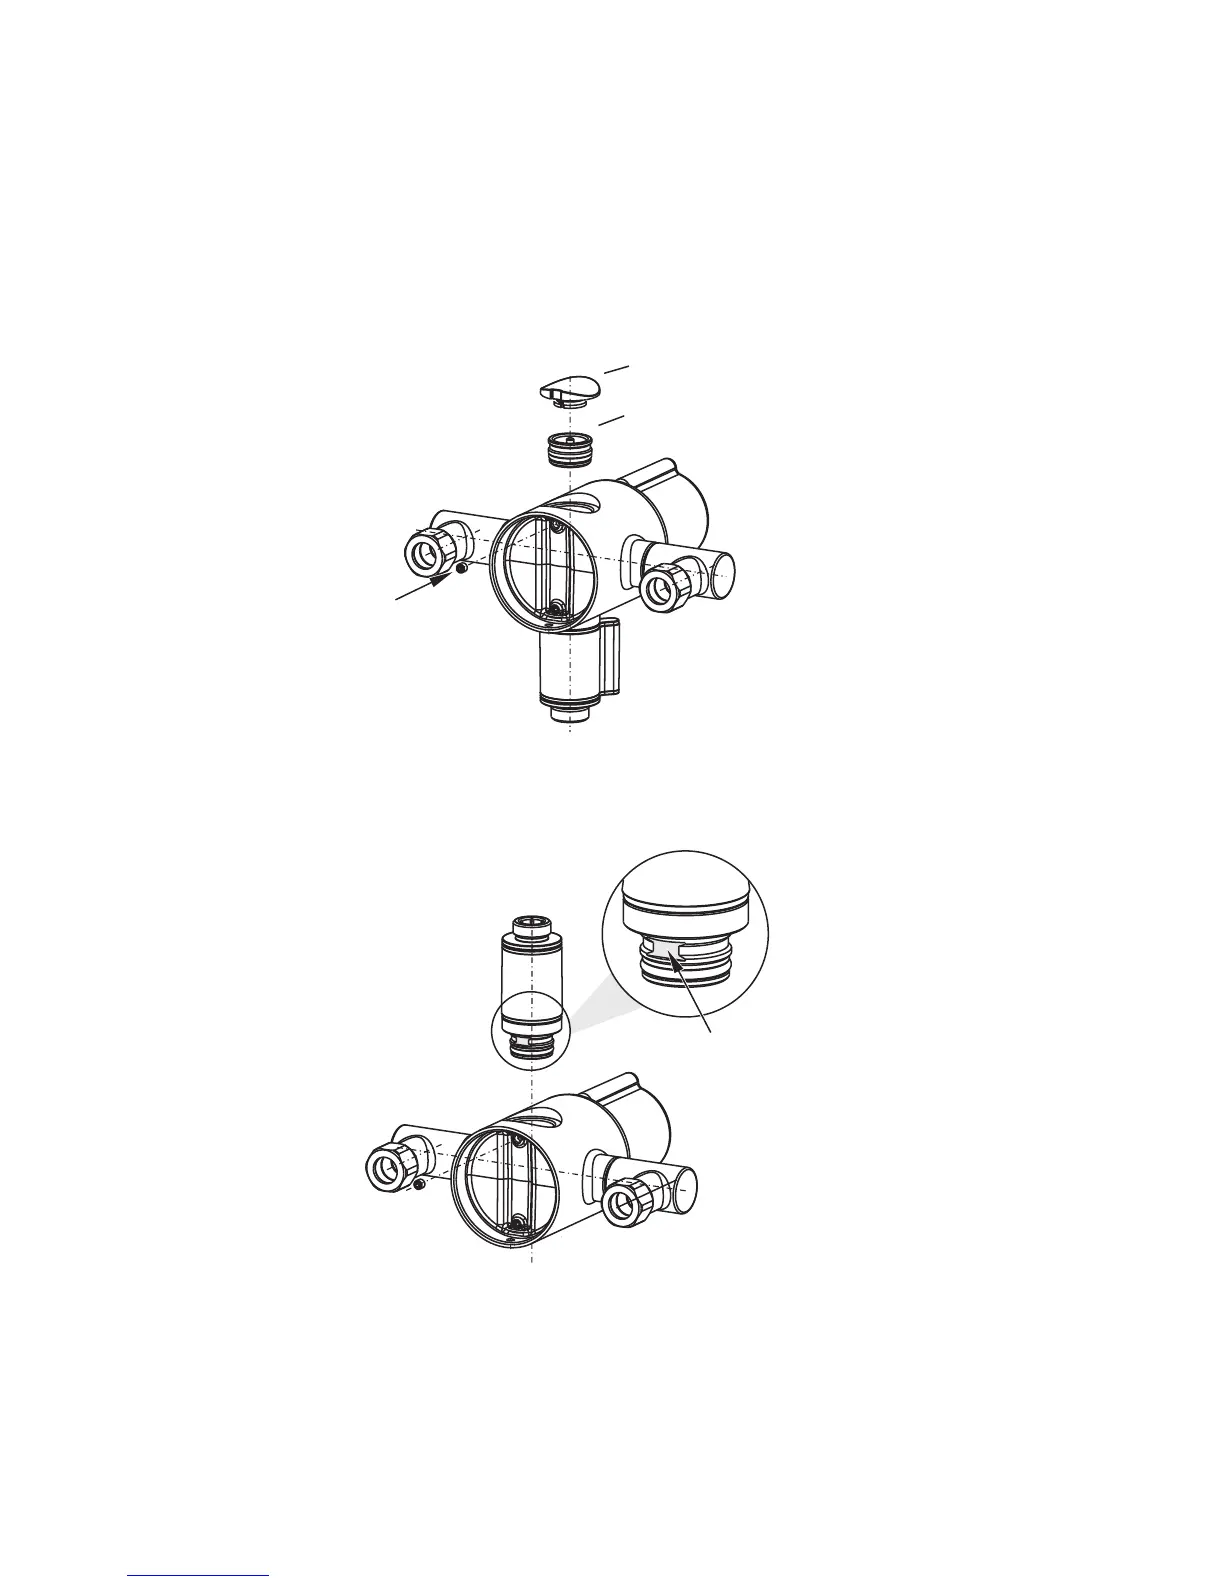
5. Assemble the outlet at the top of the fitting, taking care to align the outlet flat with the securing grub
screw as shown.
6. Fit and tighten the securing grub screw against the outlet flat with the 2.5mm hexagonal key
(supplied).
7. Assemble the sealing plug at the bottom of the fitting.
8. Fit and tighten the securing grub screw with the 2.5mm hexagonal key (supplied).
9. Assemble the plug cap into the sealing plug, positioning the removal slot towards the rear of the fitting.
sealing plug
plug cap
sealing plug
securing
grub screw
Figure 15
Figure 16
11
outlet flat
 Loading...