ENGLISH 8
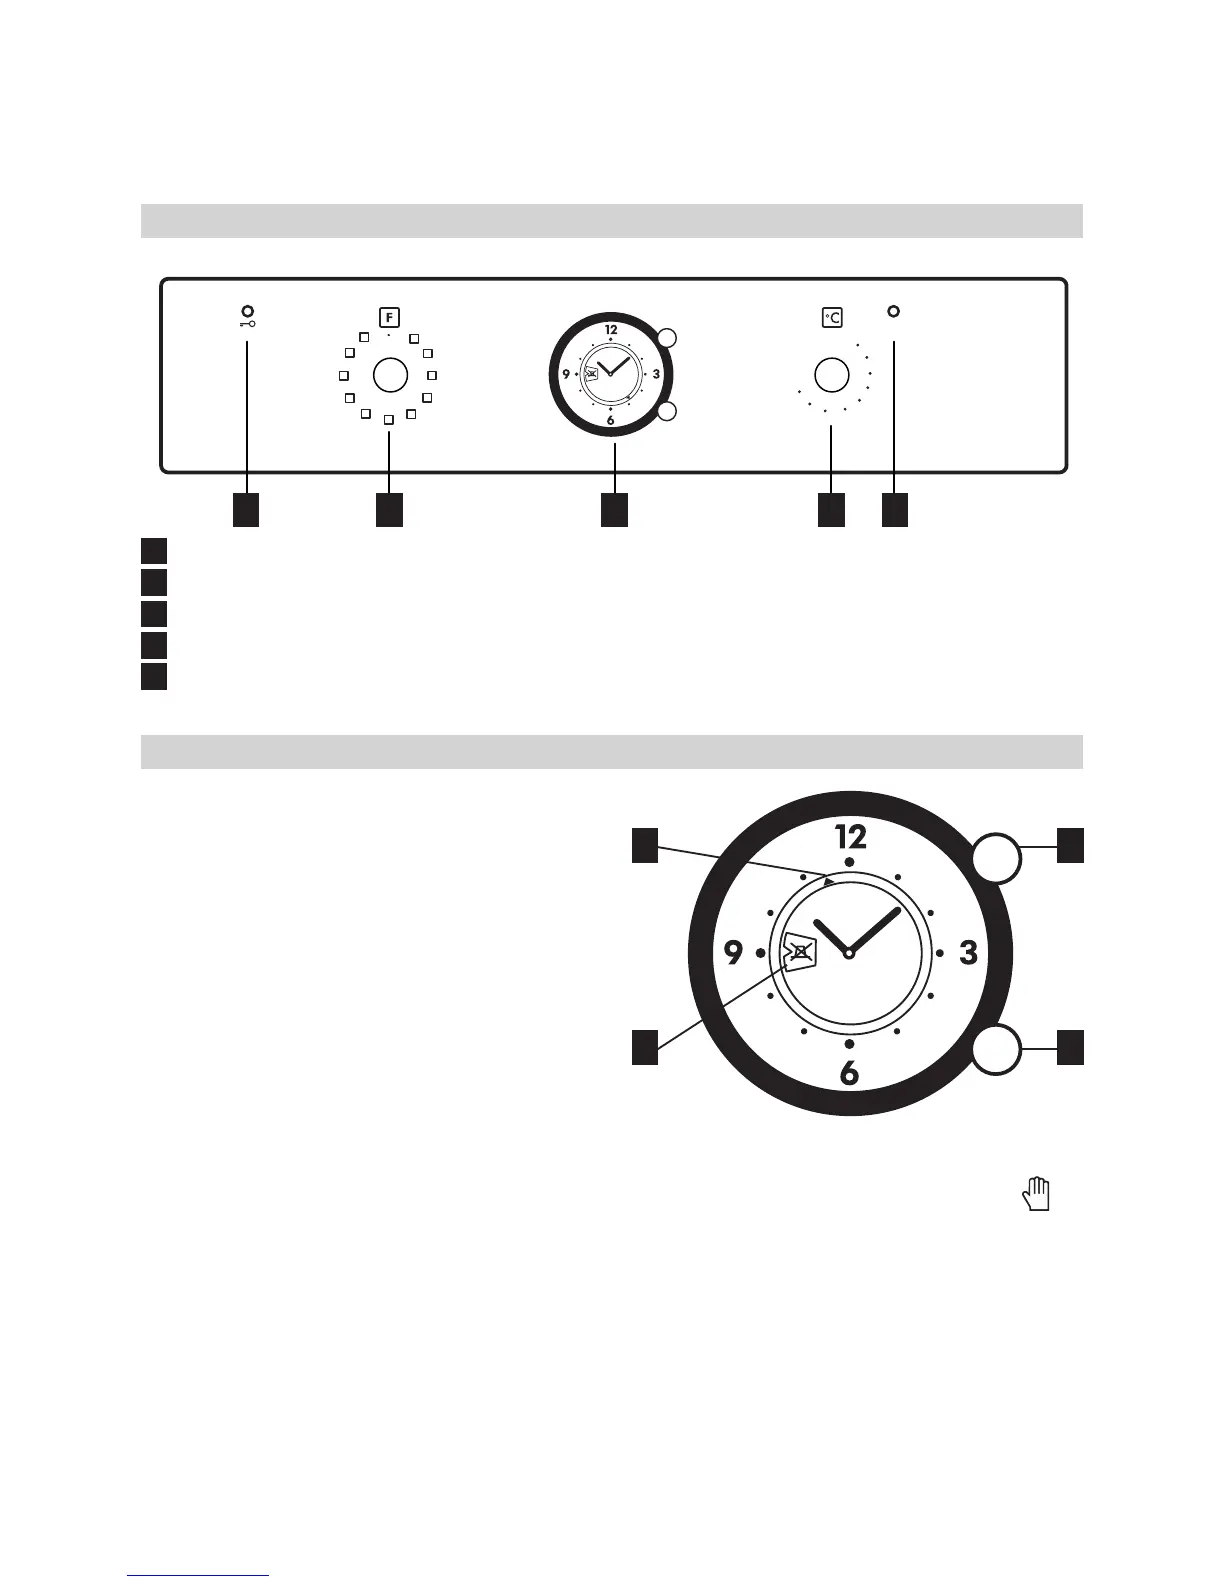
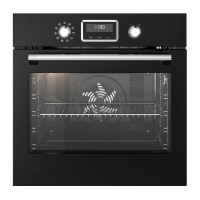
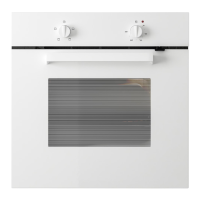
1
Yellow door lock led (only during pyro-clean)
2
Function selector knob
3
Analog clock
4
Thermostat knob
5
Red thermostat led
Controlpanel
Dailyuse
°C
100
50
150
250
200
2 3 4 51
Howtooperatetheoven
• Turn the selector knob to the required
function. The oven light switches on.
• Turn the thermostat knob clockwise
to the required temperature. The red
thermostat led lights up, switching
off again when the oven reaches the
selected temperature.
• At the end of cooking time: turn the knob
to “0”.
Analogclock
This electromechanical programmer allows:
1. Viewing the time of the day. To adjust
the time, press the button (B) and turn it
anticlockwise.
2. Programming the cooking start time
max. 12 hours in advance (e.g. at7a.
m. you CANNOT set a start time of 8 p.
m. because cooking would begin at 8 a.
m.).
3. Programming the duration of cooking
time from min. 5 minutes to max. 180
minutes.
Manualcooking
1. Turn the button (B) anticlockwise
(without pressing), until the symbol
is
displayed in the window.
2. Press the button (A) and turn it
anticlockwise until the triangle (D) u
points to the time shown on the clock
(hour hand).
The button clicks when turned to the
proper position
3. Turn the selector knob to the required
symbol. The oven light switches on.
4. Turn the thermostat knob clockwise
to the required temperature. The red
AD
BC