ENENGLISH
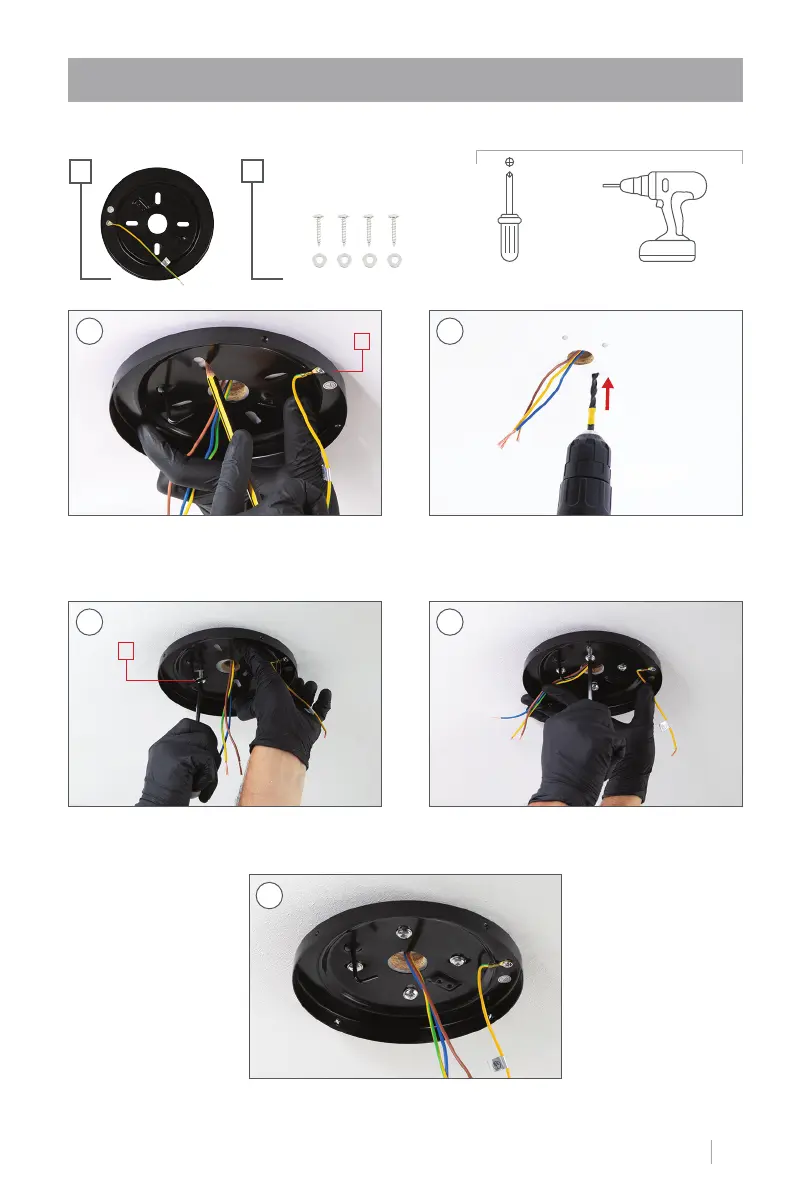
STEP 1. WOODEN CEILING
+ +
(2) WOOD SCREWS
OPTIONAL ACCORDING TO
CEILING TYPE
E
4
1
3
5
4
If necessary, depending on the type of
ceiling, you will need to use a drill to
make the holes in the wood.
Repeat this step for the remaining 3
holes.
Place the washer and then the screw E2
with the help of the screwdriver.
Make sure that piece A is perfectly hooked to the ceiling with the screws well tightened.
Mark with a pencil the 4 holes of piece
A on the ceiling.
A
PARTS AND TOOLS
E2
A
NOT INCLUDED
2