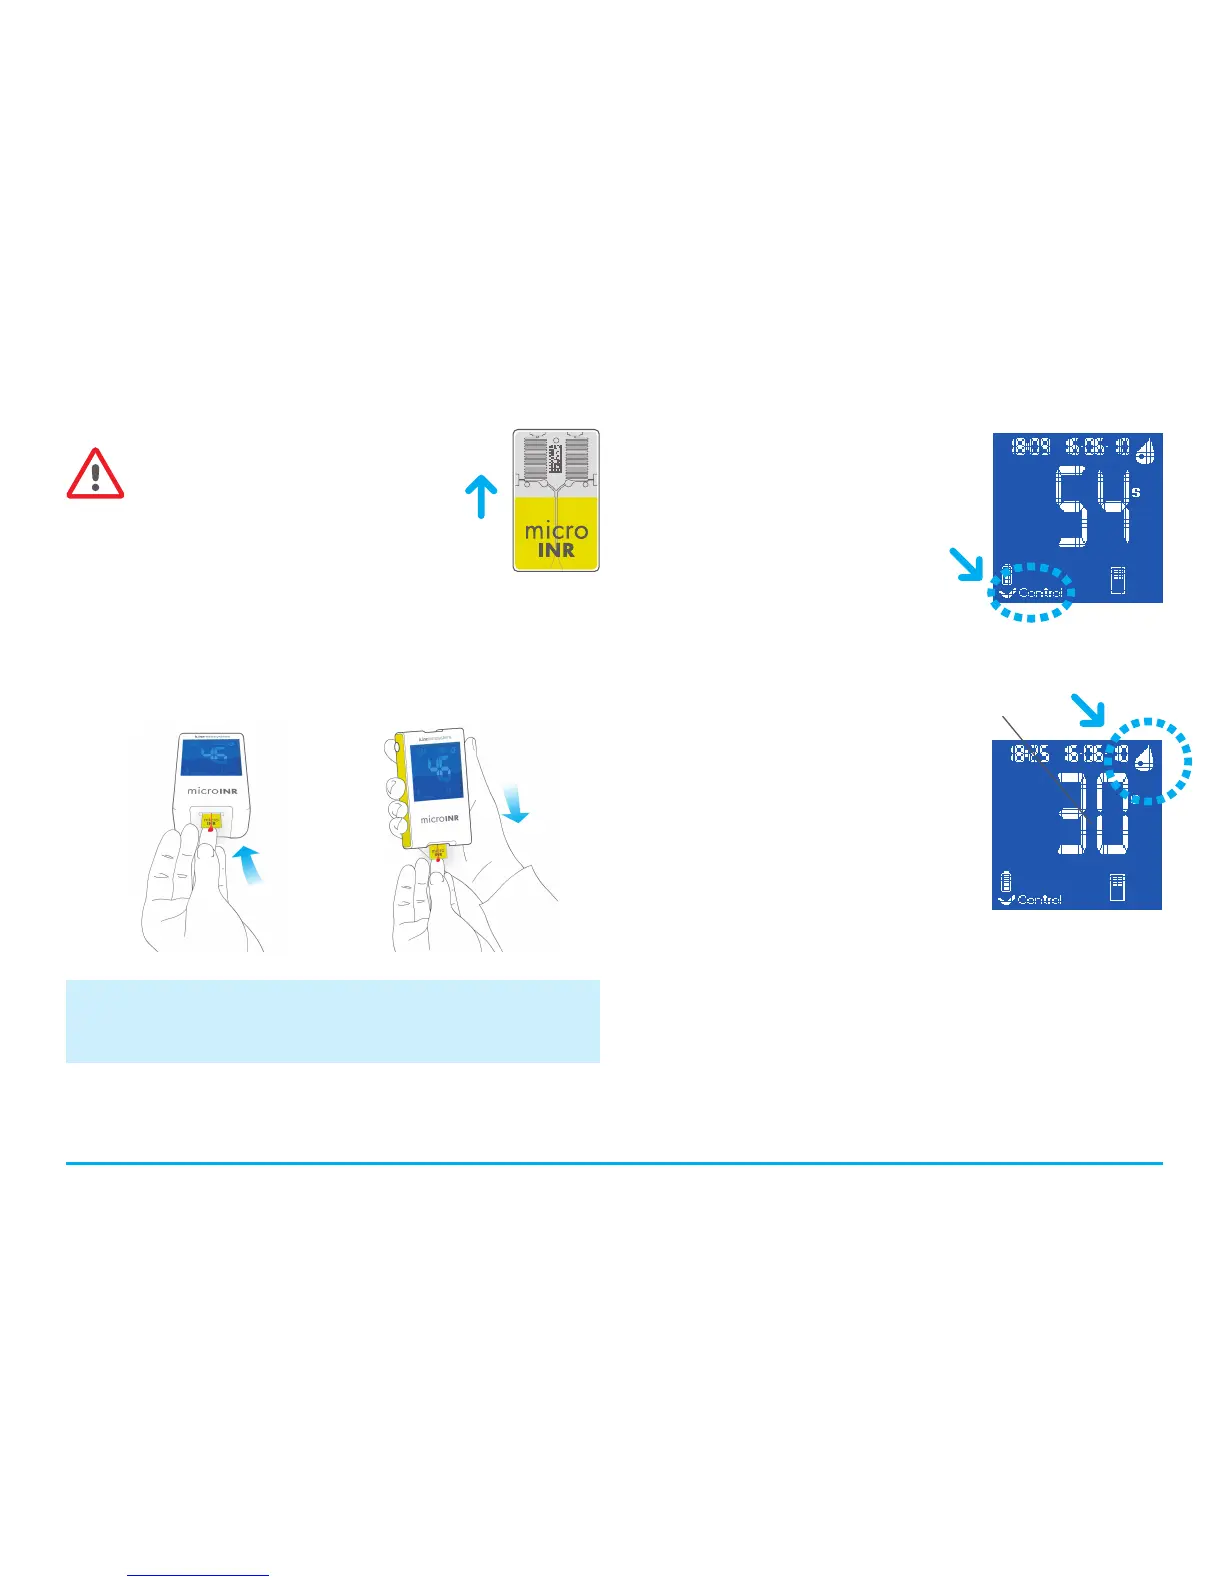
Conducting the Test
• Once the Chip is inserted, the
Meter will perform the quality
controls mentioned in section
2.6 of these instructions for
use. After conducting the
aforementioned quality controls
prior to the test, the “control”
symbol will light up. If the first level of quality control is not
passed, an error message will be displayed on the screen of
the Meter.
• The Chip begins to flash and
heats up until it reaches the
proper temperature. Once this
temperature is reached:
- The device emits an audible
signal (beep).
- The drop symbol begins to
flash on the display.
- A count down appears (80s).
- The Chip emits a steady light.
• Perform the fingerstick (see section 3.3 of these instructions
for use).
• Make sure to obtain a spherical, properly sized drop.
• Apply the drop of blood on the Chip immediately, in contact
with the entry channel, without resting the finger on the Chip.
• The Meter will emit a beep when it detects the sample for
the test and the drop symbol will stop flashing.
09
If the pouch of the Chip is open,
damaged or the film of the Chip is
removed, please, dispose of the
Chip and use a new one.
Modes of Use
The microINR system provides two
application modes of the sample:
iLine Microsystems only recommends the option of approaching
the Meter to the sample for users who are experienced in
conducting INR assays with the microINR system.
- Approaching the
sample to the Meter.
- Approaching the Meter to
the sample.
COUNTDOWN