10
• After the beep, gently move the finger away and wait until
the INR results are displayed on the screen.
If you apply the sample and no sound is emitted, this means
that there is not enough sample volume. Remove the Chip and
repeat the test with a new Chip. Ensure that the size of the
drop is enough and the entry channel is not blocked when
placing it.
Never perform the fingerstick before the start of the
countdown.
Do not touch the Chip’s entry channel with the finger
while inserting the sample.
Do not touch the Chip or add more blood during the test.
Keep the Meter away from direct sunlight during the test.
Do not shake or drop the Meter. If the Meter is dropped
or gets wet and the frequency of errors messages
increases, contact your distributor.
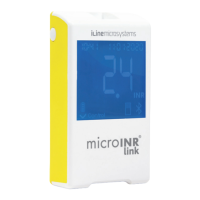
Test Result and Assay End
• The measurement is performed and the Meter displays the
result in INR units or an error message.
Error messages are displayed as a letter
“E” followed by a number. If an error
message is shown, follow the steps in
the “Error Guide” section”.
If the message E08 appears, do not attempt a new
test and proceed to charge the Meter.
• Remove the Chip, holding it from both
sides.
The used Chips, lancets and gloves
might be source of infection. For
healthcare professionals: dispose
the materials according to your
institution´s infection control policy
and the appropriate local regulations.
For self-testing patients: you can
dispose all the materials in your garbage bin. Discard
the used lancets with care to prevent injuries.
Turning the Meter Off
There are two ways to turn the Meter off:
• The Meter turns off automatically after 5 minutes of
inactivity.
• Press the left button (EXIT) to turn the
Meter off, holding it for 3 or 4 seconds.
If you don’t remove the Chip before
turning the Meter off, the results will
not be stored.
The Meter cannot be turned off while
connected to the power supply or to a
computer with the USB cable.