page 9
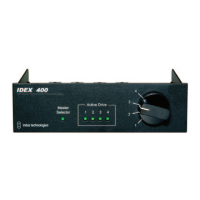
IDEX 400 SATA - Installation & Operation
10. Install Drive Selector
Mount IDEX 400 in drive bay using the four screws supplied.
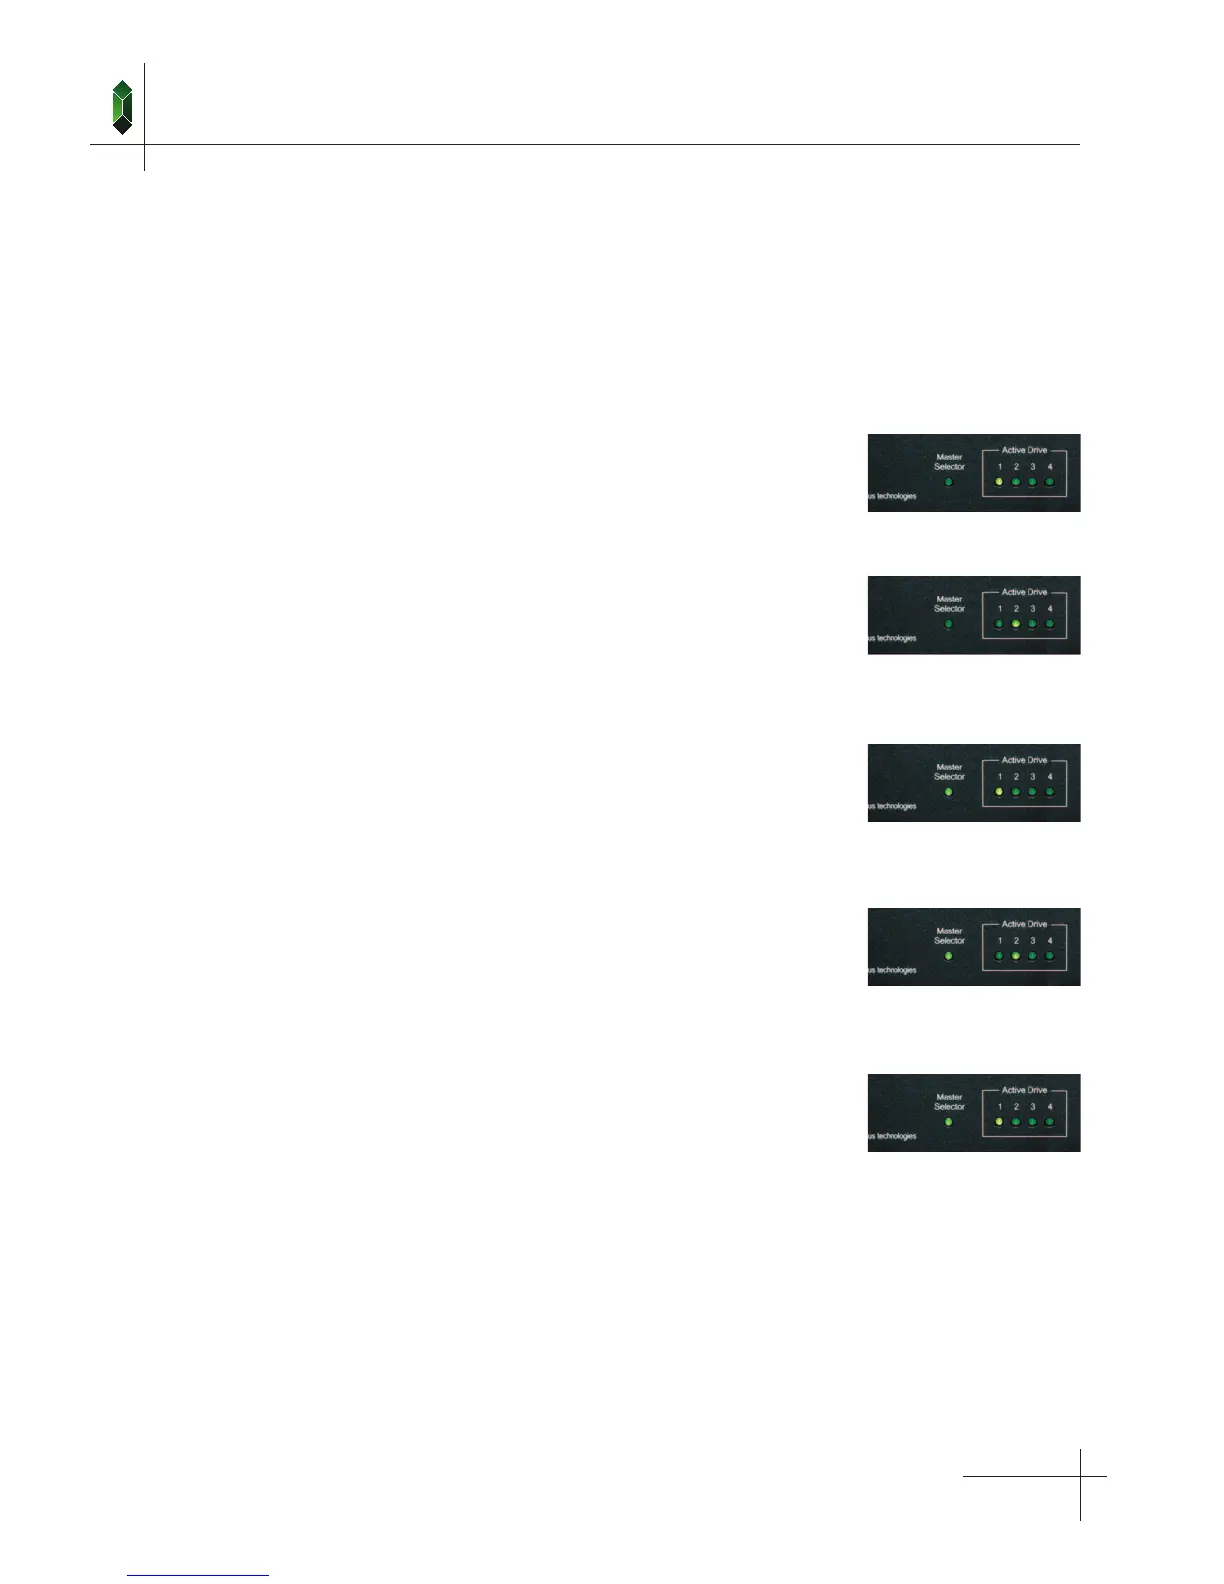
11. Verify the Operation
If the “Master” light is on, and you are not using a Master Selector, confirm that the “Master Mode” Jumper has been
removed. If it has been removed, and the “Master” light remains on, please contact technical support for assistance.
Local Set the IDEX 400 Switch to “Drive 1” and turn the PC on.
One indicator should be on, “Drive 1”.
All other indicators should be off and the PC should boot
normally from “Drive 1”.
Shutdown the PC. Set the IDEX 400 switch to “Drive 2”.
Turn the power on. One indicator should be on, “Drive 2”.
All other indicators should be off and the PC should boot
normally from “Drive 2”.
Master Set the Master Selector switch to “Local”.
Set the IDEX 400 switch to “Drive 1” and turn the PC on.
Two indicators should be on, “Master” and “Drive 1”.
All other indicators should be off and the PC should boot
normally from Drive 1.
Shutdown the PC. Set the Master Selector switch to “Local”.
Set the IDEX 400 switch to “Drive 2” and turn the PC on.
Two indicators should be on, “Master” and “Drive 2”.
All other indicators should be off and the PC should boot
normally from “Drive 2”.
Shutdown the PC. Set the Master Selector switch to “Drive 1”.
Leave the IDEX 400 switch on “Drive 2”. Turn the PC on.
Two indicators should be on, “Master” and “Drive 1”.
All other indicators should be off and the PC should boot
normally from “Drive 1”.
If there is a problem with either drive, the most likely cause is incorrect cable connections. Check that all cables are
connected correctly. If the “Master” light on the IDEX unit is flashing, check the master cable connections between
computers and to the IDEX unit.