9
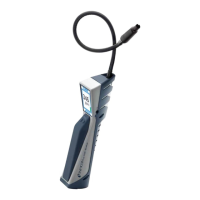
Changing the Filter (Continued)
protector (counter clockwise) and simply push out (with a paper
clip or similar diameter object) the filter from the sensor side (larger
end) of the tip protector. Slide the new filter into the small hole in
the tip protector, then replace the tip protector.
If the sensor unplugs when you remove the tip protector, take it out
and plug it back in, as described in the next section.
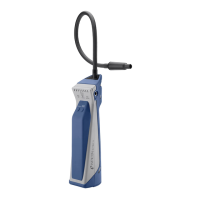
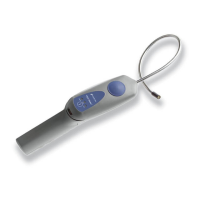
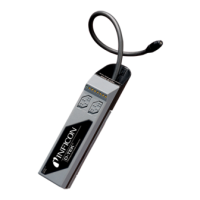
Changing the Sensor
The D-TEK’s electrochemical heated-diode sensing element is
located in the tip of the probe. This specialized sensor will operate
for about 100 hours. At that point, you should replace the sensor:
• Turn OFF the leak detector.
• Locate the end of the leak detector probe and unscrew (counter
clockwise) the tip protector. Pull the sensor (the sensor is the
small “can” with the hole in the top) straight out, which unplugs
it.
• Remove the replacement sensor from the foil protective
package.
• Carefully align the 3 leads (small wires coming out the bottom of
the can) on the sensor with the 3 sockets in the top of the probe.
Insert the leads into the sockets and press them together.
Note:
You must be careful not to bend the sensor leads because this
can cause erratic operation (see
Troubleshooting
.)
• Take this opportunity to change the filter, too. (see
Changing
the Filter
.)
• Place the tip protector over the sensor and tighten snugly by
turning cap in clockwise direction.