18
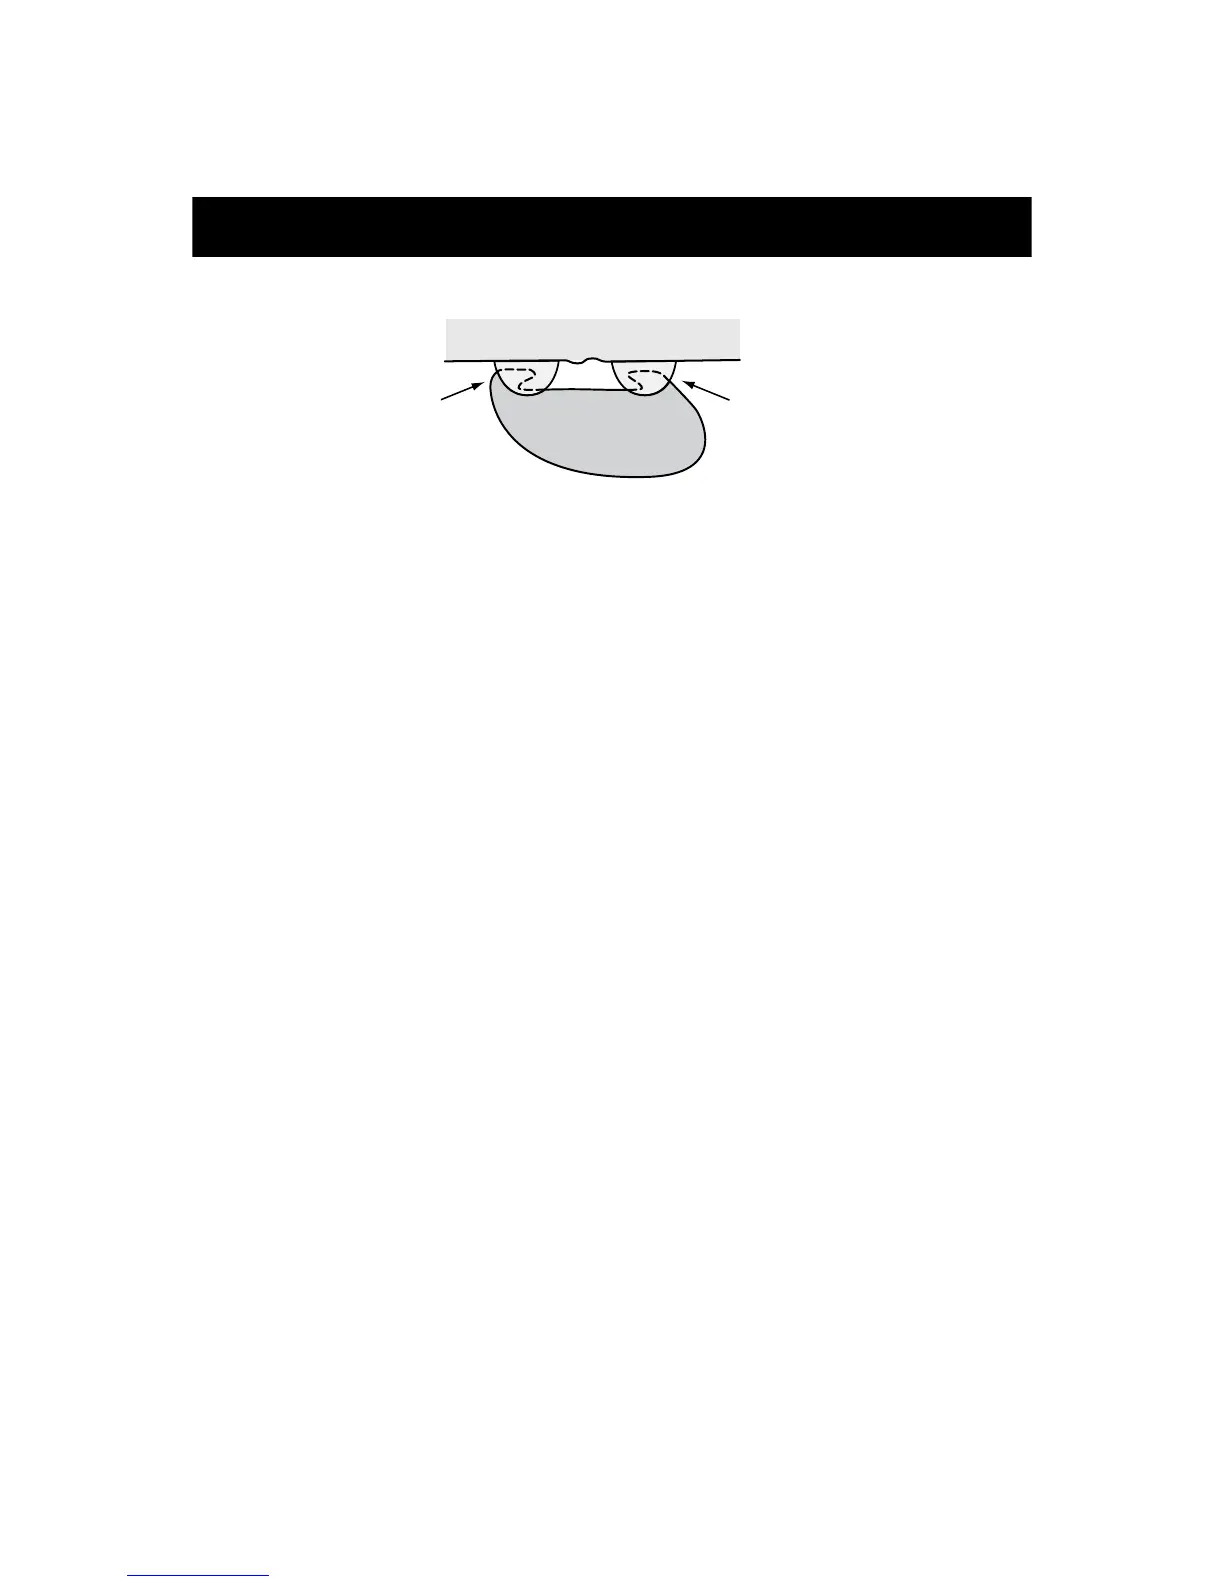
3 Fit the removable skeg before inflating the kayak. To do this,
clip each end of the skeg into the slotted fittings at the rear of
the kayak hull.
4 To inflate the side and floor inflation chambers, unscrew and
remove the valve dust cap, push the pump nozzle (see 5.1) firmly
into the valve and screw tight. Proceed with inflation using the
hand pump supplied.
5 Partially inflate the floor chamber.
6 Partially inflate the side chambers, until the fabric cover shape
begins to fill out. The kayak should feel soft or limp at this point.
7 Make sure the valves are aligned with the holes in the cover
(see 6.1 step 2). Adjust the cover and/or valves to realign if
necessary.
8 Next add air to the side and floor chambers in turn, until most
of the wrinkles are gone and the kayak feels firm to the touch.
Do not exceed the pressure of 1.5 psi
for both the floor and side
chambers.
9 When the kayak is fully inflated, unscrew and remove the
push-fit screw valve. No air will escape as the valve incorporates
a non-return seal.
6. GETTING STARTED
Hull
Skeg
Front Back