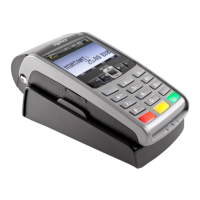
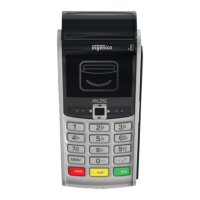
Bluetooth Terminals - iWL252
If you have chosen the iWL252 terminals you will need to follow these instructions.
What’s in the box?
The iWL252 terminal handset
Charging base
Battery
Paper roll
The Power Supply Unit (PSU)
A telephone (PSTN) cable
An ethernet cable
QUICK SETUP GUIDE
1. Connect the power supply to the socket on the back of the terminal base.
2. Plug the 3-pin power supply plug into an available power socket.
3. Place the terminal handset on the base, the terminal will light up and begin the charging
process. It is recommended that you allow the terminal to charge for at least 4 hours
before continuing with the setup.
4. If you are connecting via PSTN (Telephone) you will need to open the compartment on
the underside of the terminal base and connect the PSTN (Telephone) cable to the port
marked with a picture of a telephone.
5. Run the telephone cable through the opening at the rear of the terminal base and
replace the compartment door.
6. If you are connecting via IP (Broadband), connect the ethernet cable to the square
ethernet port located at the rear of the terminal base.
6 Bluetooth Terminal - iWL252
Your terminal will require charging for at least two hours prior to
‘Performing First Time Setup’ (p10)
 Loading...