Do you have a question about the Instrumentarium Orthopantomograph OP200 and is the answer not in the manual?
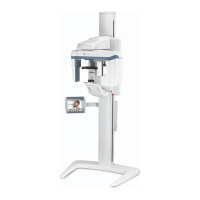
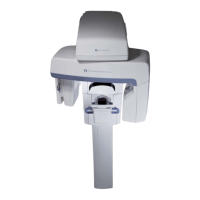
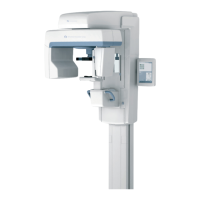
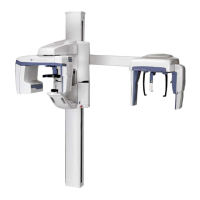
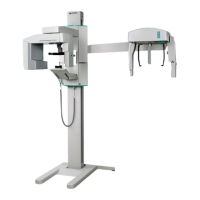
Overview of OP200 and OC200 models, and other manuals shipped with OP200.
Explains various symbols used in the manual and on the unit for identification and warnings.
Defines how to identify the unit's type and version from labels on the unit.
Essential safety information regarding X-ray radiation, distance, and protected environments.
Details available column heights and required room heights for installation.
Describes different methods for mounting the unit column, including floor and wall options.
Provides essential space requirements for unit installation, including height and width.
Explains how the unit can be configured for different operational sides (left/right).
Covers radiation shielding, safety, package dimensions, door width, access, and location.
Guidelines for dark room setup, safelight, processor, and film handling.
Lists necessary tools and hardware required for the installation process.
Verifying contents against serial numbers before unpacking to avoid installation issues.
Instructions for safely unpacking the column and carriage components.
Detailed steps for installing the main unit column, including wall and floor mounting.
Procedures for lifting, fastening, and adjusting the vertical carriage unit.
Steps for installing the optional cephalostat unit, including unpacking and arm mounting.
Completing installation steps like mains connection, voltage change, and cover installation.
Notes on safety, prerequisites, and room lighting for performing adjustments.
Procedures for aligning panoramic imaging components and settings.
Procedures for aligning cephalostat imaging components and settings.
Verifies correct operation of control and patient positioning panels and unit functions.
Performing QA tests for contrast and density settings using QA film.
Locating and checking all provided accessories and disposables.
Covers basic training on operation, patient positioning, and safety rules.
Comprehensive list of tasks to verify during the OP200 installation process.
Steps to change the primary operational side of the unit.
Procedures for changing the cephalostat's side of operation.
Initial steps before disassembling the unit for re-packing.
Lists components included in the cephalostat upgrade kit.
Refers to chapter 4.3 for unpacking details of the cephalostat.
Instructions for adding weights to balance the cephalostat.
Steps to remove and install covers for cephalostat access.
Final steps for attaching the cephalostat head and connecting cables.
Refers to OP200 manual for standard cephalostat alignment procedures.
Detailed instructions for installing the CR kit, including component removal and re-installation.
| Brand | Instrumentarium |
|---|---|
| Model | Orthopantomograph OP200 |
| Category | Medical Equipment |
| Language | English |