3
Power Supply
• TheunitisdesignedforAC120V~60Hzpowersupply.
•Donotconnecttheunittoanyotherpowersupplytoavoiddamagethatisnotcoveredbyyourwarranty.
• Disconnectfrompowerwhennotinuse.
Back-up Batteries
Inserttwo“AAA”,1.5Vbatteries.Pleaseobservethecorrectpolaritymarkedinsidethebatterycompartment
(“+” and “-”). Preferably use alkaline batteries. In case of power failure the battery will keep the alarm and
time settings without displaying them. In the event of a power failure the radio and CD operation will stop.
Time Setting
1. Connect the power plug to a wall socket.
2.Thedisplaywillflash12:00afterconnectingtothepowersourceforthefirsttime.
3.Pressandholdthebutton>>I/HOURforfastsettingortapitbrieflytoincreasethesettingbyonehour.
4.PressandholdthebuttonI<</MINUTEforfastsettingortapitbrieflytoincreasethetimesettingbyone
minute.
5.PresstheCLOCKADJbuttononcetoconfirm.Thetimeindicationstopsflashing.
6. To adjust the 12 or 24 hour time format press and hold the CLOCK ADJ button for 2 seconds. The display
shows either 12H or 24H.
Note:Iftheclockwassetbefore,presstheCLOCKADJbuttononce.Theadjustedtimeflashesonthe
display; continue on to step 3.
Headphone Jack
The 3.5 mm mini stereo plug is provided for headphone listening. Connect your headphones (not included)
for private listening. When connecting the headphones the speakers are automatically muted.
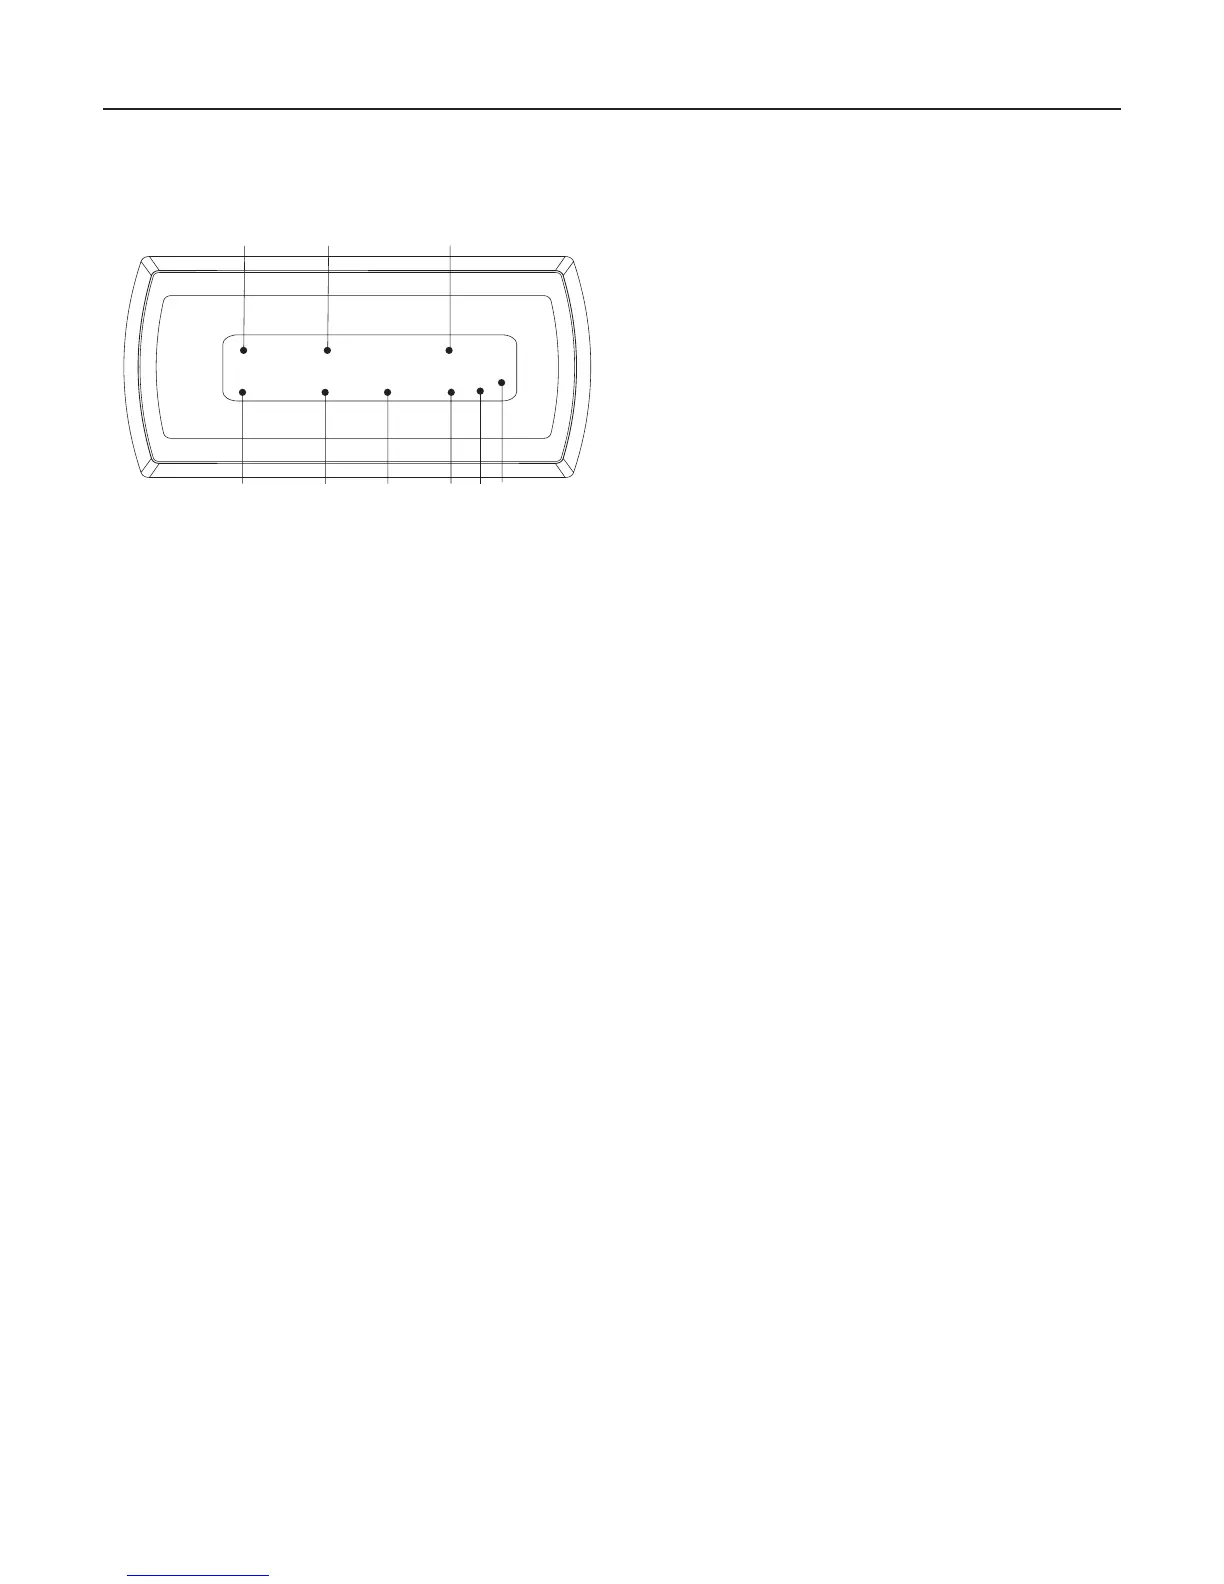
A. ALARM 1: Alarm 1 activated
B. POWER: Turned on
C. RANDOM: Random playback activated
D. PM: 12 hours time format activated
E. SNOOZE: Snooze activated
F. REPEAT: Repeat function activated
G. PROGRAM: Program function activated
H. SLEEP: Sleep function activated
I. ALARM 2: Alarm 2 activated
LED Indicators