Intel Desktop Boards D845GRG and D845GBV 7
Quick Reference
OM12116
2 Installing the Desktop Board
CAUTION
Failure to use an ATX12V power supply, or not connecting the additional
power supply lead to the Desktop Boards D845GRG and D845GBV may
result in damage to the desktop board and/or power supply.
For more information on the ATX12V power supply, refer to the Intel
Desktop Boards D845GRG and D845GBV Product Guide on the Intel
Express Installer CD-ROM.
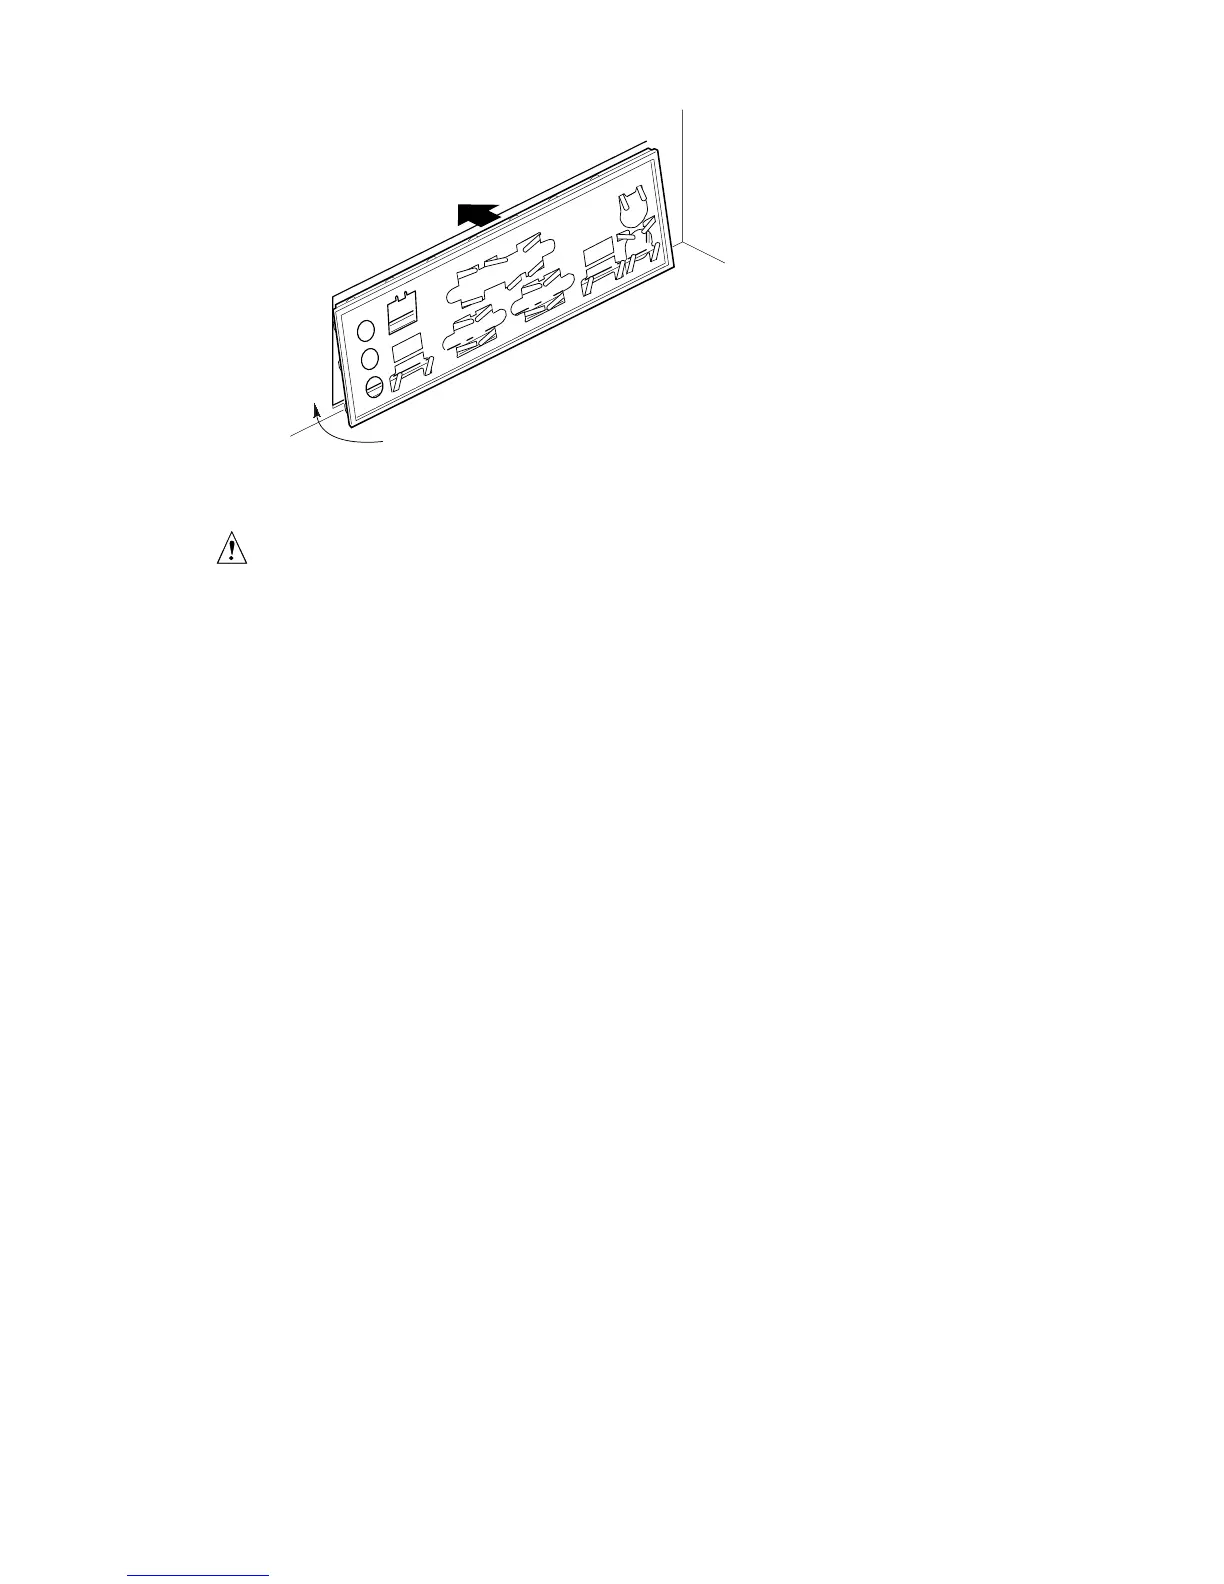
Refer to your chassis manual for specific instructions on installing and removing
the desktop board.
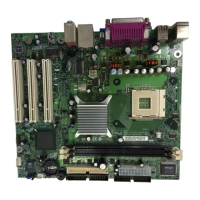
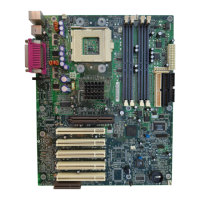
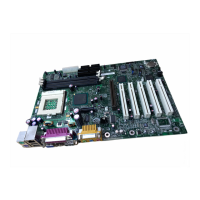
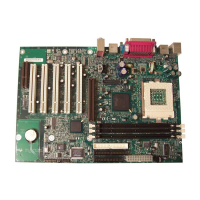
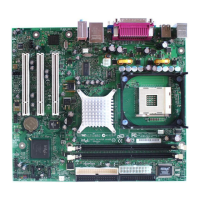
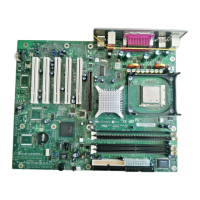
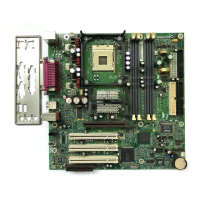
Secure the desktop board to the chassis standoffs using the screws. The Desktop
Board D845GRG is secured to the chassis with six and Desktop Board
D845GBV with eight screws. Refer to the board illustration on page 4 for the
location of the mounting holes.
3 Installing the Processor
To install the processor, follow these steps
1. Observe the precautions in “Before You Begin” on page 3.
2. Lift the processor socket lever.
3. Install the processor so that the corner with the triangle marking (A) is
aligned with the corner where the lever is attached to the socket.
4. Lower the lever back to its original position.