9
Note: If the set-up is done ahead of
time, skip this step and proceed to the
next slide, Build the Circuit.
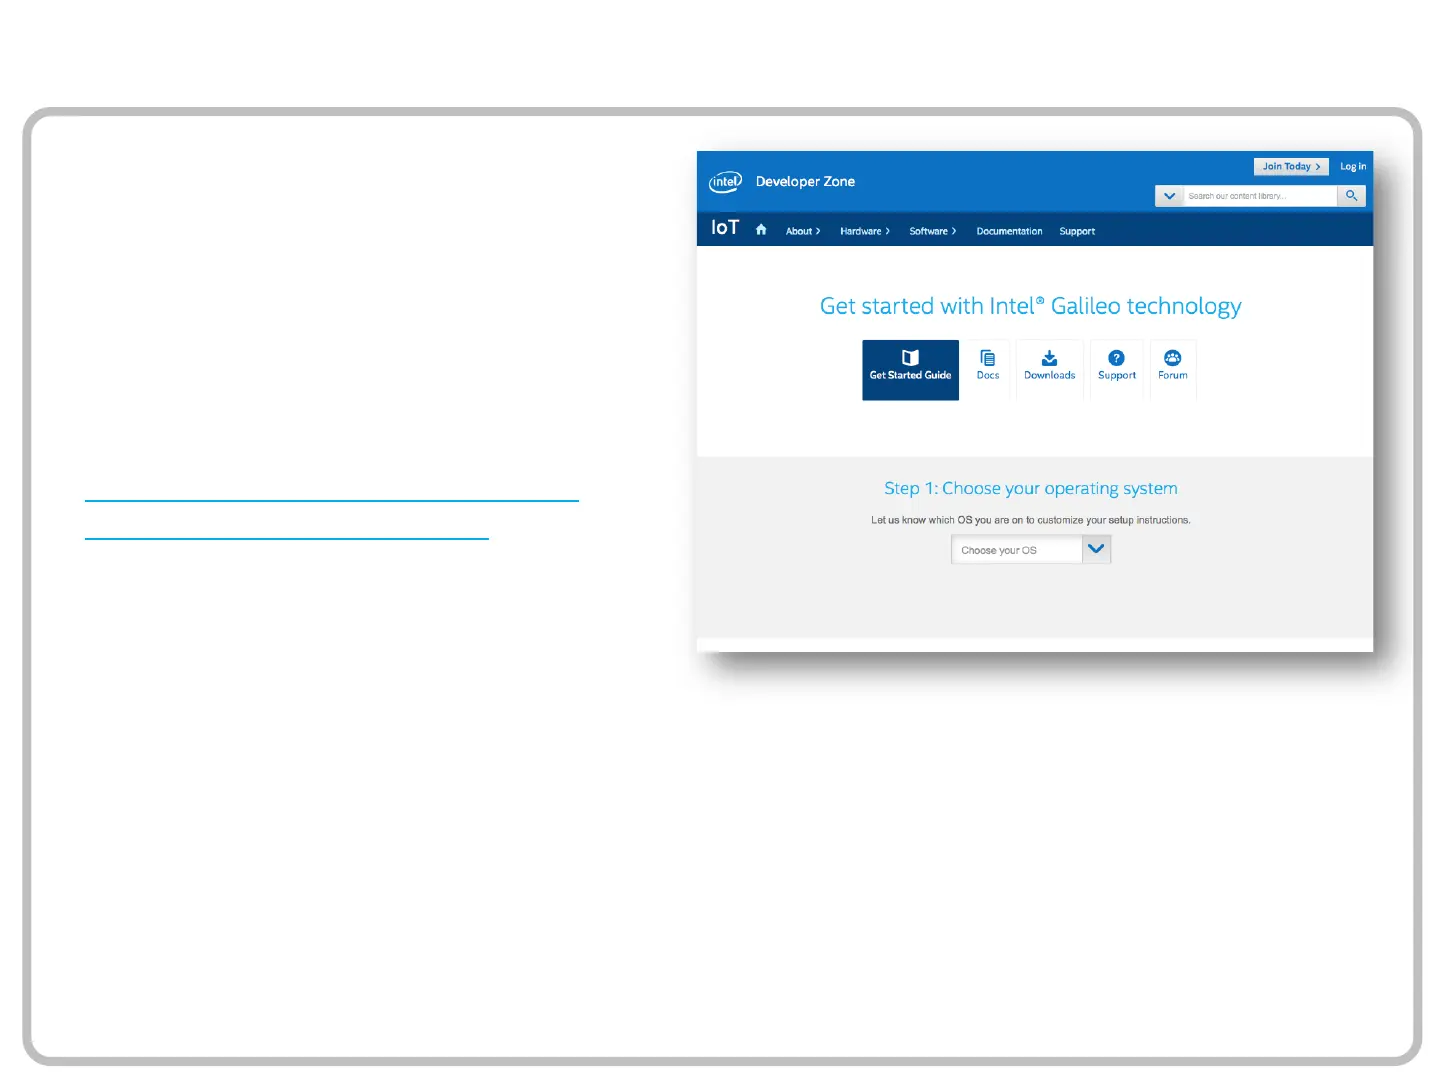
Step-by-step instructions for connecting
Galileo are found here:
https://software.intel.com/en-us/iot/
library/galileo-getting-started.
Within the step-by-step instructions,
when prompted to choose a
development environment, choose
Arduino.
Proceed all the way through the getting
started exercise to the point where you
blink the LED on the Galileo board.
This affirms the set-up was done
correctly.
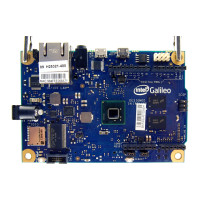
Connect the Galileo Board and Install Software
Caution!
Always make sure the Galileo board is plugged in BEFORE
connecting the USB cable to the computer!
Also, always unplug the USB cable BEFORE disconnecting the
power from the Galileo.
Doing these steps in the wrong order can permanently damage
your board.