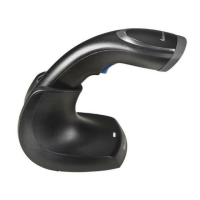
Installing and Removing the Scanner
To install the scanner
1 Place the top end of the scan window onto the stand.
2 Pivot the scanner by the handle into the cradle until the latch
engages the indent on the cap.
3 Verify that the trigger is pushed down by visually checking that the
bump on the stand cradle pushes on the trigger.
4 Once the trigger has been pushed down, the AutoSense mode is
ready to use. See “Configuring the Scanner” on the next page to
enable AutoSense mode.
To remove the scanner
1 Grasp the scanner at the handle near the latch.
2 Pull up and forward to release the scanner from the latch.
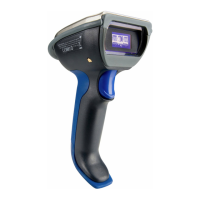
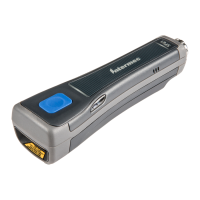
Scanner
cradle
Hands free
stand
Latch indent
Latch
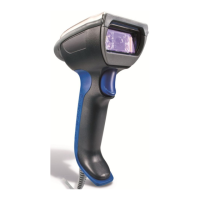
Scanner
cradle
Latch
Hands free
stand
Lift the scanner
handle to remove