44
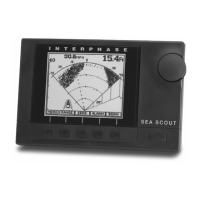
Chart/Scan View (split screen)
In this split screen view, the Twinscope shows a forward
looking view on the right and a conventional down
looking chart view on the left. In this view, adjustments
can be made to the right side of the display (forward
looking view) but not to the left side (down looking
display). To make adjustments to the down looking
alarms, etc., go to the CHART view.
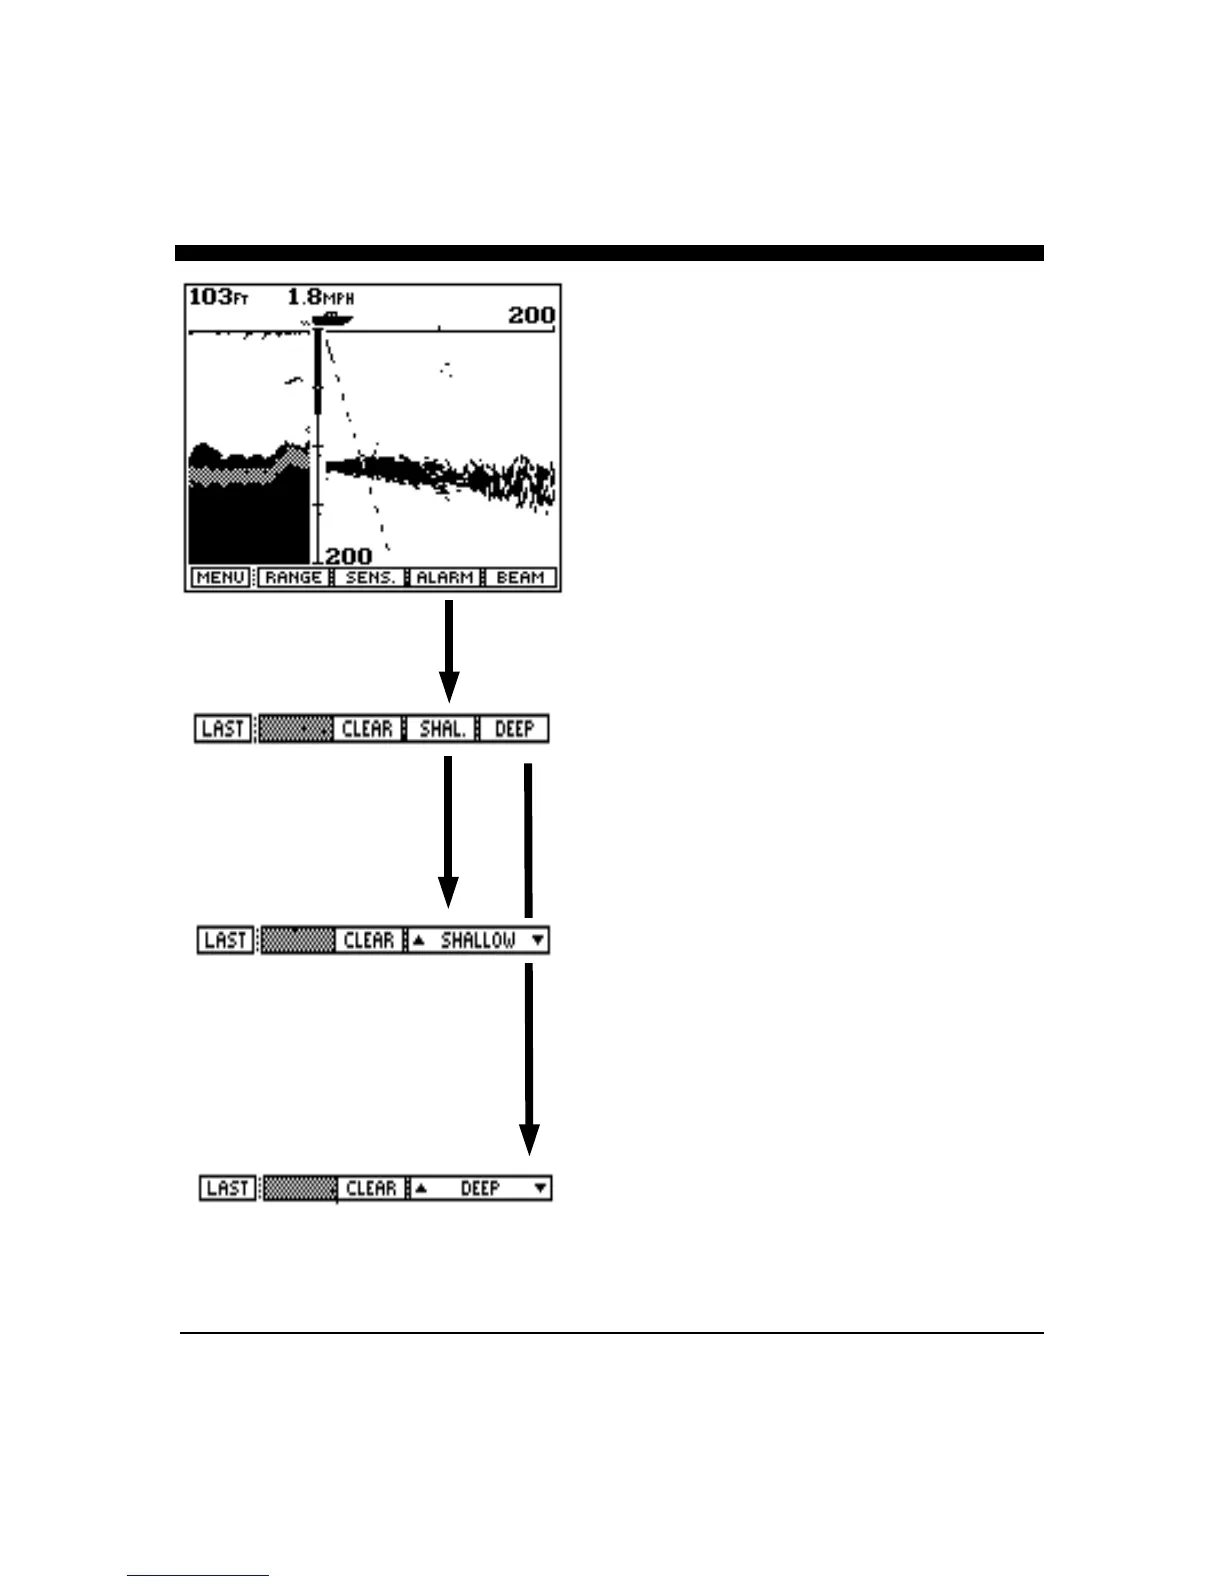
Range Adjustment
Press the button labeled "RANGE" to bring up the Range
Adjustment soft key menu. Press the button labeled
"AUTO" if you would like the Twinscope’s internal
microprocessor to automatically select and adjust the
depth and forward range as bottom conditions change.
To manually adjust the range, rotate the front panel knob
or press either the range button labeled "∩" or "∪". If
you make a manual depth range adjustment the AUTO
range mode is turned off and will remain off until the
button labeled AUTO is again selected.
Note: when in the AUTO mode, the soft key labeled
“AUTO” will be shown in reverse video (white on black).
To return to the main forward looking menu, press the
soft key labeled "LAST".
Sensitivity Adjustment
Press the soft key labeled "SENS." to bring up the
choices available for adjusting the Twinscope's receiver
sensitivity. Press the button labeled "AUTO" so that the
word AUTO is shown in reverse video (white letters on a
black background) if you would like the Twinscope to
automatically adjust its sensitivity for changing
conditions. To manually adjust the sensitivity , rotate the
front panel knob or press the button labeled “Sens.+” or
“- Sens” to increase or decrease the receiver gain. Note
that the soft key shows a number which indicates the
relative sensitivity being used. When you choose to
manually adjust the sensitivity, the Twinscope turns off
the AUTO sensitivity mode and it will remain off until
the “AUTO” soft key is again selected.