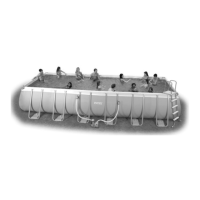
120
PO
SAVE THESE INSTRUCTIONS
(120PO) ENGLISH 7.5” X 10.3” PANTONE 295U 10/10/2018
English
Page 11
Unacceptable
Grade
Acceptable
Grade
Donotadd
RemoveRemove
Alwaysremovematerialfromthetopofthe
slope rather than filling in the bottom.
2.1
GROUND PREPARATION
Selectanoutdoorlocationforthepoolwhichshouldbeonalevelconcretepad.Ifthereisnoconcretepad
available,followtheinstructionsbelowtopreparetheinstallationarea.Itisimportantyouaskaprofessional
(builderorgardener)toperformthefollowinggroundpreparation.
NOTE: Tools are not included.
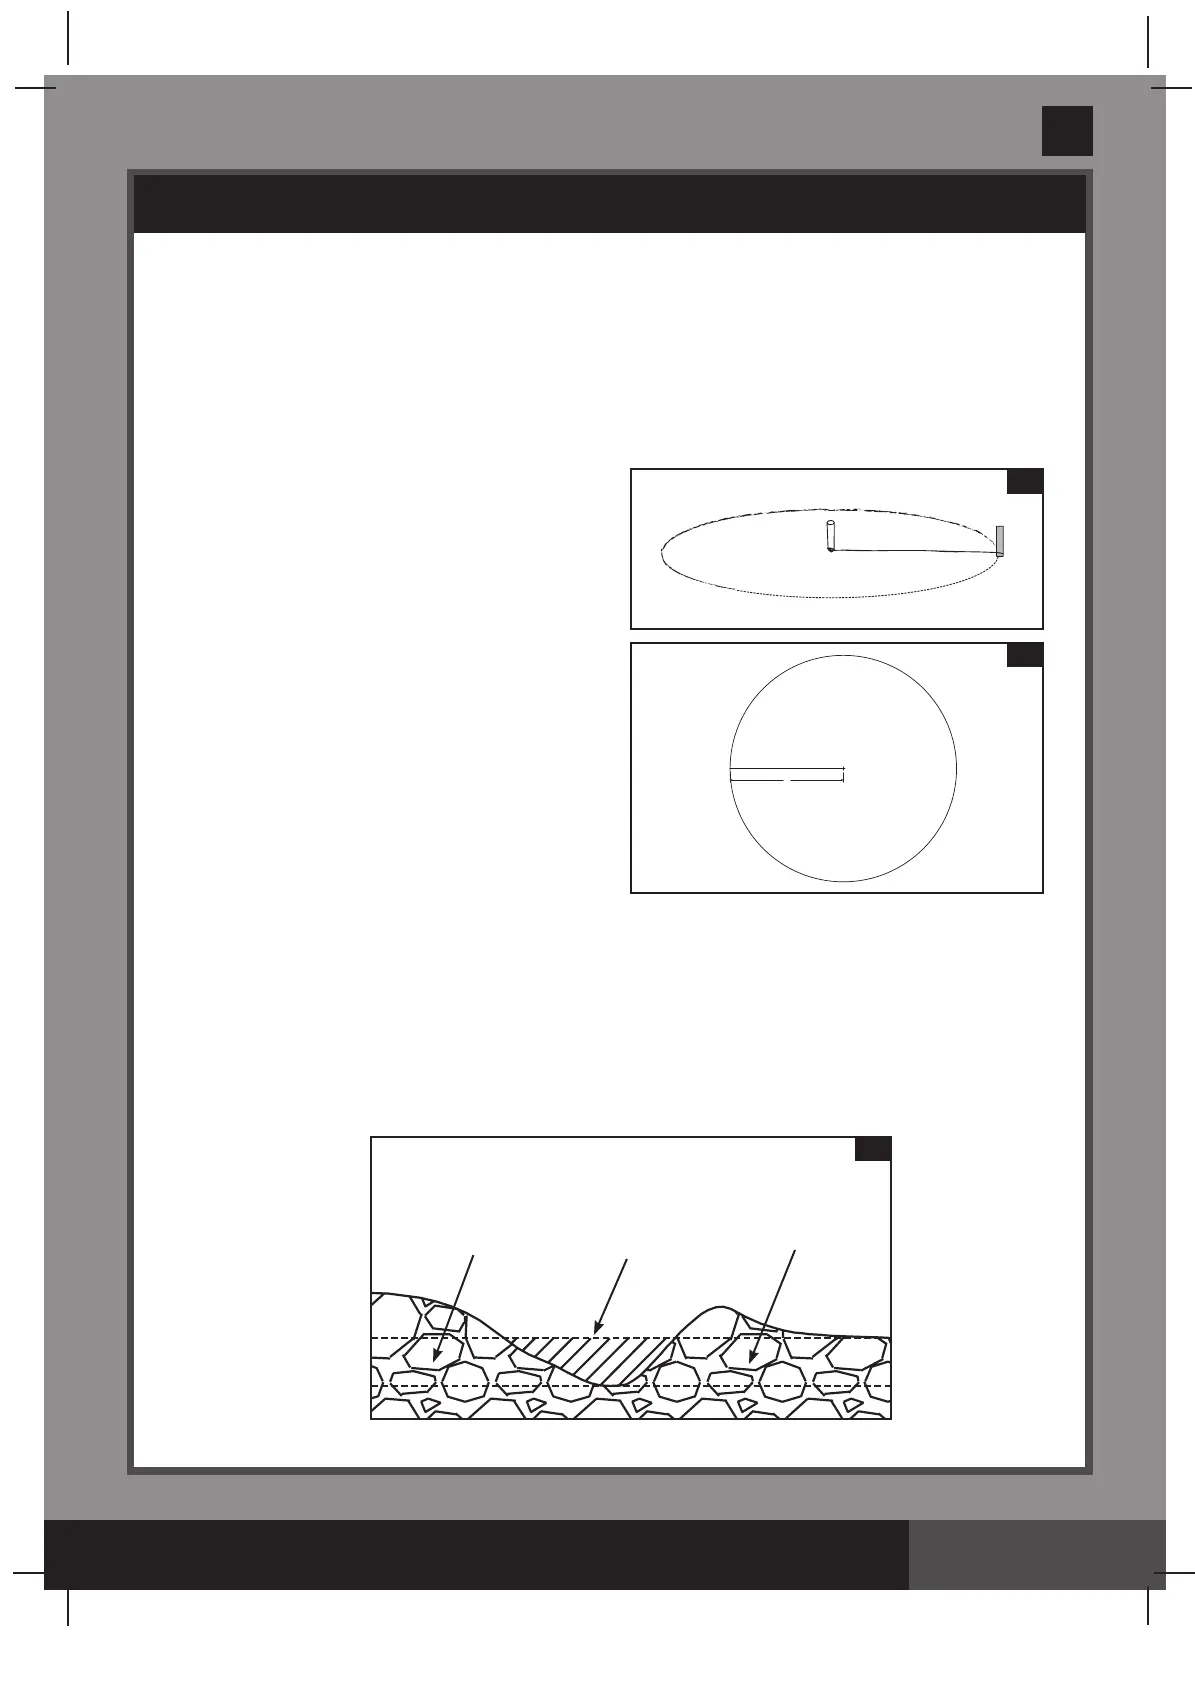
1. Mark the installation area
• Oncethelocationareaischosen,drivestakeat
center point of where you wish pool to be located.
Attach string to center stake. Measure the length
A on string, and attach marking stick, paint marker,
or funnel with flour to string. Mark circumference of
poolareausingstringandmarker(seedrawing1.1).
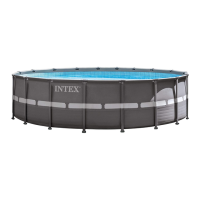
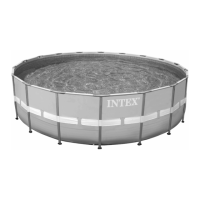
• For15'8"(478cm)pool,where
A=8’3”(251.5cm)=Radiusofgrassareaneedto
beremovedandleveled.
For16'8"(508cm)pool,where
A=8'9”(266.7cm)=Radiusofgrassareaneedto
beremovedandleveled.
For18’8"(569cm)pool,A=9'9"(297.1cm)
see drawing 1.2.
2. Clear the installation area
• Removeallgrass,stonesandsticksfrommarkedarea.Alsoremovecenterstakeandstring.
3. Leveling
• Establishlowestpointinpoolarea.Levelentirepoolsitebydiggingorscrapingawayunevenareas
tothelevelofthelowestpoint.
Always remove material from the top of the slope rather than
filling in the bottom
toensuregreatergroundstabilityandfirmness.Whenalltheareasareleveland
whenexcessgroundisremoved,youmayfillany
small low areas
whicharelefttolevel(withfined
dirt).Alwayscompactandlevelgroundafterwards(seedrawing2.1).
POOL SETUP (continued)
1.1
A
1.2