3.3Removing/InstallingtheSeat
Removing
1.Disconnectthejoystick.Referto3.1Disconnecting/Connecting
theJoystick,page2.
2.Folddowntheseatback.Referto3.2Folding/Unfoldingthe
Back,page2.
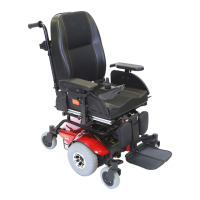
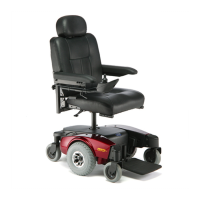
3.LifttheseatleverAuptoreleasetheseat.
4.Whileholdingtheseatlever,lifttherearoftheseatassembly
Btotilttheseatassemblyup.
WARNING!
–DONOTusearmreststoliftseat,otherwise
injuryordamagemayoccur.Useliftinglocations
showninillustration.
5.Pullseatupwardtowardstherearofthepersonaltransporter
andremovetheseatassemblyfromtheseatpostmountingpins.
Installing
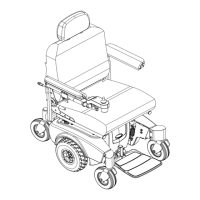
1.PlacetheseatmountingbracketContotheseatmountingpins
andslidetheseatassemblyforwarduntilthefrontseatmounting
pinDengagesthefrontslotintheseatmountingbracket.
2.LowertherearoftheseatuntiltherearseatmountingpinE
clicksandlocksintotheseatmountbracket.
3.Pulltheseatassemblyuptoensurethatitislockedinplace.
4.Unfoldtheback.Referto3.2Folding/UnfoldingtheBack,page2.
5.Connectthejoystick.Referto3.1Disconnecting/Connectingthe
Joystick,page2
.
3.4ReplacingtheDriveWheelAssembly
RemovingtheDriveWheel
1.Placethepersonaltransporterinawellventilatedareawhere
workcanbeperformedwithoutriskingdamagetocarpetingor
floorcovering.
2.VerifythejoystickOn/OffswitchisintheOffposition.
3.Placetwo5inchblocksunderbatteryframetoliftframeoffthe
groundforeaseinperformingthisprocedure.
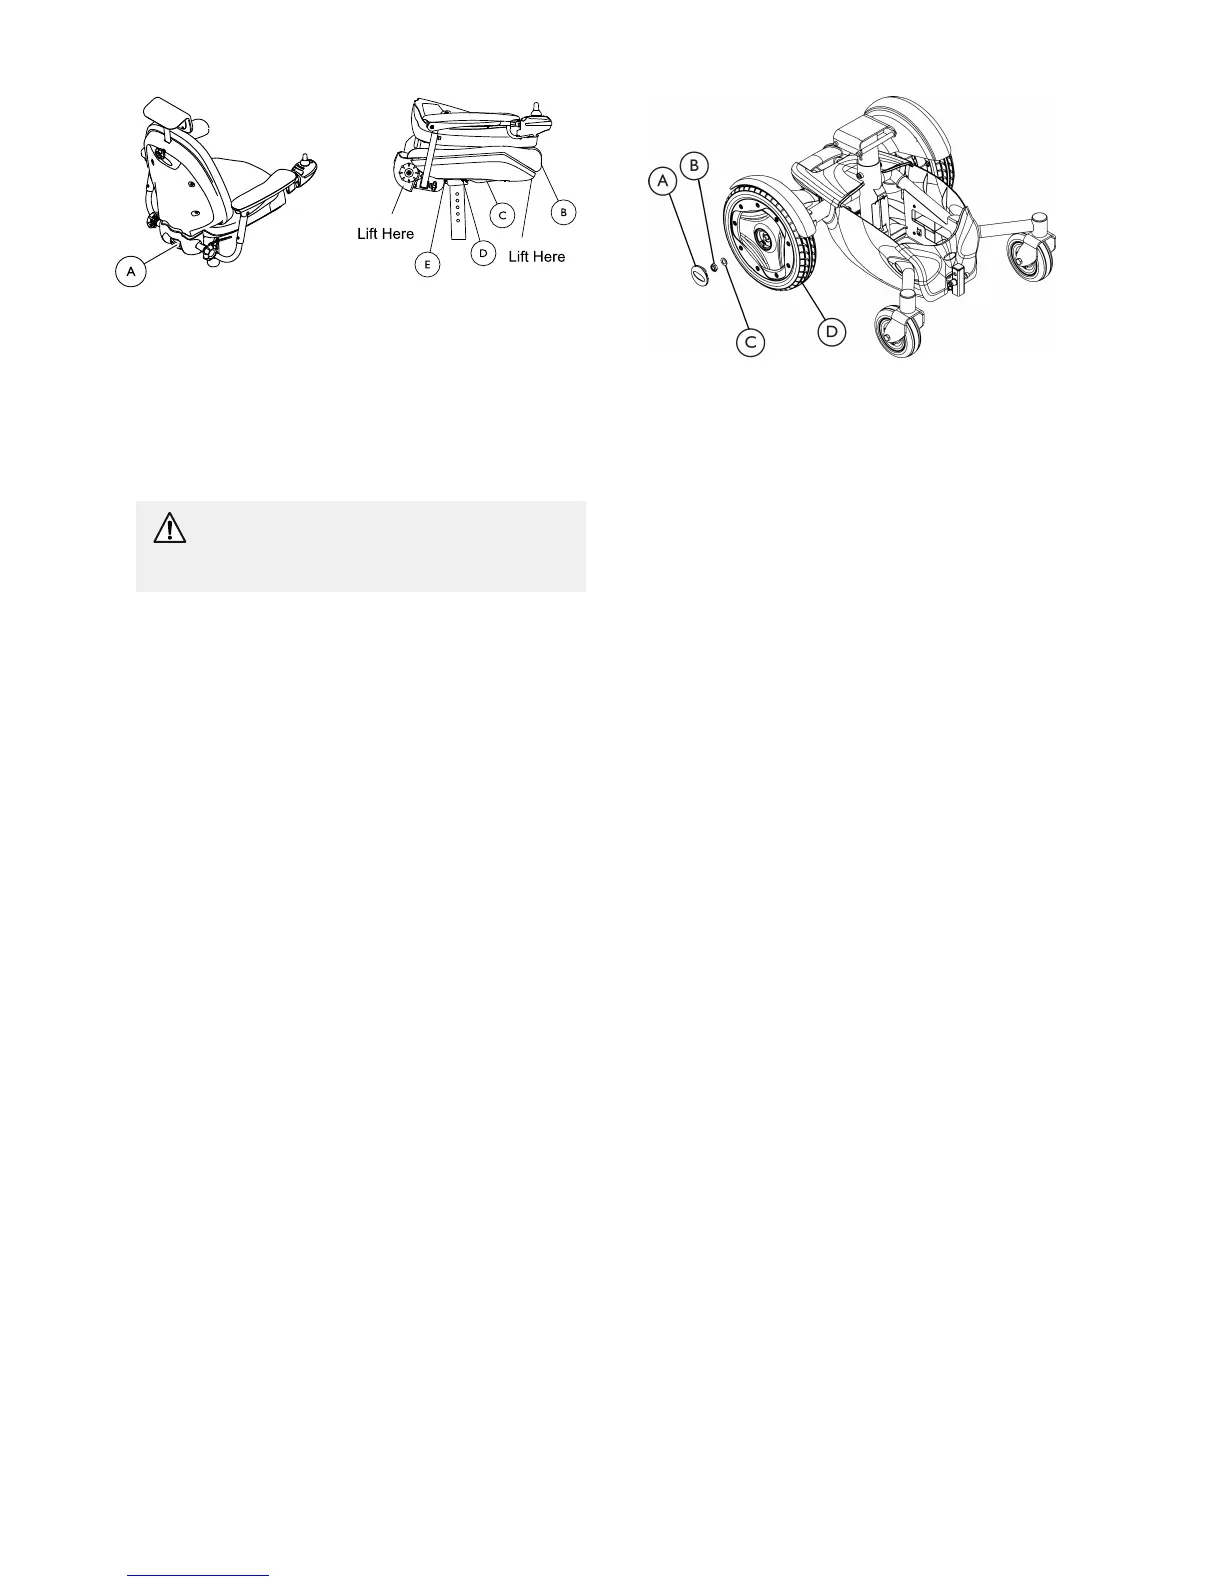
4.UseaflatscrewdrivertoprythehubcapAoffofthewheel.
5.RemovethelocknutBandwasherCthatsecuresthewheel
Dtothemotor.
6.Pullthewheeloffofthemotor.
InstallingtheDriveWheel
1.InstallthewheelDontothemotor.
2.SecurethewheeltothemotorusingthewasherCandlocknut
B.Torquethelocknutto7.3ft-lbs(10Nm±20%).
3.InstallthehubcapA,pressfirmlyintoplace.
1176147A3