Care And
Maintenance
Page 14
Safety Precautions
• Contact an authorized service technician
for repair or maintenance. Improper repair
and maintenance may cause water leakage,
electrical shock, or re, and may void your
warranty.
•
DO NOT
substitute a blown fuse with a
fusethat has a higher or lower amperage
rating,as this may damage the circuit or
cause anelectrical re.
•
Make sure the drain hose is set up according
to the instructions. Failure to do so could
cause leakage and result in personal
property damage, re and electric shock.
• Make sure that all wires are connected
properly. Failure to connect wires
according to instructions can result in
electrical shock or re.
Unit Maintenance
BEFORE CLEANING OR
MAINTENANCE
• Always turn off your air conditioning
system and disconnect its power supply
before cleaning or maintenance.
•
DO NOT
use chemicals or chemically
treated cloths to clean the unit.
•
DO NOT
use benzene, paint thinner,
polishing powder or other solvents to
clean the unit. They can cause the plastic
surface to crack or deform.
•
DO NOT
wash the unit under running
water. Doing so causes electrical danger.
•
DO NOT
use water hotter than 40°C (104°F)
to clean the front panel. This can cause the
panel to deform or become discolored.
• Clean the unit using a damp, lint-free
cloth and neutral detergent. Dry the unit
with a dry, lint-free cloth.
How To Clean The Air Filter
The lter prevents dust and other particles from
entering the indoor unit. Dust buildup can reduce
the efciency of the air conditioner. For optimum
efciency, clean the air lter every two weeks or
more frequently if you live in a dusty area. Replace
the lter with a new one if it’s heavily clogged and
cannot be cleaned.
WARNING: DO NOT REMOVE OR
CLEAN THE FILTER BY YOURSELF
Removing and cleaning the lter can be
dangerous. Removal and maintenance must
be performed by a certied technician.
NOTE: In households with animals, you will
have toperiodically wipe down the grille to
prevent animal hair blocking airow.
Care And Maintenance
4
Cleaning the dust lter located at the bottom of
the unit:
Seize the left and right at the bottom of the strainer
mesh put his hand to pull, remove the strainer mesh.
Place the strainer mesh clean, dry in the shade.
Packed strainer mesh .
Fig. 4.1
Page 15
6. Rinse the lter with clean water and allow
it to air-dry.
DO NOT
let the lter dry in
direct sunlight.
7. Reinstall the lter.
Repairing Refrigerant Leaks
WARNING
•
If the refrigerant leaks, turn off the air
conditioner and any combustible heating
devices, ventilate the room and call your
dealer immediately. Refrigerant is both
toxic and ammable.
DO NOT
use the
air conditioner until the leak is repaired.
•
When the air conditioner is installed in a
small room, measures must be taken to
prevent the refrigerant concentration
from exceeding the safety limit in the
event of refrigerant leakage.
Concentrated refrigerant causes a severe
health and safety threat.
Refrigerant Leak Detection System
• In the event of a refrigerant leak, the LCD
screen will display “EC” and the LED
indicator light will ash.
Preparation For Periods Of Non-Use
Maintenance after Extended Non-Use
1. Remove any obstacles blocking the vents of
both the indoor and outdoor units.
2. Clean the air lter and the front grille of the
indoor unit. Reinstall the clean, dry air lter in
its original position.
3. Turn on the main power switch at least 12
hours prior to operating the unit.
Storing the Unit While Not In Use
1. Run the appliance on FAN mode for 12 hours
in a warm room to dry it and prevent mold.
2. Turn off the appliance and unplug it.
3. Clean the air lter according to the
instructions in the previous section. Reinstall
the clean, dry lter before storing.
4. Remove the batteries from the remote control.
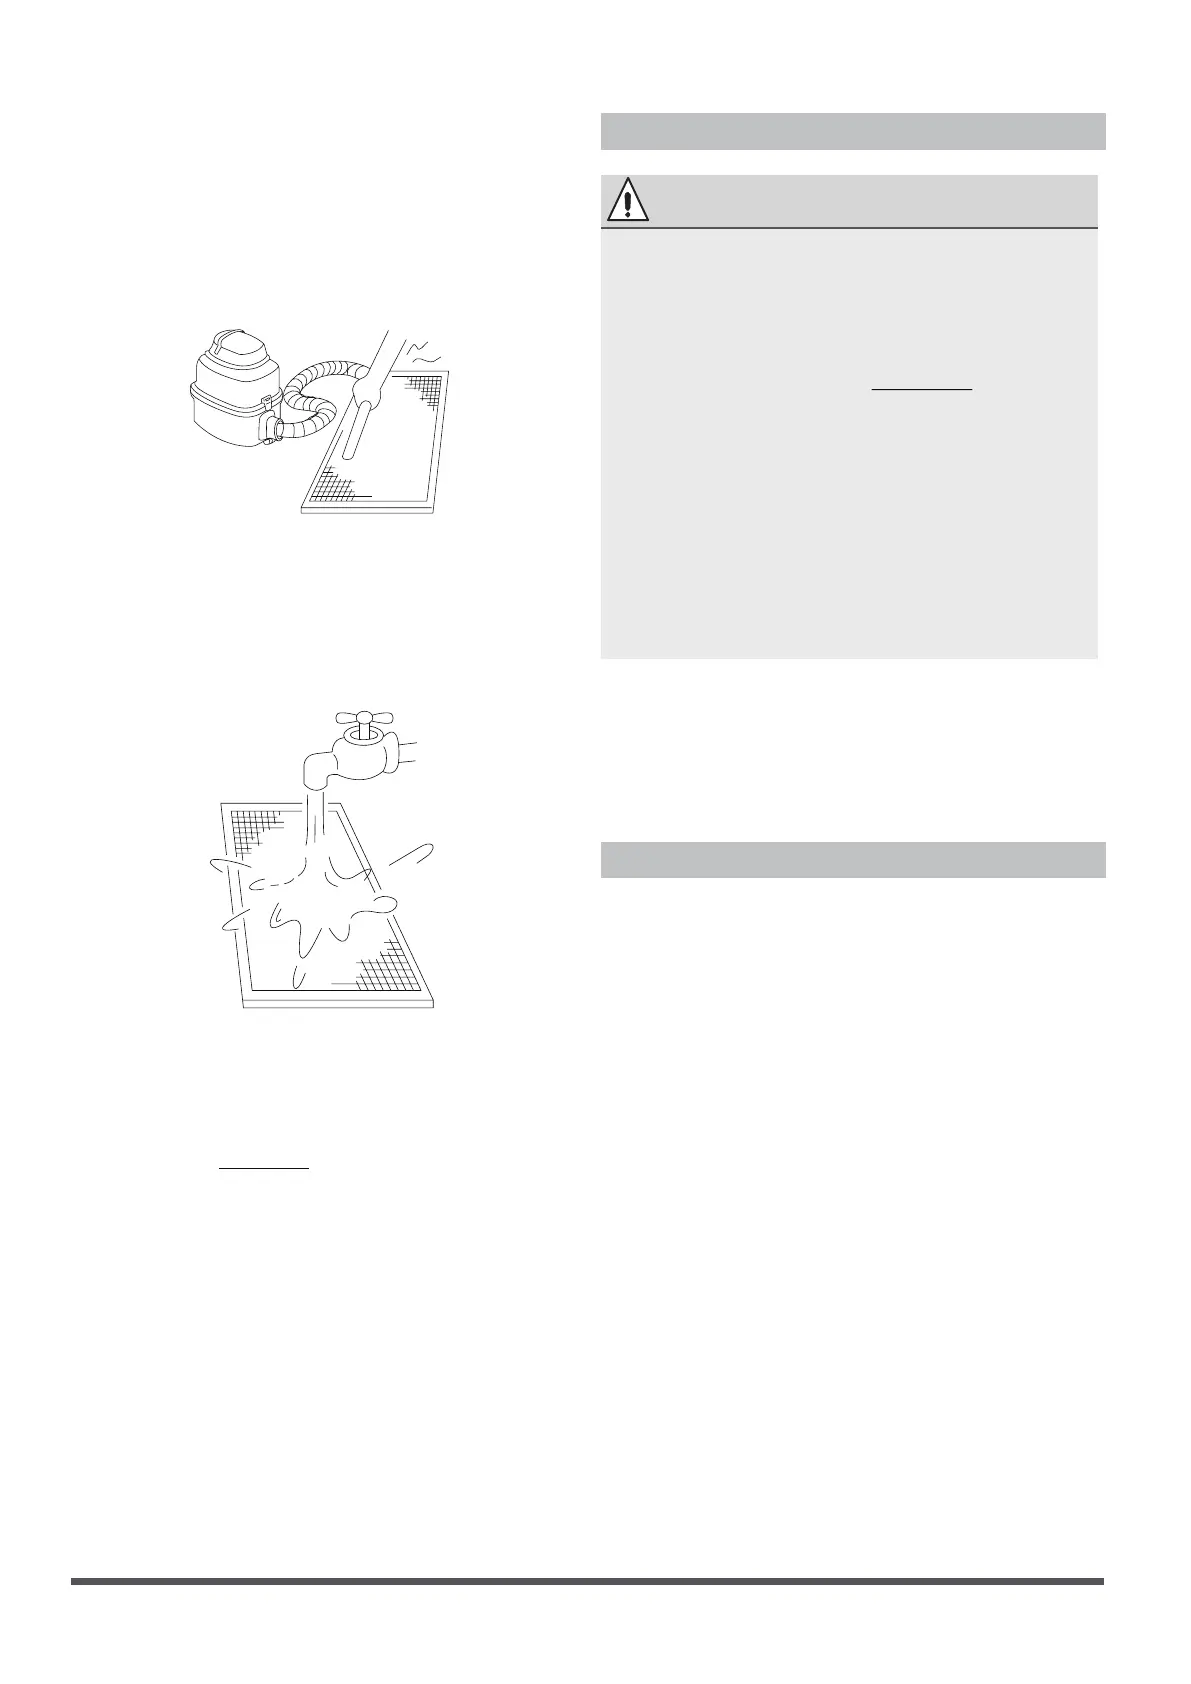
4. Remove the air lter.
5. Clean the air lter by vacuuming the surface
or washing it in warm water with mild
detergent.
A. If using a vacuum cleaner, the inlet side
should face the vacuum.
Fig. 4.2
B. If using water, the inlet side should face
down and away from the water stream.
Fig. 4.3
 Loading...