

K
karladixonAug 4, 2025
What to do if my INVENTOR Air Conditioner is not working?
- JJoshua JohnsonAug 4, 2025
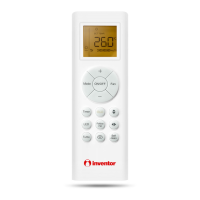
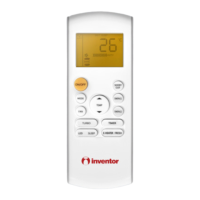
If your INVENTOR Air Conditioner isn't working, several factors could be the cause. First, check for a power failure and wait for the power to be restored. Ensure the power switch is turned on. Inspect the fuse and replace it if it's burned out. Replace the remote control batteries. Finally, the unit’s 3-minute protection may have been activated; wait three minutes after restarting the unit.