23
2. Choose the Firmware Upgrade Package (usually the most recent one), and download it
to a computer that is not part of the KVM installation.
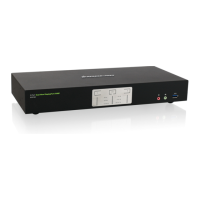
3. Disconnect the GCS1932/1934 from the KVM installation and power the switch OFF.
4. Connect one of the USB DisplayPort KVM cable set’s Type A USB connectors to a
USB Type A port on the computer that is not part of your KVM installation.
5. At the other end of the cable set, connect the USB Type B connector to the Type B
USB port in Port 1 KVM section on the GCS1932/1934.
Note: The USB DisplayPort KVM cable set’s USB Type B connector can be connected to
any USB Type KVM Port Section, but the Port Selection pushbutton in Step 6 below
must be Port 1.
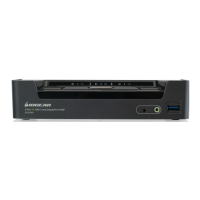
6. Press and hold Port 1 selection pushbutton.
7. While holding Port 1 selection pushbutton, connect the power adapter to the
GCS1932/1934 to enter Firmware Upgrade Mode.
8. The front panel LEDs will ash together, indicating Firmware Upgrade Mode is in eect.
Starting Firmware Upgrade
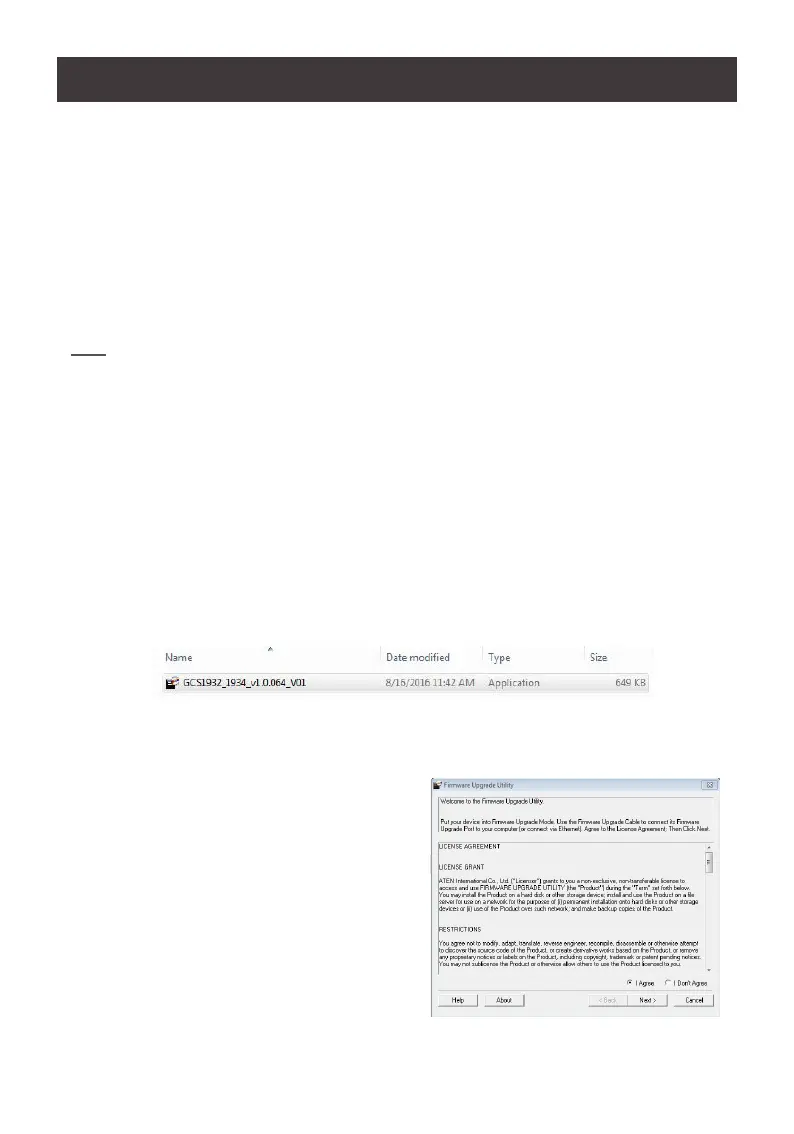
1. Run the downloaded Firmware Upgrade Package le – either by double clicking the le
icon, or using a command line to enter the full path.
2. The Firmware Upgrade Utility Welcome screen appears.