2. Install the Iomega CD-RW software.
NOTE:
Installing the Iomega CD-RW software installs the drivers needed on your computer to support the Iomega CD-RW drive. If the necessary drivers are not installed,
the Iomega CD-RW drive might not be recognized or might not work correctly.
3. Connect your Iomega CD-RW drive.
Installing Iomega
®
CD-RW Software
Installing the Iomega software installs the drivers and tools you need on your computer to support your Iomega CD-RW drive. See Selecting and Using Discs for information about
the additional software applications included on the Iomega software CD.
NOTE:
You must connect the Iomega CD-RW drive to a USB 2.0 adapter card and install the correct drivers before the CD-RW drive will run at USB 2.0 speeds. Check with the
manufacturer of your USB 2.0 adapter card to find the correct drivers for your operating system. The Iomega CD-RW USB drive will run at USB 1.1 speed when connected to a
USB 1.1 connector.
1. Start your PC and wait for Windows to finish loading.
NOTE:
If Windows is already running, close any open applications before proceeding.
2. Insert the Solutions CD (label-side up) into the CD-ROM drive.
The software setup program should start automatically. If the Iomega software setup program does not start automatically:
a. Open
My Computer
or
Windows Explorer
.
b. Double-click the CD-ROM drive letter (usually D:, E:, or F:).
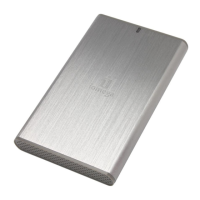
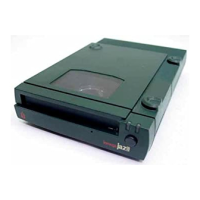
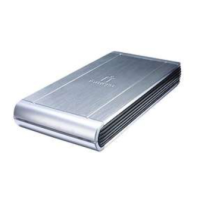
Iomega CD-RW Drive
 Loading...