17
3. Advanced Applications
The SkyGuider
TM
Pro mount is a versatile mount that can be used in many ways. Here are
some advanced applications/functions.
3.1. Autoguide
The SkyGuider
TM
Pro mount is equipped with a ST-4 compatible guiding port to enable
autoguiding while tracking. The default guiding speed is (1 ± 0.5X). You may change it from (1 ± 0.1X)
to (1 ± 0.9X) via an optional 8408 hand controller.
The guide port wiring is shown in Figure 23, which is same as that from Celestron / Starlight
Xpress / Orion Mount / Orion Autoguider/ QHY5 autoguider pinout.
Figure 23. Guide port pinout
If you have an autoguider that has a pinout similar to ST-i of SBIG, such as Meade/
Losmandy/ Takahashi/ Vixen, make sure a proper guiding cable is used with the SkyGuider
TM
Pro
mount. Refer to your guiding camera and guiding software for detailed operation.
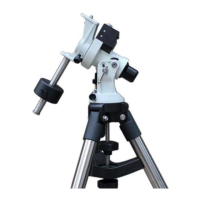
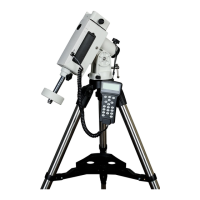
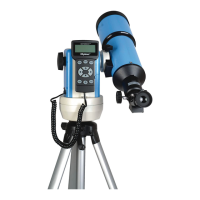
3.2. Attach a Telescope
You can also attach a light weight (<11 lbs with all accessories) to a SkyGuider
TM
Pro mount.
The mount comes with a Vixen-type dovetail saddle. Just remove the DEC Camera Mounting Block
(item 24 in Figure 7) from the DEC Mounting Bracket. Attach Vixen-type Dovetail Saddle (item 23 in
Figure 7) to the DEC Camera Mounting Block using 4 screws. RE attached the DEC Camera
Mounting Block back to the DEC Mounting Bracket. Now you and attach a telescope with Vixen-type
dovetail bar to the mount, as show in Figure 24.
Figure 24. Attach a telescope