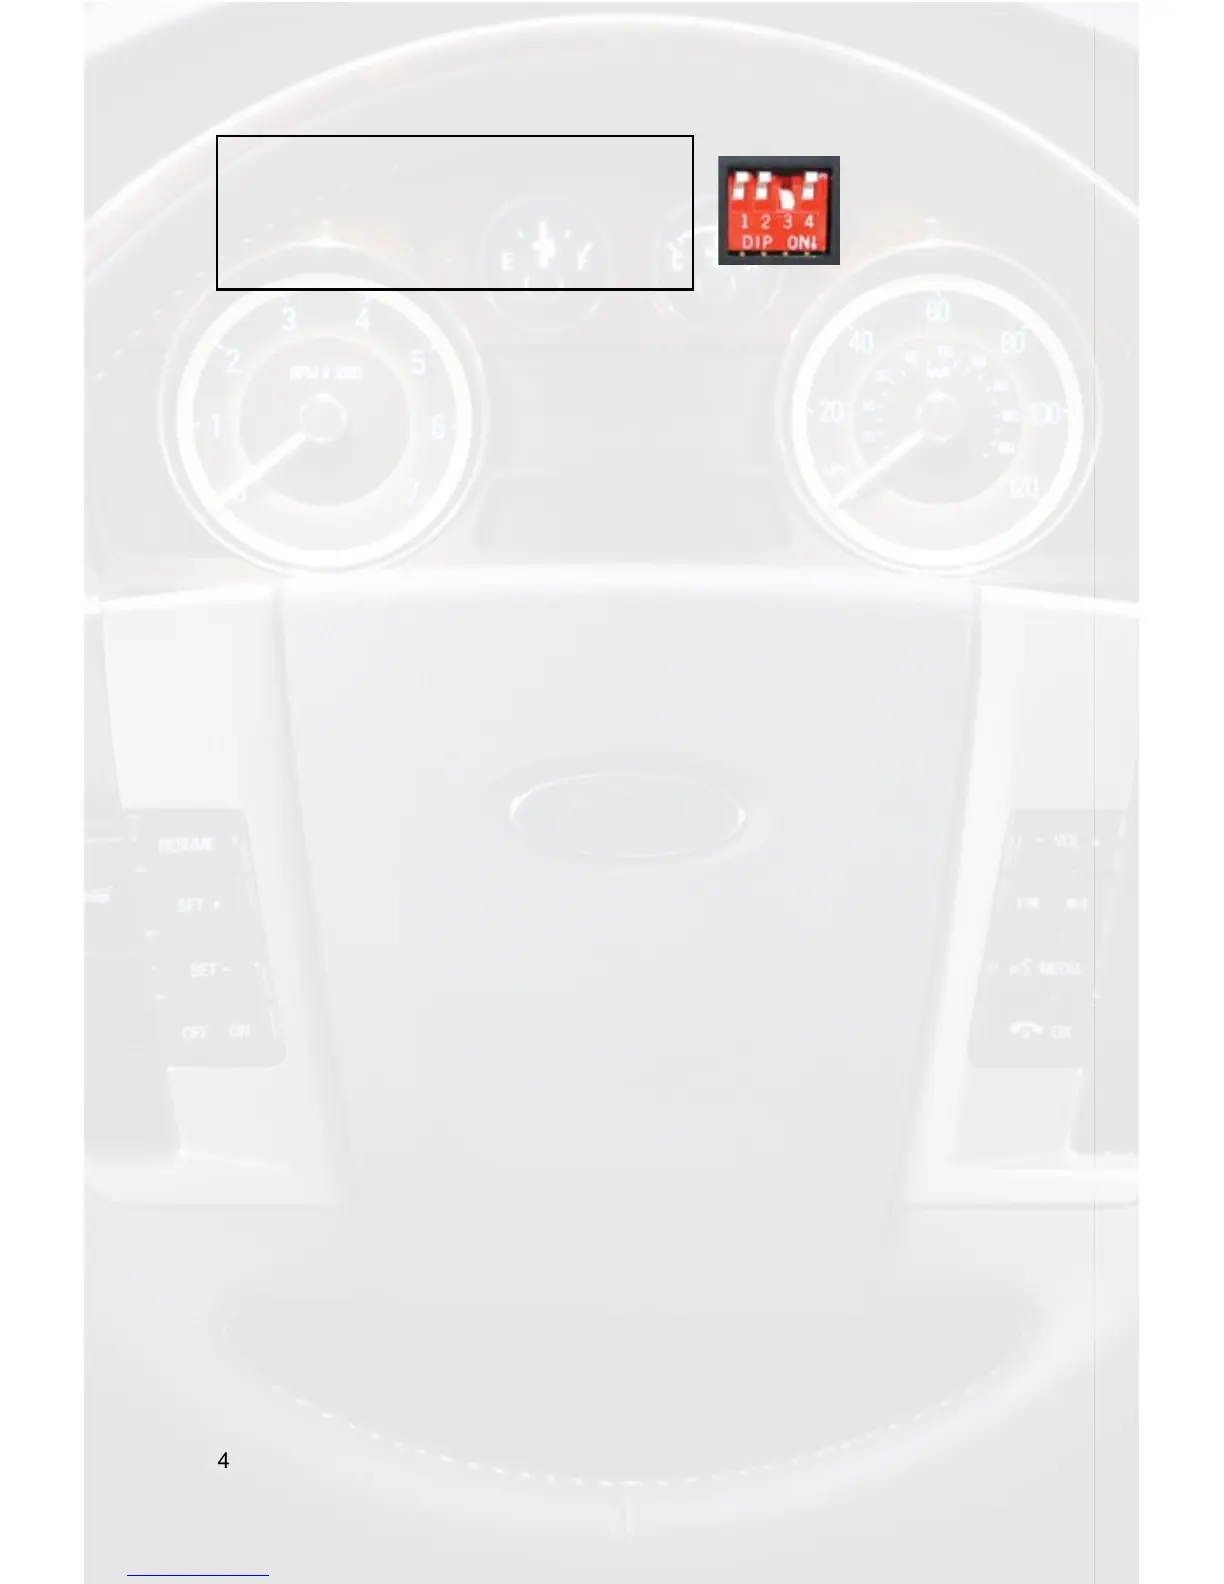
4B. When installing the Media Gateway in se-
lect 2009 Ford vehicles that are equipped with
SYNC and have an internal Satellite tuner**
dipswitch 3 needs to be ON (down) prior to
installation. This will provide connectivity for
iPod, and HD Radio.
** If there is a yellow Satellite Radio antenna plugged into the
radio then the satellite tuner is internal. If you are installing the
Media Gateway into a 2009 vehicle that has an external Satellite
tuner, please use the conguration for 2005-2008 Ford vehicles.
5. Installation
1. IMPORTANT NOTES
If you are installing the Media Gateway into any of the following vehicles the PGHFD1A
harness is also required:
2008-2009 Ford Escape Non-Navigation
2009 Ford F-150 Non Navigation
2009 Ford Flex Non-Navigation
2008-2009 Ford Focus
2008-2009 Mercury Mariner Non-Navigation
2009 Lincoln MKS Non-Navigation
2. When making electrical connections it is always recommended that the
vehicle’s battery be disconnected from the electrical system before performing
the installation
3. Carefully remove the trim panels covering the 7mm bolts that secure the radio into
the dash cavity. Remove these bolts, and carefully pull the radio from the dash of the
vehicle. This will provide access to the factory radio connectors where you will connect
the Media Gateway harness.
4. Disconnect the factory 24-Pin harness and 16-Pin harness (if present) from the
back of the radio. Disconnect the AM/FM antenna from the radio.
5. Plug the 3 foot HD Radio Cable (8-Pin mini-din to 8-Pin mini-din) cable into the
second port (closest to the dipswitches) on the Media Gateway. Connect the other
end of this cable into the HD Radio tuner. Connect the factory antenna cable into the
antenna connection on the HD Radio tuner (HDRT) Using the supplied antenna adaptor
if needed to make this connection.
6. If connecting an iPod, connect the 8-Pin mini-din iPod cable into the rst port on the
Media Gateway (furthest away from dipswitches). Carefully run the 11 foot iPod cable
behind the dash to the location where the iPod will be mounted or stored (for example
the glove box or center console). This location will vary based on the vehicle, and the
customer’s preference. When running this cable through the dash be sure to secure it
away from moving parts or sharp metal edges that may damage the cable.
 Loading...