www.123filter.com | (678) 261-7611 sales@ispringfilter.com | Rev 03/14 | p8/10
flex pipe in US. However, if yours happen to be in different size, this is usually a size of 9/16”,
please call us get an adapter from us or Home Depot.
3.3 Reinstall CWSFP on the male end of AFW. Turn the handle of AFW to cross (OFF) position. Turn
on CWSV slowly, check and fix any leaks.
3.4 *note* The fitting end of the AFW is a compression fitting. Unscrew the nut and slip it onto 1/4”
RED tubing. Insert the tubing into the AFW (the T), push in firmly and then screw and tighten the
nut with your hand. Use wrench for final turns.
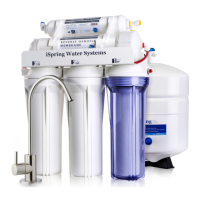
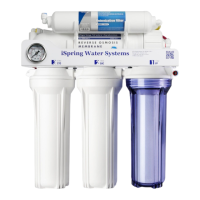
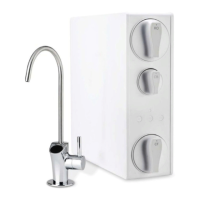
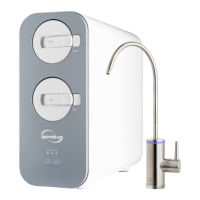
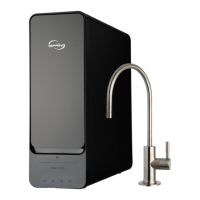
-Step 4: Install RO Drinking Faucet
4.1 If your kitchen sink does not have a
spare ½” hole, you will need to drill one.
(Refer to accessory: The Tips for
Drilling a Hole on Sink or Counter-top).
Wipe clean and dry the area.
4.2 Remove blue protection film from front
plate, slip it on faucet thread, and slip on
black rubber washer that has 3 circles.
Insert the faucet thread portion into the
hole. Optional plumber glue or sealer
could be used.
4.3 Under the sink, tighten back rubber
washer, small lock washer, and nut.
4.4 Slip the compression fitting nut and
collar on BLUE tubing, push the insert
into the tubing, insert it into faucet end,
and tighten up the nut. Pull the tubing to
check if it is secure.
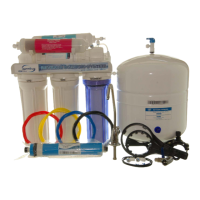
-Step 5: Install Tank Shut-off Valve
(TSV)
5.1 Wrap six turns of Teflon tape clockwise onto the valve thread at the top of the tank.
5.2 Screw Tank Shut-off Valve on and tighten up by hand. Do not over tighten.
5.3 Install the YELLOW tubing onto Quick-Fitting of TSV.
-Step 6: Install Drain Saddle
6.1 Choose a spot on drain pipe that is convenient for installing drain saddle and tubing. Horizontal
pipe is recommended to limit sound of drainage water running out from system.
6.2 Drill a 1 /4” hole on drain pipe; paste the black sticky pad around the hole.
6.3 Cut the BLACK tubing end a bit to
make a 45 degree angle. Slip the plastic
nut and front plate on the tubing, insert
the tubing into the 1 / 4” hole on drain
pipe, install the back plate and tighten
two screws with hex nuts while tubing
remains in the hole.
6.4 Tighten the nut on Drain Saddle by hand.
Pull the tubing to check if it is secure.
 Loading...