Do you have a question about the Jack A7 and is the answer not in the manual?
Details the technical specifications of the sewing machine controller.
Illustrates the layout and function of the controller's connection ports.
Guidelines for proper electrical wiring and grounding for safe operation.
Explains the LCD display and status indicators of the operation panel.
Details the functions of various operational keys on the sewing machine panel.
Covers additional functions like parameter adjustment and settings.
Interface for setting and switching between piece and stitch counts.
Procedure for calibrating the step motor to its zero position.
Guide for adjusting stitch length compensation parameters for different tracks.
Explains how the system slows down when fabric thickness changes.
Procedure for setting thin material thickness identification.
Procedure for setting thick material thickness identification.
Table linking parameter items to their significance and explanation for thickness detection.
Instructions on how to enter, adjust, and save system parameters.
A comprehensive list of system parameters with their ranges, defaults, and descriptions.
Details various monitor items and their descriptions for system diagnostics.
Lists warning codes, their descriptions, and corrective actions.
Provides a guide to troubleshooting specific error codes and their solutions.
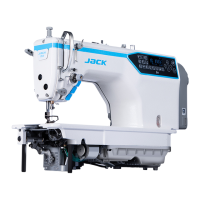
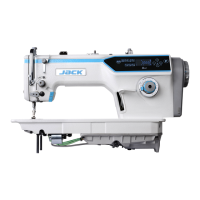
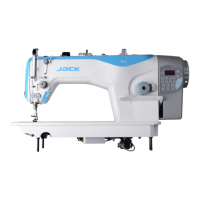
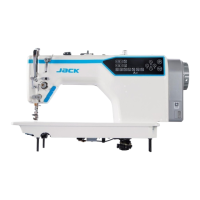
The A7 Operation Manual describes a controller for industrial machinery, likely a sewing machine or similar textile equipment, given the frequent mention of stitches, needles, and fabric. The manual emphasizes safe and proper operation, installation, and maintenance.
The A7 controller is designed to manage various aspects of machine operation, including stitch length, reinforcing stitches (front and rear), needle stop position, presser foot function, sewing trajectories, power-on voice messages, free sewing, thread trimming, lock sewing, pattern sewing, W bar tacking, multi-section constant-stitch sewing, presser foot control, thickness monitoring, parameter adjustment, and error detection.
The controller allows for precise adjustment of stitch length, with increments of 0.1mm using "+" and "-" keys. It supports different reinforcing sewing modes (Front Reinforcing Sewing, Front Double-reinforcing Sewing, Rear Reinforcing Sewing, Rear Double-reinforcing Sewing) with adjustable stitch counts from 1 to 15. The needle stop position can be toggled between upper and lower stops, and the presser foot function can be turned on or off.
Several sewing trajectories are available:
The controller includes a power-on voice message system that can be enabled or disabled. It supports free sewing and thread trimming, with a dedicated icon on the LCD screen indicating when trimming is enabled. Lock sewing allows for tight stitching, and pattern sewing can be switched between mode and editing. Special functions like W bar tacking and multi-section constant-stitch sewing are also supported.
Thickness monitoring is a key feature, allowing the machine to slow down and adjust needle distance when fabric thickness changes. This function includes settings for thin and thick material thickness identification, with parameters like "A terrier number of threads," "A terrier speed," "Compensation value of over-stalk needle distance," "Thickness detection sensitivity," and "A terrier trajectory."
The operation panel features an LCD module that displays the current sewing mode, parameters, start/end back tacking, presser foot status, needle position, and soft start sewing. Navigation and adjustment are done via "+" and "-" keys for increment/decrement, and left/right keys for selection.
The manual also lists numerous other parameters (P01-P111) covering various aspects of machine operation, including speeds for different sewing modes, stitch compensation, presser foot settings, clamping angles, and oil level detection. Monitor mode (M01-M49) provides feedback on spindle speed, AD values, busbar voltage, encoder values, IO port values, motor angles, software versions, and error history.
| Brand | Jack |
|---|---|
| Model | A7 |
| Category | Sewing Machine |
| Language | English |