Do you have a question about the Jack k4 Series and is the answer not in the manual?
Details machine type, speed, stitch, and needle specifications.
Provides information on machine volume and weight.
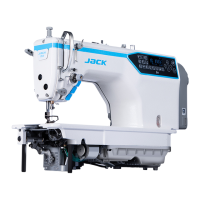
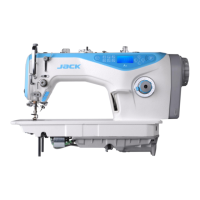
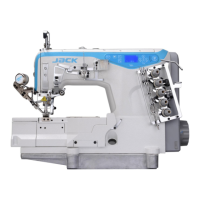
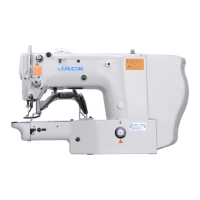
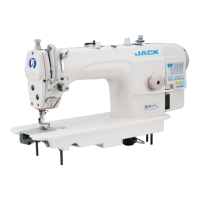
Identifies and labels the various parts of the sewing machine.
Outlines the required table size and the installation steps.
Instructions for properly installing the machine's chain.
Initial oil filling process for the machine from the factory.
Specific instructions for oiling the needle bar mechanism.
Step-by-step guide for installing sewing machine needles.
Instructions on how to thread the sewing machine correctly.
Procedure for adjusting the stitch length.
How to adjust the differential feed settings for fabric.
Guide for adjusting the pressure of the presser foot.
Steps for adjusting thread tension for optimal stitching.
Procedures for inspecting and replacing the oil filter.
Adjusting the cooler wire guide for thread take-up.
Adjusting the position of the needle thread operator.
Adjusting the spreader thread take-up mechanism.
Adjusting the looper thread cam and its guide.
Adjusting the base thread guides of the CAM.
Procedure for adjusting the needle height.
How to adjust the looper mechanism.
Adjusting the distance between the looper and needle.
Adjusting the rear guard needle's position.
Relationship between swing timing bar and thread loop size.
Procedure for adjusting the height of the feed teeth.
Setting the correct installation position for the spreader.
Adjusting looper movement through needles and clearances.
How to adjust the height of the presser foot.
Adjusting the left and right positions of the lower cutter.
Adjusting the lower cutter's forward and backward positions.
Ensuring correct relative positioning of lower blade components.
Adjusting the clip and pressure sheet for proper function.
Adjusting the engagement amount between fixed and movable knives.
Adjusting the clamping force of the upper thread trimmer's spring.
Adjusting the height and angle of the upper cutter assembly.
Adjusting the vertical position of the wiper.
Adjusting the forward and backward position of the wiper.
Adjusting the lateral position of the wiper.
Adjusting the clearance between the safety switch and solenoid valve.
| Brand | Jack |
|---|---|
| Model | k4 Series |
| Category | Sewing Machine |
| Language | English |