31
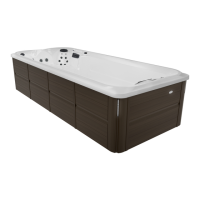
Preparation & Filling
Fill the swim spa to its correct operating level. Be sure to open all valves and jets in the
plumbing system before lling to allow as much air as possible to escape from the plumb-
ing and the control system during the lling process.
After turning the power on at the main power panel, the top side panel will display a splash
screen or start-up screen.
Priming Mode
After the initial start-up sequence, the control will enter Priming Mode and display a Prim-
ing Mode screen. Only pump icons appear on the priming mode screen. During the priming
mode, the heater is disabled to allow the priming process to be completed without the pos-
sibility of energizing the heater under low-ow or no-ow conditions. Nothing comes on
automatically, but the pump(s) can be energized by selecting the “Jet” buttons. If the swim
spa has a Circ Pump, it can be turned on and o by pressing the Circ” button during Priming
Mode.
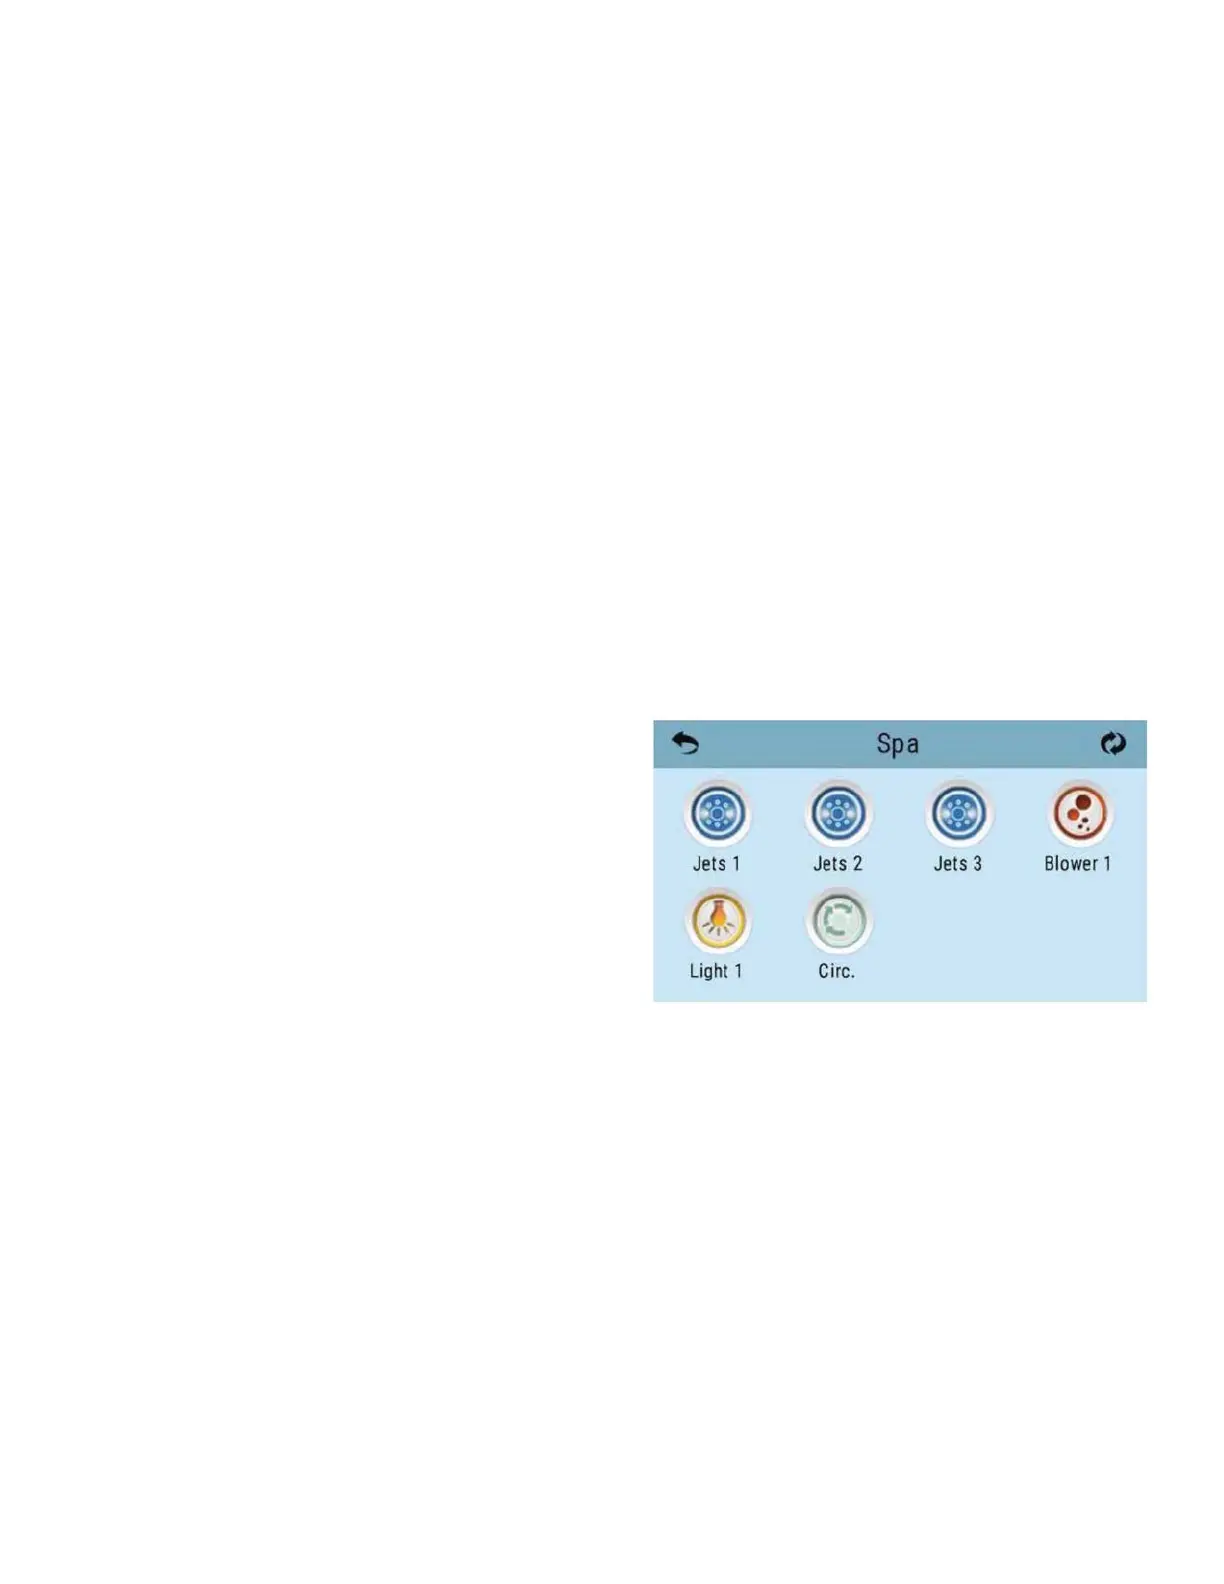
Priming the Pumps
As soon as the Priming Mode screen appears on
the panel, select the “Jets 1’ button once to start
Pump 1 in low-speed and then again to switch
to high-speed. Also, select the other pumps, to
turn them on. The pumps should be running in
high speed to facilitate priming. If the pumps
have not primed after 2 minutes, and water is
not owing from the jets in the swim spa, do not allow the pumps to continue to run. Turn
o the pumps and repeat the process. Note: Turning the power o and back on again will
initiate a new pump priming session. Sometimes momentarily turning the pump o and on
will help it to prime. Do not do this more than 5 times. If the pump(s) will not prime, shut o
the power to the swim spa and call for service.
Important: A pump should not be allowed to run without priming for more than 2 min-
utes. Under NO circumstances should a pump be allowed to run without priming beyond
the end of the 4-5 minute priming mode. Doing so may cause damage to the pump and
cause the system to energize the heater and go into an overheat condition.
 Loading...