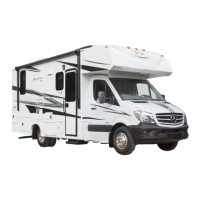
1. The auxiliary battery (customer supplied) must be fully charged and connected. If
possible, the RV should be hooked up to 120-volt AC power so the converter
operates.
2. The RV must be level and the stabilizer jacks in the extended position.
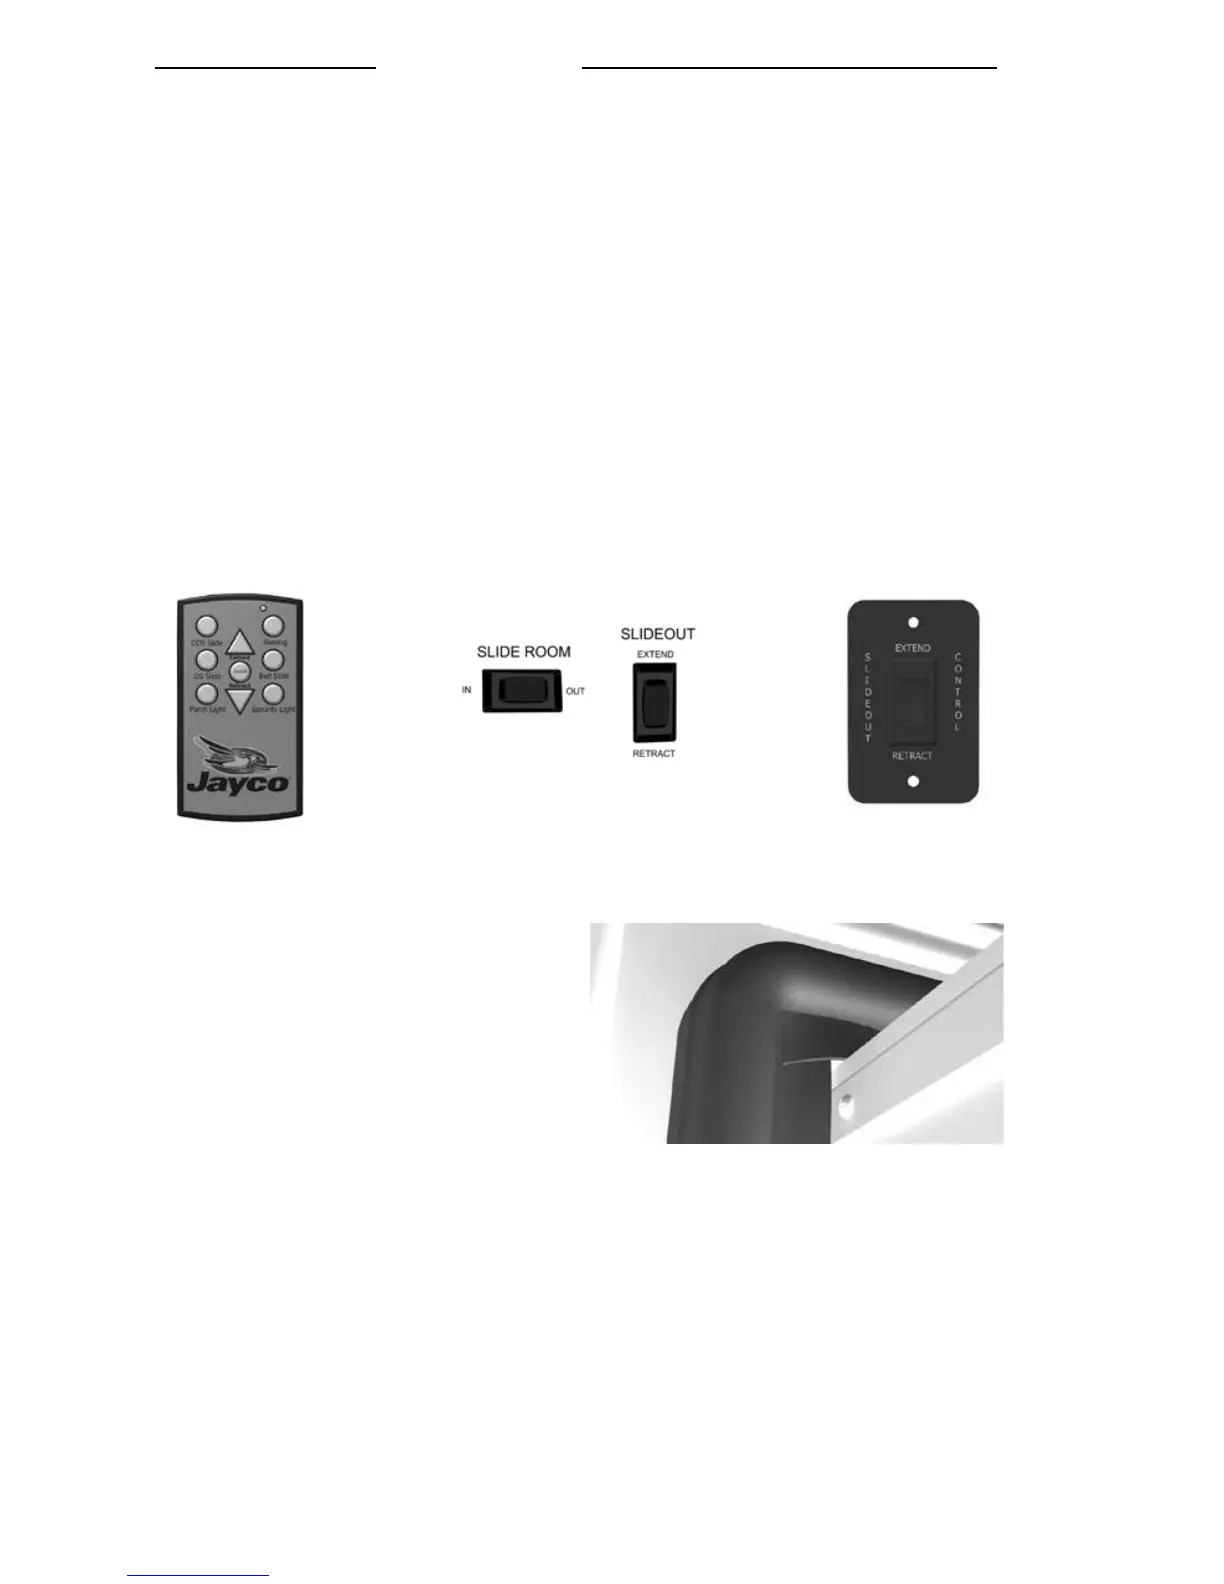
3. Most slideout switches are located on the Command Center Panel inside the RV or on
the wall. To move the room out, press the OUT section of the switch and hold it until
the motor stops (travel time is approx. 25 seconds). Operating the switch after the
room is fully extended will damage the switch and motor. Some models may be
equipped with a wireless remote control to operate the slideout. To operate the
slideout using the remote, press the on/off button to power on the remote. Select the
slideout you want to operate by pressing the corresponding button. Next, press and
hold the (extend/retract) arrow button to move the room in or out. When you are
finished moving the slideout,, press the on/off button once more to power off the
remote. DO NOT try and time the end of the stroke by releasing the button early.
ALWAYS allow the controller to stop both motors before releasing the switch button.
NOTE: Do not operate the switch after the room is fully extended as damage can
occur to the motor and/or switch.
4. After the slideout is extended, verify
that the corners of the black rubber
seal are set up correctly. The corners
of this seal are cut at a 45° angle. The
top of the seal must overlap the side of
the seal to avoid the possibility of
water penetration.
5. Retracting slideout room
Press the IN section of the slideout control switch and hold it until the motor
stops. Operating the switch after the room is fully retracted will damage the
switch and motor.