17
SETTING UP YOUR FOLDING CAMPING TRAILER
WARNING: Never leave your folding camping trailer plugged in to the 120
volt AC outlet while it is folded down. This would make the converter continue
to run which can cause overheating and present a fire hazard.
CAUTION: Do not attempt to operate lifter system if the stabilizer jacks are in the
down position.
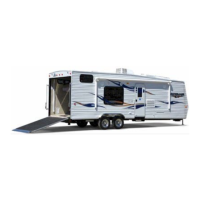
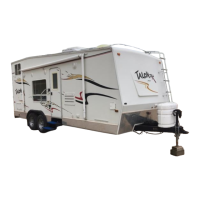
Opening Your Camper
After parking your Jayco folding camping trailer, disconnect the camping trailer from the
tow vehicle. The trailer should be on level ground and the tires blocked so it will not roll
away. DO NOT USE THE STABILIZER JACKS TO LEVEL THE CAMPING TRAILER.
THEY ARE INTENDED TO STABILIZE THE UNIT AND WILL NOT SUPPORT ITS
WEIGHT. If your camping trailer is not level, you may experience difficulty with its set
up, particularly with the fit of the entrance door.
IMPORTANT:
We recommend that well in advance of any trip, you set up your folding camping
trailer and using a garden hose, thoroughly soak the tent with a light spray of water.
After the tent dries, repeat the soaking process three additional times. This process
seasons the canvas and seams. DO NOT spray directly on the canvas with a high
pressure hose. If you do not follow this procedure, you may experience some water
seepage during the first few exposures to rain. Let tent dry thoroughly before storing
to prevent mildew and odors. If you note any water seepage or leaks after seasoning
your tent, let the tent dry, then spray Scotch Guard Fabric Protector® on the
INSIDE of the seams where seepage occurs. One or two applications of Scotch
Guard may be necessary to stop all water seepage in seams where thread enters the
fabric. NOTE: Touching the tent canvas when it is wet can cause leakage. If leakage
persists, please contact your dealer for assistance.
1. Unfasten four corner latch (Fig. 3-2). The roof is designed to be a floating roof.
Contraction may occur when taking a unit into a warm environment. This is a normal
occurance and the roof will return to its original shape when the interior and exterior
temperatures of the unit equalize.
CAUTION: Never attempt to crank the roof until all four corner latches are unlocked
and free (Fig. 3-1). NEVER LIFT ROOF WITH CARGO IN PLACE.
2. Open door at crank compartment (Fig. 3-3).
3. Insert the crank into the square tube and turn in a clockwise direction to raise.
4. Continue cranking until the limit cable is almost tight. The gray limit cable is located
directly above the crank position (Fig. 3-4).
5. Lower stabilizer jacks by placing provided jack crank onto jack shaft and turn clockwise
to lower. Lower jack until frame begins to rise slightly. Equalize Stabilizer jacks for best
support. You may need to adjust the stabilizer jacks two or three times.