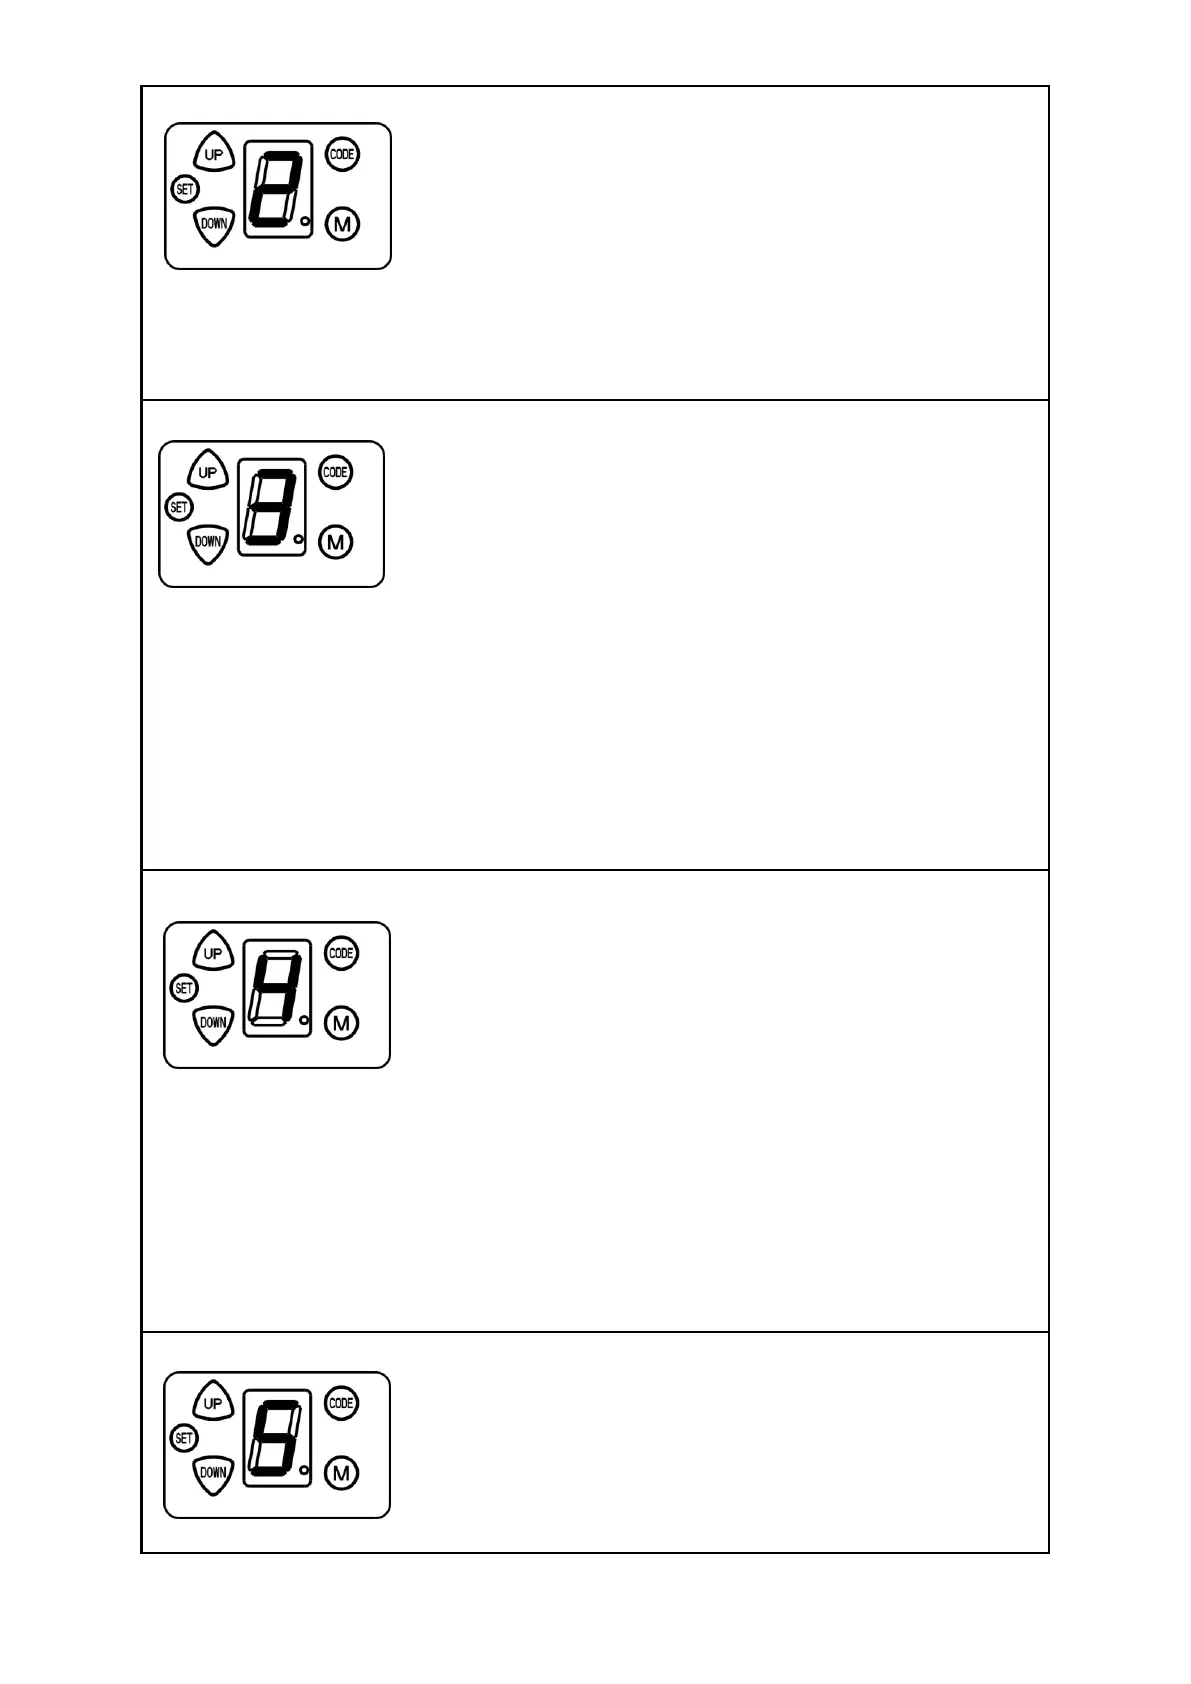
13.3 Safety reverse force adjustment
Press and hold on “SET” button for 3 seconds until the LED flashes “1”.
Press “UP” or “DOWN” button until LED flashes “2”, then press “SET”
button. The unit is now in force adjustment mode. The LED displays the
current set force.
Press “UP” button to increase the force and “DOWN” button to
decrease the force. The maximum force is 9 and the minimum is 1. Press “SET” button to confirm,
then the opener returns to standby mode.
The default setting of safety reverse force is 3.
13.4 IR Beam setting
Press and hold on “SET” button for 3 seconds until the LED flashes “1”.
Press “UP” or “DOWN” button until the LED flashes “3”, press “SET”
button. It’s now under IR Beam setting mode. The LED displays the
current setting.
Press “UP” button, the LED displays “1”, the IR Beam Function is
available. Press “DOWN” button, the LED displays “0” to cancel this function. Press “SET” button to
confirm. The opener returns to standby mode.
The default setting of IR Beam is “0”.
Notice:
•Disable the IR Beam function if no IR Beam sensors are installed.
•We urge you to consider fitting IR Beams to your new garage door opener. In many countries these
devices are compulsory to assist in preventing serious injury or property damage.
13.5 Auto-close setting
Press and hold on “SET” button for 3 seconds until the LED flashes “1”.
Press “UP” or “DOWN” to increase or decrease, adjust the LED to
flash ”4”, then press “SET” button to enter into auto-close setting, the
LED displays the current setting.
Press “UP” or “DOWN” button to adjust the auto-close time. Press “UP”
button once, the auto-close time will increase 1 minute, the maximum
time is 9 minutes. Press “DOWN” button once, the auto-close time decreases by 1 minute. The
auto-close function will be turned off when the LED displays “0”. Press “SET” button to confirm, the
opener will return to standby mode.
The auto-close function is only available when the door is fully open and the IR Beam function is on.
The default setting is “0”.
13.6 Installation direction setting
Press and hold on “SET” button for 3 seconds until the LED flashes “1”.
Press “UP” or “DOWN” to increase or decrease, adjust the LED to
flash ”5”, then press “SET” button.
The display will show “R” or “ L”, hold down the “UP” or “Down” button
to change. Press the “SET” button, the LED will display the current
setting.