4
ENGLISH
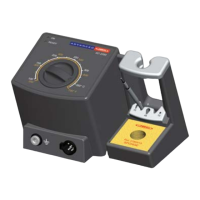
The amount of cream used for each soldering
operation should be just sufficient to cover the
trace of the component pin. Any excess cream
may extend over the circuit on melting and
cause short-circuits.
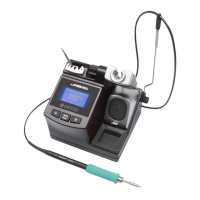
5) Move the nozzle tip to about 15-20 mm
from the component terminal and direct
the hot air flow against it. Wait for a few
seconds until the cream flux liquefies.
During this time the terminal will be
preheated to about 100°C. Move the tip
closer to 8-10 mm and hold it just until the
tin alloy melts. Immediately remove the
heater. If the solder area is overheated, it
oxidizes making soldering difficult and
there is a risk of damaging the component
or the printed circuit copper adhesive.
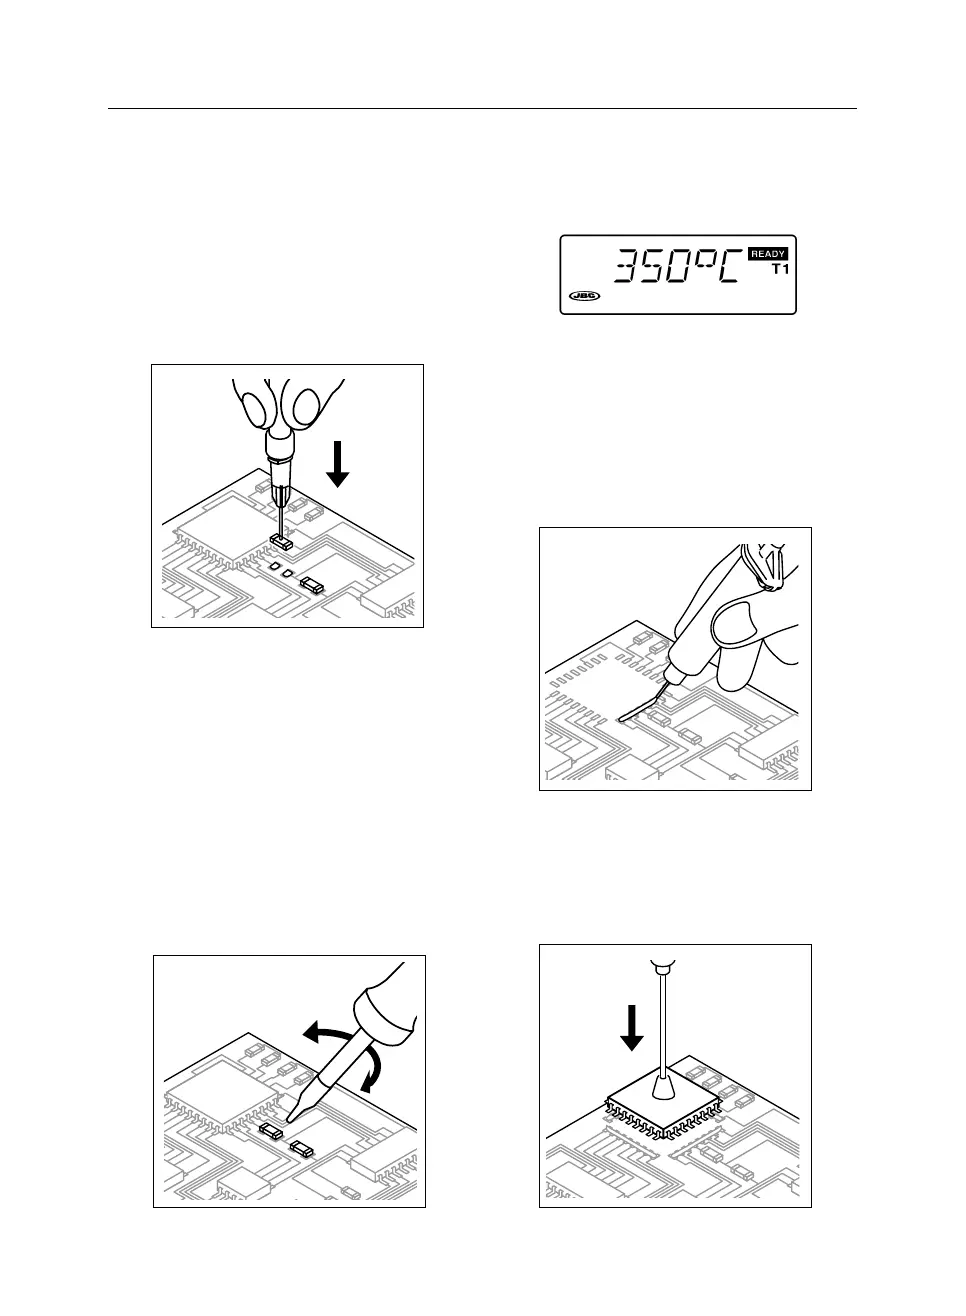
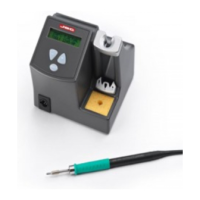
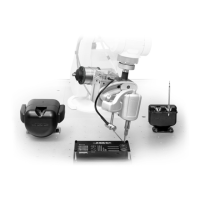
4) Take the component with a JBC PK 6060 or
DP 6070 Pick & Place or otherwise with fine
pincers, place it in position on the circuit and
hold it in place.
Process for printed circuits in PLCC, QFP, SO
encapsulations:
1) Temperature of about 350°C, air flowrate 1-7.
2) Apply soldering cream (*) for SMD on the
circuit pads, forming a bead transverse to
the direction of the tracks. In this operation,
it is vital not to apply too much cream, since
any excess may lead to solder cross-
connections being formed between the
component’s pins.
3) Take the component with the PK 6060 or DP
6070 Pick & Place, place it in position on the
circuit and hold it in place.