Do you have a question about the JBL BassPro Micro and is the answer not in the manual?
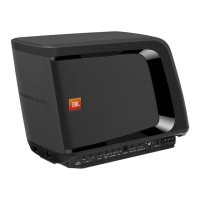
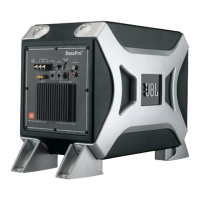
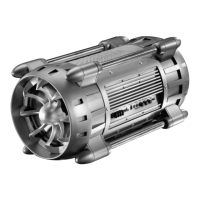
Steps to attach the BassPro Micro unit to its quick-release amplifier base.
Key safety warnings and general guidance for vehicle installation.
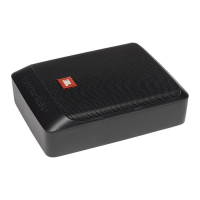
Guidance on selecting an appropriate location for mounting the BassPro Micro.
Connects the 10-gauge power wire to the vehicle's positive battery terminal.
Connects the 10-gauge ground wire to the vehicle's chassis for grounding.
Covers remote turn-on switch, audio link, and various input types (RCA, speaker).
Setting the input level switch to 'LO', 'Hi1', or 'Hi2' based on output.
Steps to adjust gain, crossover, and bass boost for optimal sound.
Guía para seleccionar una ubicación adecuada para el montaje del BassPro Micro.
Precauciones importantes y pasos generales para la instalación del dispositivo.
Conecta el cable de alimentación de 10 AWG al terminal positivo de la batería.
Conecta el cable de tierra de 10 AWG al chasis del vehículo para la conexión a tierra.
Seçim için uygun bir montaj yeri seçme kılavuzu.
Önemli güvenlik uyarıları ve genel kurulum adımları.
10 AWG güç kablosunu aracın pozitif akü terminaline bağlar.
10 AWG toprak kablosunu topraklama için aracın şasisine bağlar.
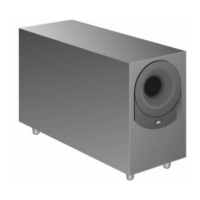
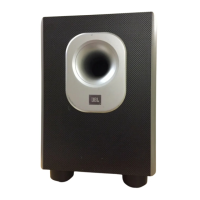
| Product type | Subwoofer driver |
|---|---|
| Enclosure type | Enclosed |
| Subwoofer type | Active subwoofer |
| Number of drivers | 1 |
| Subwoofer driver diameter | 200 mm |
| Subwoofer frequency range | 35 - 120 Hz |
| Subwoofer crossover frequencies | 50 - 120 Hz |
| Subwoofer driver diameter (imperial) | 8 \ |
| Product color | Black |
| Interface | RCA |
| Quick start guide | Yes |
| Depth | 411 mm |
|---|---|
| Width | 177 mm |
| Height | 275 mm |