36
Removal and Replacement Procedures
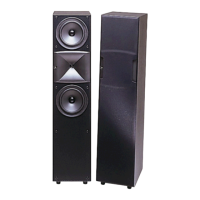
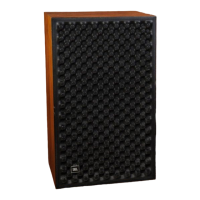
Both the HLA model 4895 and 4897 speaker systems are fitted with protective perforated steel grille.
Part number - 128-00183-11 [ grille for HLA model 4895 3-way system ]
Part number - 128-00193-02 [ grille for HLA model 4897 VLF system ]
These units serve both a cosmetic and a protective function. They are backed with acoustical foam material and
are not intended for frequent removal and replacement. In the event that replacement is required the following
procedures should be used.
Materials and T
ools Required
(1) phillips screwdriver
(1) mini-screwdriver blade or rod to use in aligning screw holes prior to screw insertion
(1) small amount of slow-setting adhesive compound, if desired
(1) replacement grille, part number as above
Removal & Replacement, HLA 4895 3-Way System Grille
Step 1. With the system in an upright position, remove attachment screws from the top edge of the grille with
screwdriver.
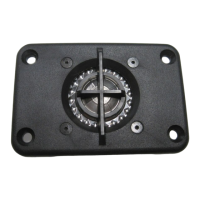
Step 2. Lay the system on its back. Remove the rest of the screws. Carefully lift the grille from the system. Take
care not to lose the 4 (four) round black rubber spacers located between the grille and the attachment rail.
Step 3. Pre-position the four rubber spacers in their original positions on the attachment rail. A small drop of
slow-setting adhesive can help in maintaining the position of these spacers, but is not necessary.
Step 4. Set the new grille in place on the attachment rail, taking care not to bend it while handling.
Step 5. Gently position the grille, and snugly tuck the edges into place.
Step 6. Start at the top end of the grille and insert the first row of screws. Then carefully position the edges of the
grille, and insert the bottom edge corner screws. Do not over-tighten screws or the edges of the grille may be
deformed.
Step 7. Insert the rest of the screws and tighten loosely. Use a mini-screwdriver blade or thin rod to position the
hole in the grille over the hole in the rail. Be careful to not damage the weatherizing foam material behind the
grille with the screwdriver.
Step 8. Check all screws for moderate tightness and visually inspect grille for straightness.