· 5 ·
2. Place the spring between the inferior su-
pporting arms (6) and turn the inferior lock
nut clockwise:
The supporting arms will progressively clo-
se until the spring gets rmly xed. Do not
screw more than necessary and do not put
too much pressure on the spring.
4. Once you get the spring (9) xed, turn the main key clockwise. The spring will progressively
compress, lowering the pressure exercised to the shock absorber cover. You will know the
pressure is released when you can easily unscrew the nut of the shock absorber cover. CAU-
TION! Do not unscrew the nut if the pressure has been not released.
5. Once you get the nut has been unscrewed, remove the cover and then the absorber protector
(5) (in case there is).
6. Turn the main key anti-clockwise. When the claws separate from the spring, you can remove it.
7. To place the spring again or substitute it, follow the same steps backwards.
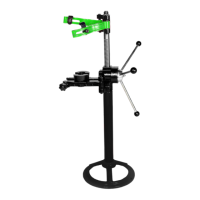
NOTE: Springs of cars such as Audi or Santana tend to
lean once assembled due to its own weight. To get a ver-
tical position, use the cushion blocks supplied into the
holes of the supporting arms:
CAUTION
1. Before each use, make all the components are in
good condition.
2. To prevent the product of wearing away, you must lu-
bricate the mobile components of the tool periodically.
3. It is important to keep a suitable position while working
and do not lean or get too close to the machine.
Working with the rest of springs, it is not necessary to use cushion blocks, always when there is
enough space to hold them with the supporting arms below the shaft.
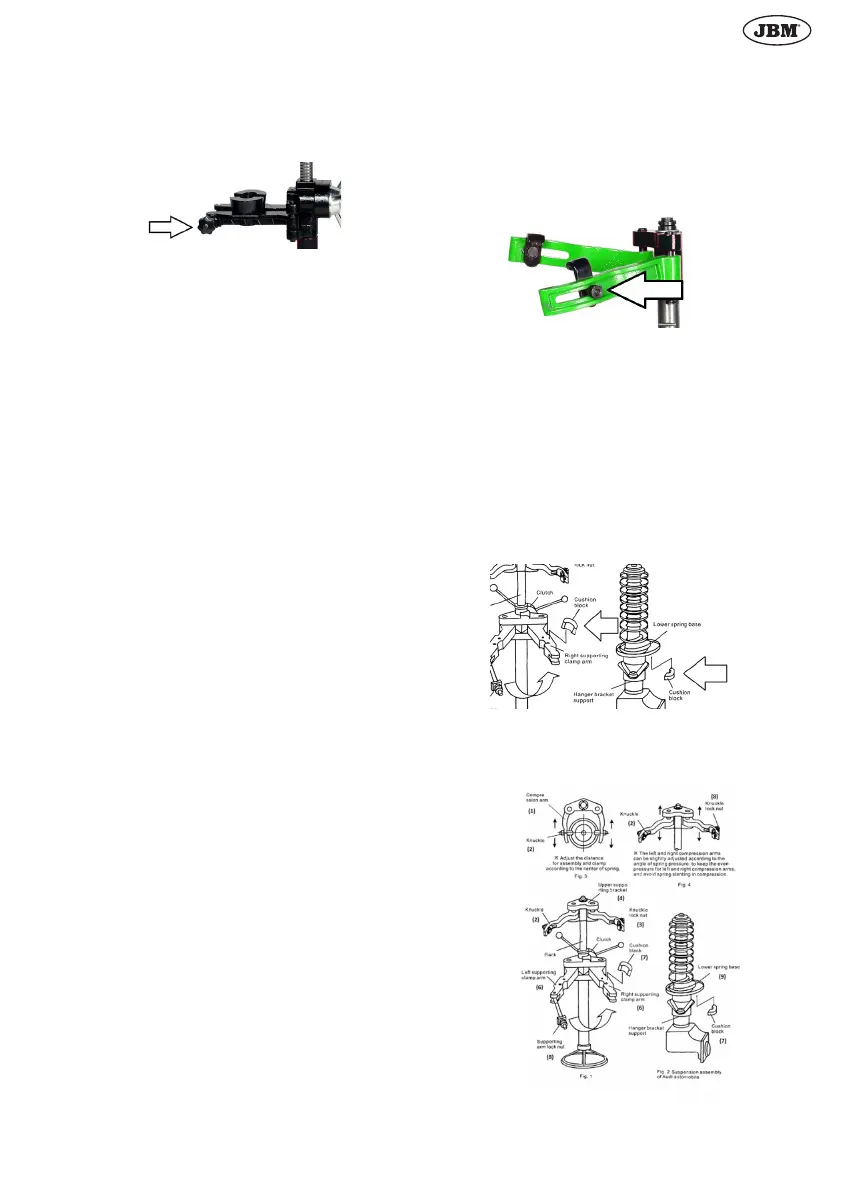
3. Once the spring is properly xed by the
holding inferior supporting arms, place
the superior ones around the spring.
Adjust them by screwing the locking key
of both claws (2), so that they get rmly
xed into the spring:
Never apply more pressure than neces-
sary.