REF. 54299
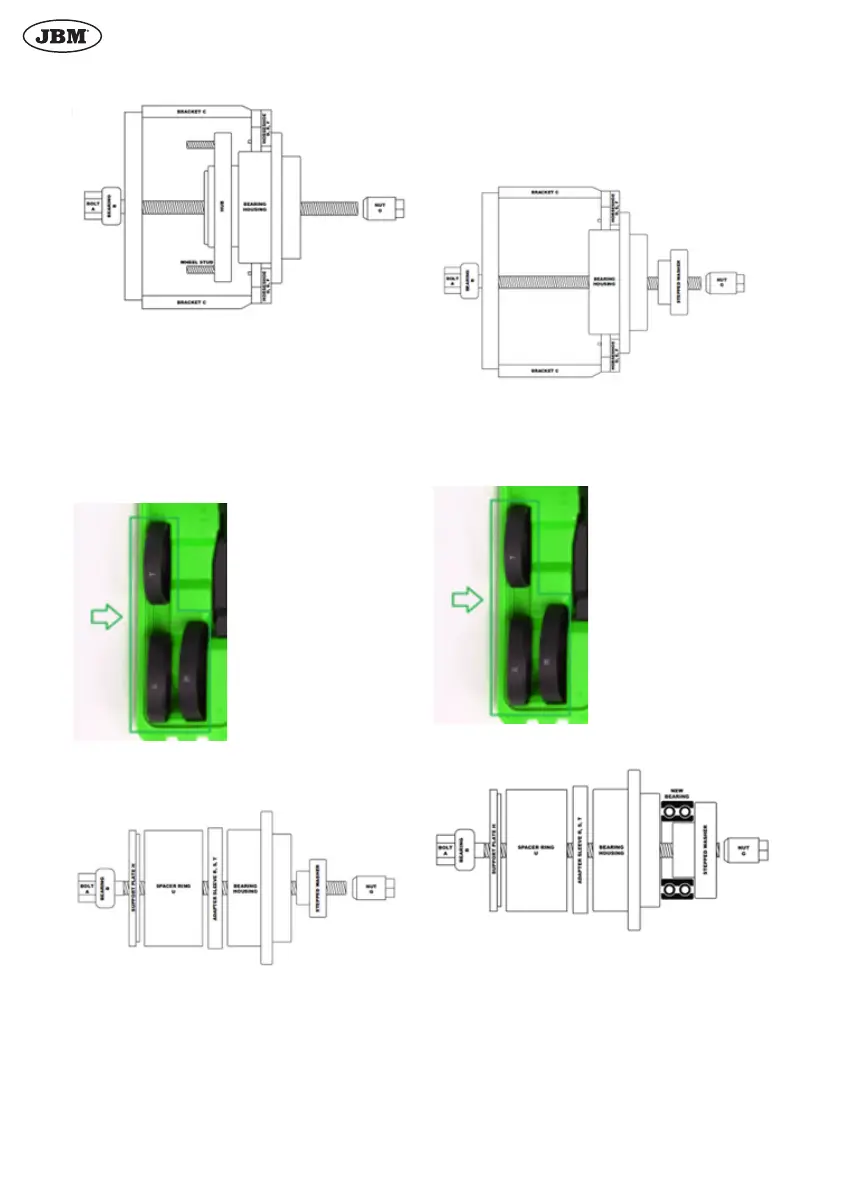
Screw the pressure adapter to the bracket.
Assemble as shown in the drawing:
Atornille el adaptador presión al soporte.
Monte tal como se muestra en el dibujo:
Tighten the bolt (A) while holding the nut (G).
Keep tightening until you extract the wheel hub.
ATTENTION! Do not use impact tools. You could damage the
wheel hub.
Note: Always lubricate the pressure screw and nut.
Bearing removal
NOTE: Some bearings will have a snap ring retainer and this
will have to be removed prior to removing the bearing.
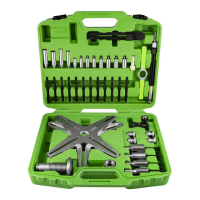
Select the adapter sleeve that best ts your bearing housing
and will allow the bearing to pass through.
Select the smallest pressure plate that will not pass through
the bearing.
Assemble components as shown in the drawing.
Hold the Nut (G) while turning the pressure screw (A).
Continue turning to extract the bearing.
NOTE: On some vehicles the inner bearing race will come out
with the hub. If it happens, please remember to remove it from
the hub before installing the hub again.
An alternative method to extract the bearing is to use the
bracket assembly to push against the spindle bearing hou-
sing. To use this method, please assembly as shown below:
Inner wheel bearing installation
Select the largest pressure plate that best ts your bearing
and does not exceed its outer diameter.
Select the adapter sleeve that best ts your spindle bearing
housing.
Assemble the components as shown in the drawing.
Hold the nut (G) while turning the pressure screw (A).
The pressure plate will push the bearing inside the bearing
housing.
6