For cleaning or replacing following steps should be
done:
Close process shut-off valve (option)1.
Switch off the power supply and wait for cooling2.
down of the probe.
Remove the weather protection housing.3.
T
urn away the handle (pos. 21) for pulling out the4.
filter element. Swing the pivoting lever sideways and
pull out the support tube with the filter element.
Loosen tighten piston (pos. 6) from the support5.
tube (pos. 9). Pull out filter element and gaskets.
Replace filter element (pos. 8) and/or gaskets (pos.6.
7). Clean groove on tighting piston of filter retainer
(pos. 10) and remove O-rings (pos. 11 and 12) with
a non-metallic tool (wood or plastic wedge).
Apply a thin wetting of PTFE paste on O-rings and7.
pull them on.
Remount gaskets (pos. 7) and filter element (pos.8.
8).
Screw on the filter element-screw (pos. 6).9.
Clean the sealing surfaces in sample probe.10.
Mount all other parts in vice versa sequence.11.
NOTE
Any smell at the first time heat up is normal and is no
reason for a warranty claim.
New filter elements and sealings may influence the mea-
surement results. It is recommended to purge the gas
sampling probe diligently in heated condition.
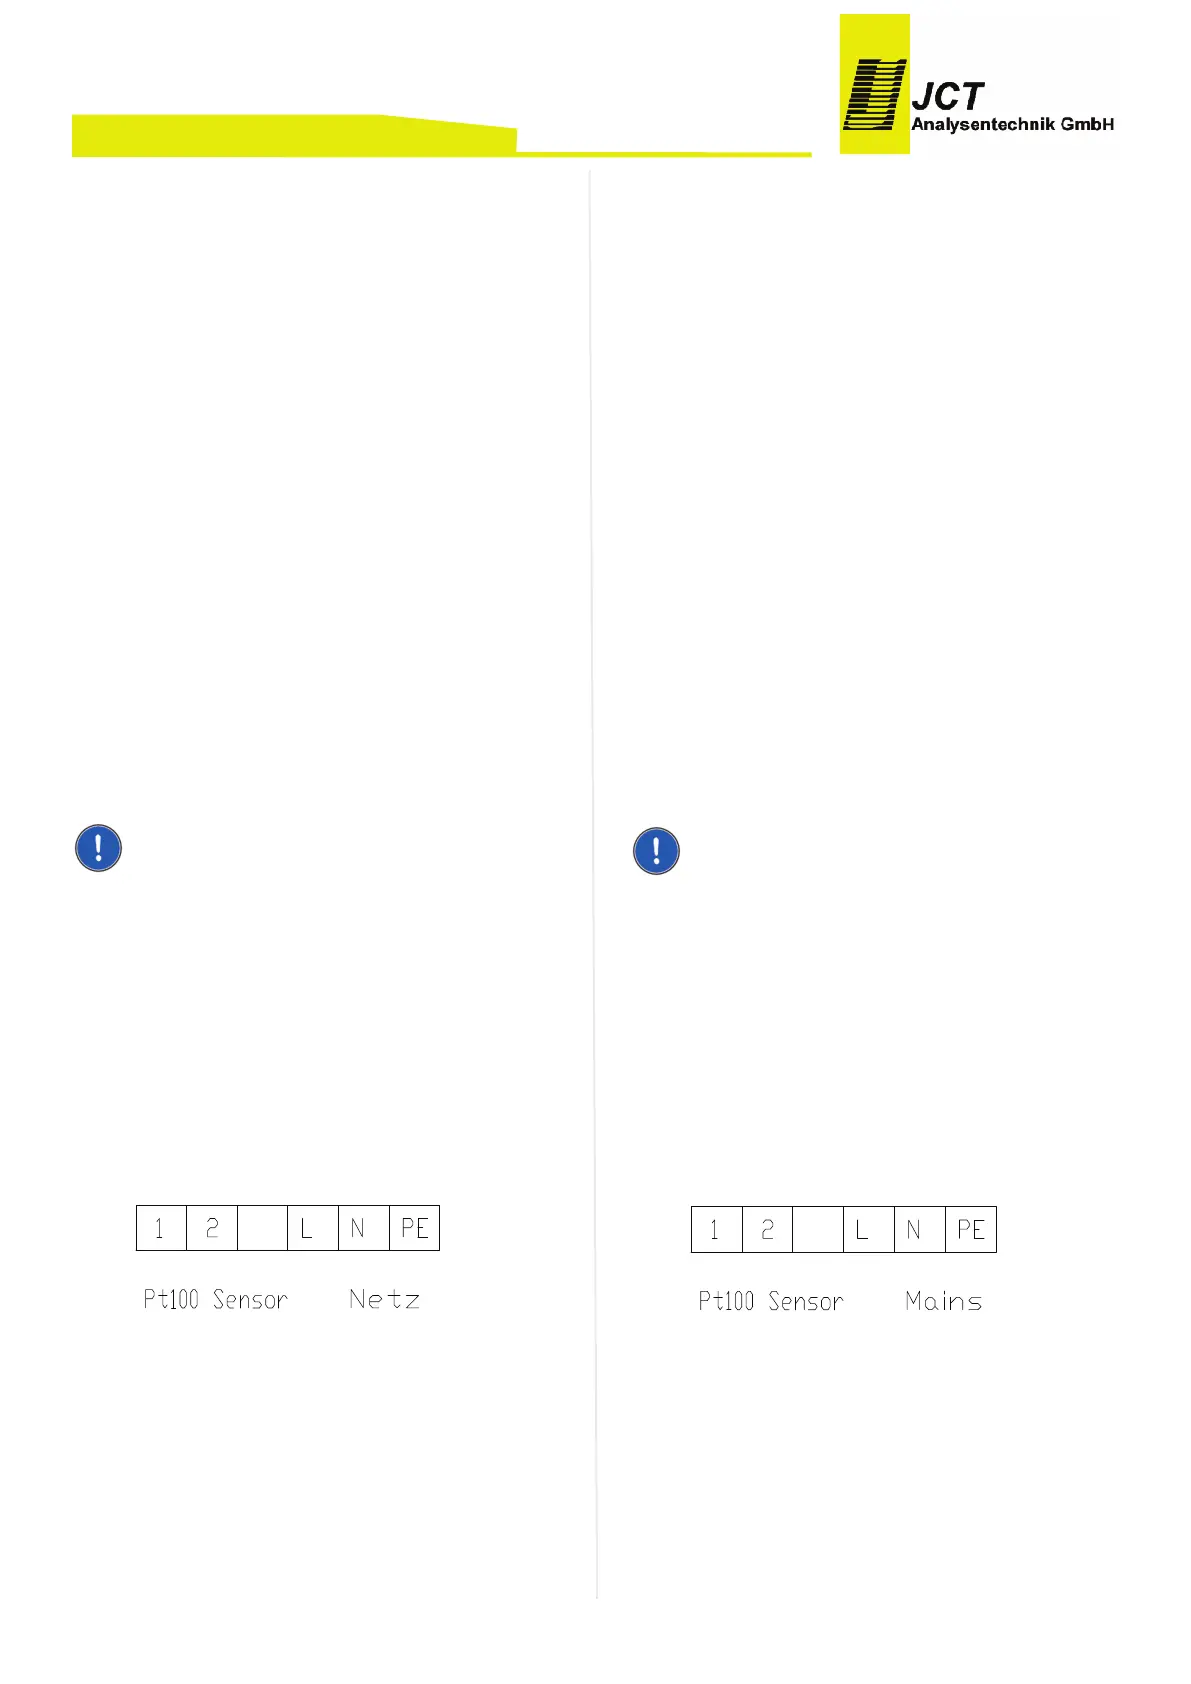
Connection of a junction box8.
If no temperature controller is connected directly, all con-
nections and contacts are available in a junction box.
Electrical connection (junction box)8.1.
Connection of spring type terminal8.2.
Open spring with a suitable tool (2,5 x 0,4 mm).•
Insert cable.•
Release spring.•
M
anual JES-301/JES-301V
F
ür den Ersatz der Filterelemente sind folgende Schritte
vorzunehmen:
Prozessabsperrventil (Option) schließen.1.
E
lektrische Zuleitung abschalten und warten bis die2.
Sonde abgekühlt ist.
Wetterschutzhaube abnehmen.3.
Durch Drehen des Griffs (Pos. 21) das Filterelement4.
herausziehen. Schwenkarm zur Seite klappen und
Filterkolben herausziehen.
Filterelementverschraubung (Pos. 6) vom Träger-5.
element (Pos. 9) lösen. Filterelement und Flach-
dichtungen herausnehmen.
Filter (Pos. 8) und/oder Flachdichtungen (Pos. 7) er-6.
setzen. Nut am Dichtkolben des Filterhalter Träger-
elements (Pos. 10) reinigen und die zwei O-Ringe
mit einem nicht metallischen Werkzeug (Holz- oder
Kunststoffkeil) entfernen (Pos. 11 und 12).
Neue O-Ringe dünn mit PTFE-Paste benetzen und7.
aufziehen.
Flachdichtungen (Pos. 7) und Filter (Pos. 8) montie-8.
ren.
Filterelementverschraubung festziehen (Pos. 6).9.
Dichtungsflächen in der Sonde reinigen.10.
Anschließend erfolgt Montage in umgekehrter Rei-11.
henfolge.
HINWEIS
Neue Filterelemente und Dichtungen können in den ers-
ten Stunden die Messergebnisse beeinflussen. Es wird
empfohlen, die Gasentnahmesonde in aufgeheiztem Zu-
stand ausreichend zu spülen.
Anschluss einer Klemmenbox8.
Wenn nicht direkt ein Temperaturregler angeschlossen
wird, stehen alle Anschlüsse und Kontakte in einer Klem-
menbox zur Verfügung.
Elektrischer Anschluss (Klemmenbox)8.1.
Anschluss von Federzugklemmen8.2.
Feder mit geeignetem Betätigungswerkzeug (2,5 x•
0,4 mm) öffnen.
Leiter einführen.•
Feder entlasten.•
BA_DE_JES301_v2.1 ––––––––––––––– [ 19 / 34 ] –––––––––––––––––
 Loading...