I
nstallation, unpacking4.
Check instrument for any damage caused by shipping.
If any damage is established, contact the carrier and dis-
t
ributor immediately.
Check instrument and any other parts against order.
Installation instructions5.
Disconnect mains before working on electrical part•
of equipment.
The equipment has to be connected and grounded•
according to the local rules and regulations.
In order to guarantee safe operation the electronic•
is equipped with interlocking under temperature mo-
nitoring. For reset disconnect and connect power
again.
It is highly recommended to use the volt free status•
contact. Only this assures a reliable operation of the
probe.
It is essentially necessary to keep the electronics•
away from radiant heating (thermal insulation). The
ambient temperature must not exceed 60°C.
The flange temperature must not exceed 200°C. Ot-•
herwise a change of construction is necessery, eg.
use of a thermal spacer.
The probe mounting has to be done always with a•
minimum inclination of 5° towards the sampling pipe.
This is necessary to prevent a possible flow back
from condensate into the probe.
Mounting5.1.
Mount probe with gasket on the process flange.•
Take care for correct mounting angel according tech-•
nical specification.
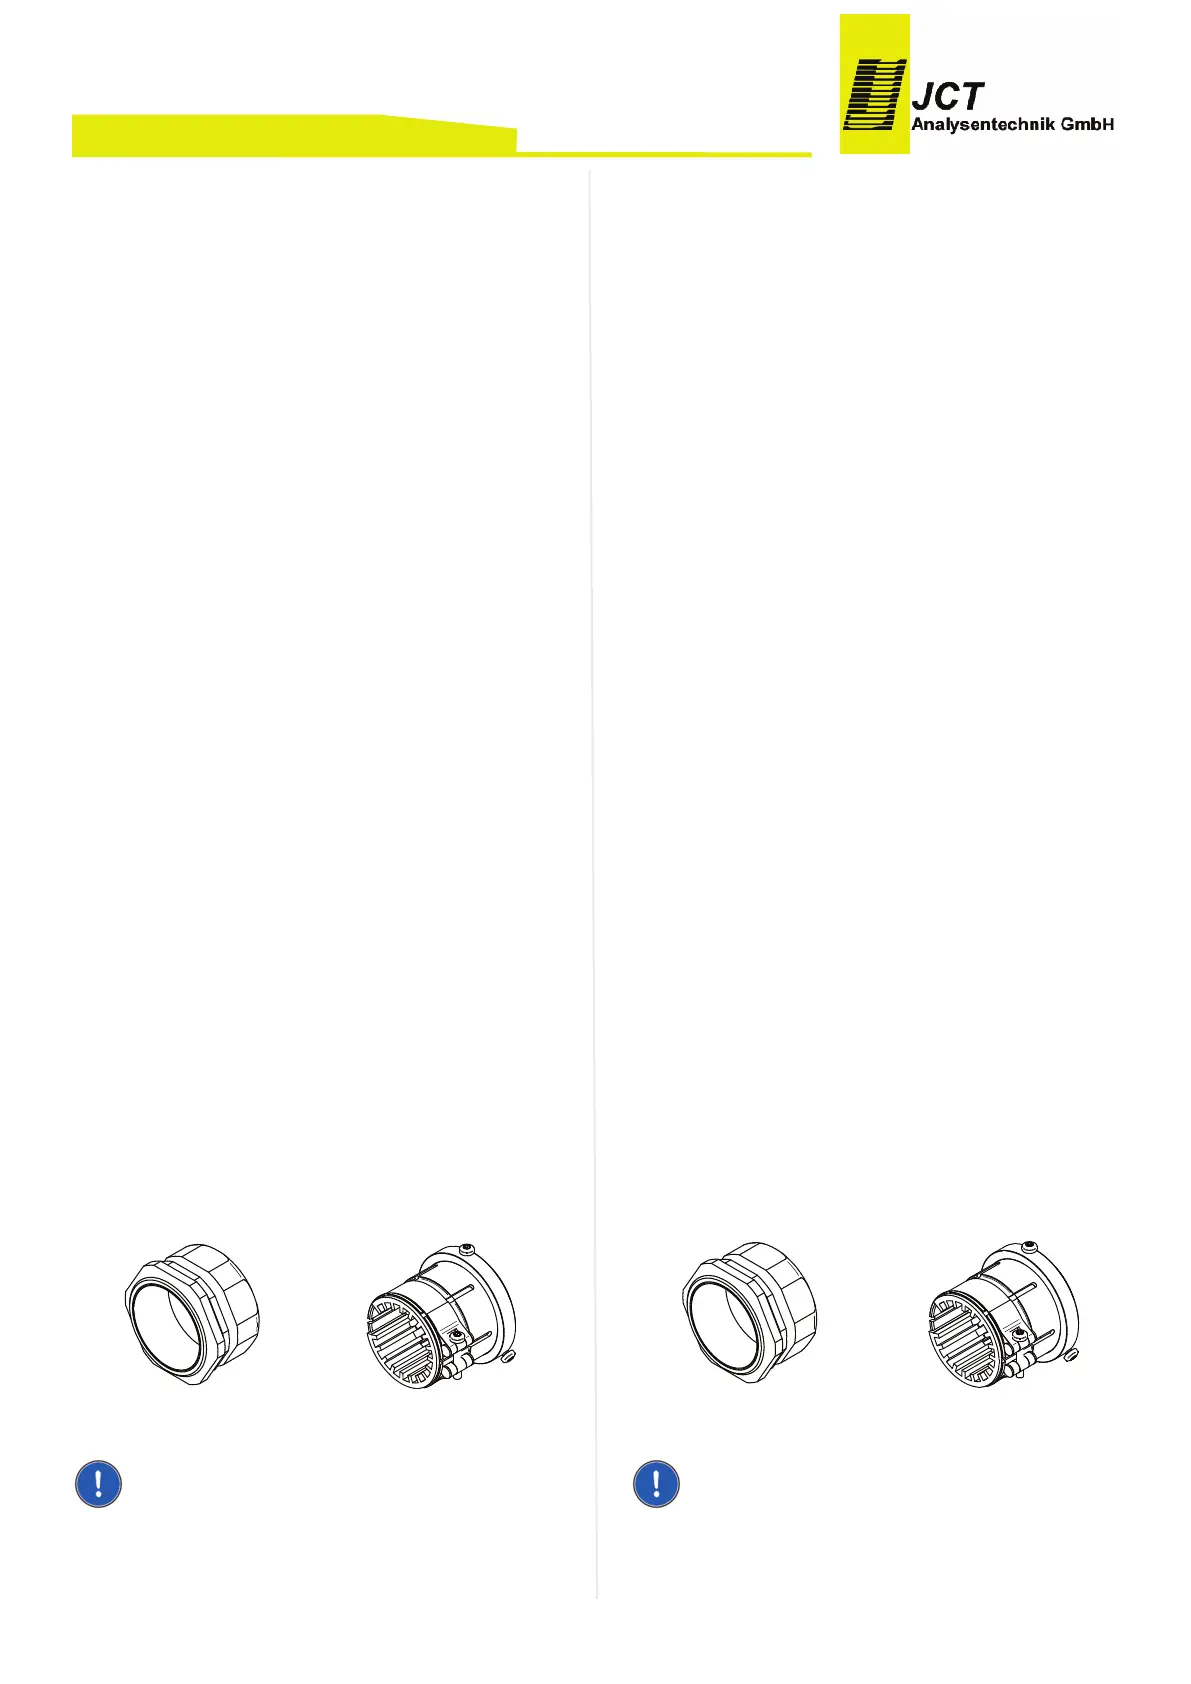
Mount 1/8“ NPT male connector at sample gas out-•
let.
Attach heated sample line on probe enclosure with•
moveable PG42 cable conduit or mounting clamp.
Connect the line with the connector fitting gas-tight.
PG 42 Mounting clamp
NOTE
The heated sample line must be strain relieved and must
not be hung on the fitting
M
anual JES-301/JES-301V
Installation, Sichtkontrolle4.
Nach dem Auspacken ist das Gerät auf allfällige Trans-
p
ortschäden zu untersuchen. Wurde ein Schaden fest-
gestellt, sind unverzüglich die verantwortliche Spedition
und der Händler zu benachrichtigen.
Es ist zu überprüfen, ob die Gerätelieferung Ihrer Bestel-
lung entspricht.
Installationsvorschriften5.
Bei Arbeiten am elektrischen Teil des Gerätes ist es•
vom Netz zu trennen.
Das Gerät muss entsprechend den örtlich geltenden•
Vorschriften angeschlossen und geerdet werden.
Für einen sicheren Betrieb der Sonde ist diese mit•
einer verriegelnd abschaltenden Untertemperatur-
überwachung ausgestattet. Die Rücksetzung erfolgt
durch spannungsfrei Schalten der Elektronik.
Der Betreiber ist angehalten, den potentialfreien•
Statuskontakt zu benutzen bzw. zu überwachen.
Nur dies gewährt einen sicheren Betrieb der Sonde.
Es ist zwingend notwendig, die Elektronik vor Strah-•
lungshitze zu schützen. (Thermische Isolation). Die
maximale Umgebungstemperatur darf 60°C nicht
überschreiten.
Die Flanschtemperatur darf 200°C nicht überschrei-•
ten, sonst ist eine konstruktive Änderung, z.B: Ein-
satz eines Thermal Spacers, notwendig.
Die Sonde muss immer mit einer Mindestneigung•
von 5° gegen das Entnahmerohr hin montiert wer-
den. Dies ist erforderlich um einen allfällig möglichen
Rückfluss des Kondensates in die Entnahmesonde
zu verhindern.
Montage5.1.
Sonde mit Dichtung am Prozessflansch montieren.•
Einbauwinkel gemäß technischer Spezifikation be-•
achten.
1/8“ NPT Einschrauber am Messgas Ausgang mon-•
tieren.
Beheizte Messgasleitung mit verschiebbarer PG42•
oder Montageschelle am Gehäuse befestigen und
mit dem Einschrauber gasdicht verbinden.
PG 42 Montageschelle
HINWEIS
Die beheizte Messgasleitung muss zugentlastet werden
und darf nicht am Fitting abgehängt werden.
BA_DE_JES301_v2.1 ––––––––––––––– [ 12 / 34 ] –––––––––––––––––
+
+
+
+
+
+ +
+
+
+
++/+'!%+9!!+!'9+9'+9%9+'++9!'+!++@%0>+88A++6/
$ + + + + + + + + + + + + + + + + + + + + + + + + +
+ + + +
+
+
+ +
+ + +
+ + + + + ++
+
+ + +
+ +
+ +
+ +
+ + + + + + +
+ + + + + + +
+ + + + + + +
+ + +
+ + + + +
+ +
+ +
+
+
+
+
+
+ +
+
+
+
+
+ + + + + + + + + + + + + + +
+ + + + + + + + + + + + + + + + + + + + + + + + +
+ + + +
+
+
+ +
+ + +
+ + + + + ++
+
+ + +
+ +
+
+
+ +
+ + + + + + +
+ + + + + + +
+ + + + + + +
+ + +
+ + + + +
+ +
+ +
 Loading...