(5) Assemble riveting tool by attaching inserts.
(Fig. 37).
NOTE: The outer plate will be held in place by a
magnet.
(6) Place new outer plate into tool insert.
NOTE: Ensure that the riveted link and riveting tool
are aligned.
(7) Position riveting tool over new link and press
in new rivet as far as the tool stop.
(8) Remove riveting tool to change inserts.
(9) Install insert on riveting tool and secure with
screw.
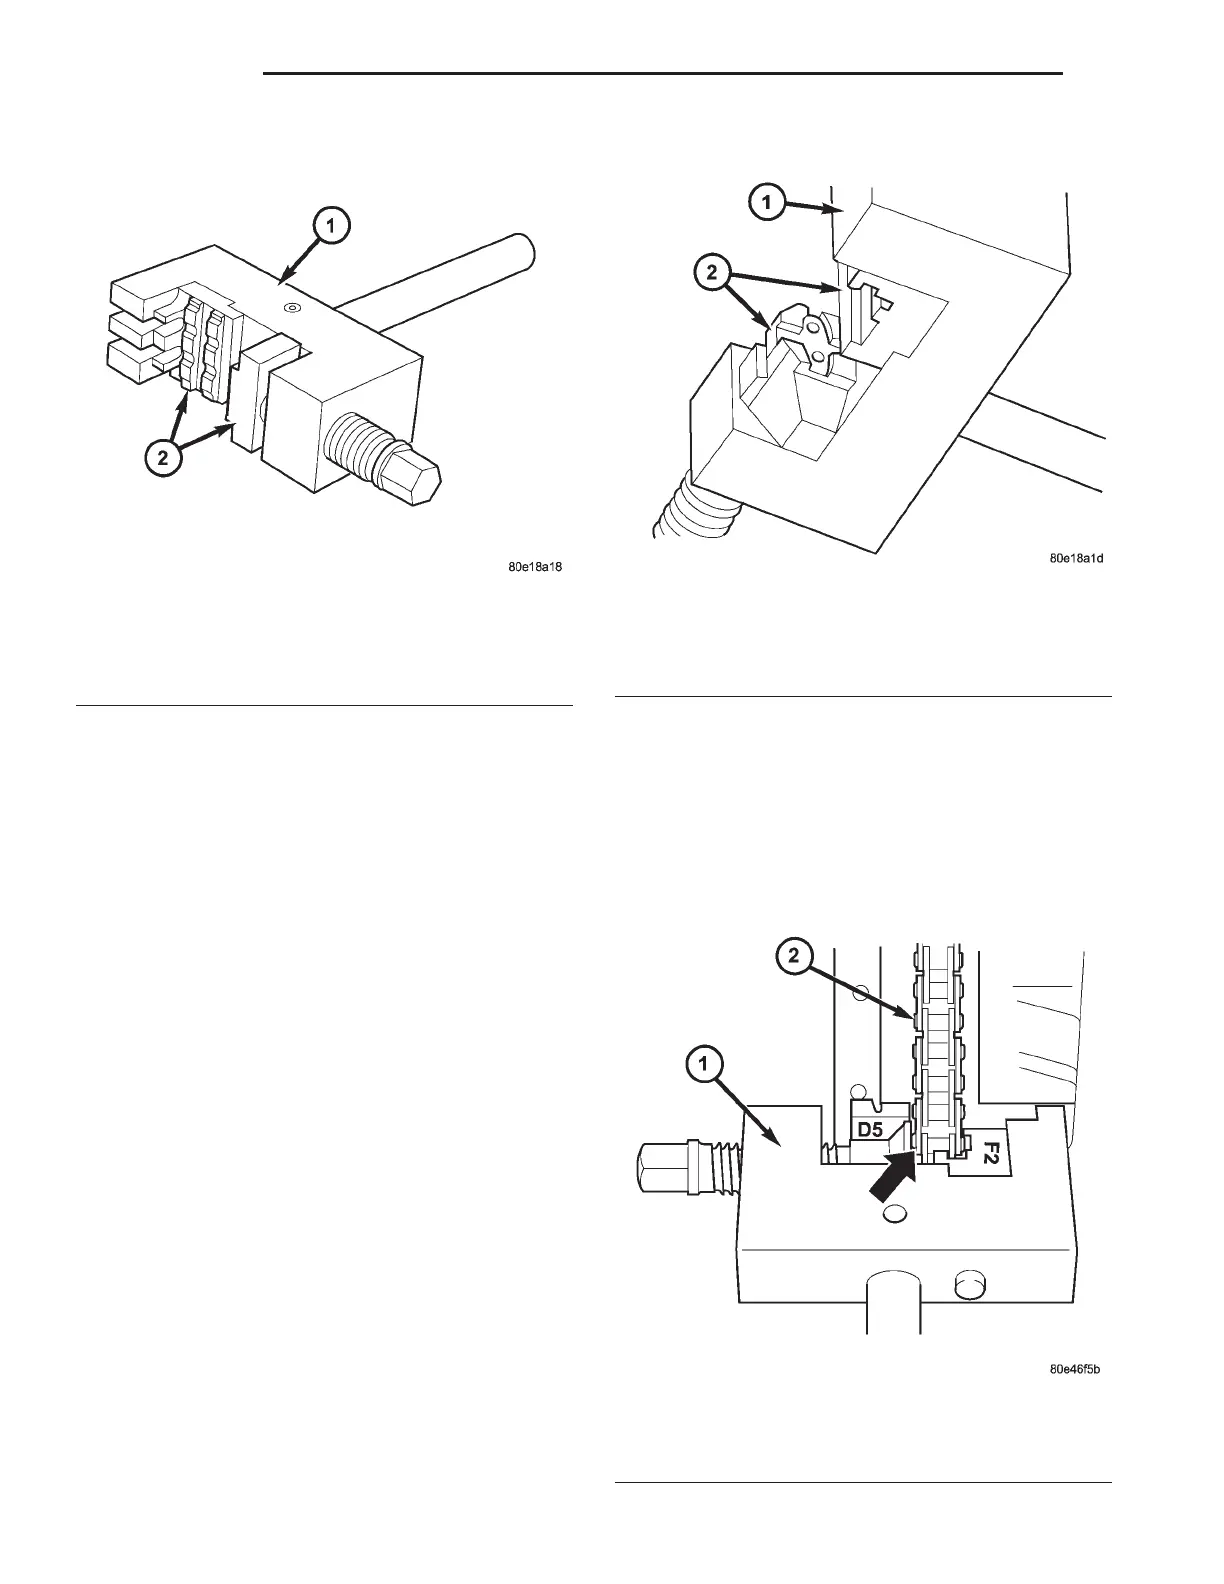
(10) Install insert on riveting tool (Fig. 38).
NOTE: The outer plate is held in place magnetically
by riveting tool.
(11) Insert new outer plate into the moving assem-
bly insert.
(12) Position riveting tool so that spacer webs of
the guide are side by side.
(13) Ensure that riveted link and outer plate are
aligned.
NOTE: When turning spindle of riveting tool, be
sure that pins of riveted link are inserted into holes
of outer plate.
(14) Screw in spindle of riveting tool until firm
resistance is felt.
(15) Remove riveting tool.
(16) Turn over tool moving assembly insert to the
riveting profile.
NOTE: Rivet pins of the riveted link individually.
(17) Position riveting tool exactly over middle of
pin (Fig. 39).
Fig. 37 INSTALLING ASSEMBLY INSERTS INTO
RIVETING TOOL
1 - SPECIAL TOOL #8947
2 - SPECIAL TOOL #8952
Fig. 38 INSTALLING RIVETING INSERTS INTO
RIVETING TOOL
1 - SPECIAL TOOL #8947
2 - SPECIAL TOOL #8949
Fig. 39 RIVETING NEW LINK
1 - RIVETING TOOL
2 - OIL PUMP CHAIN
9a - 44 ENGINE WG
OIL PUMP (Continued)