8
FOUNTAIN ASSEMBLY SQ3
Fig. 9
Fig. 10
Fig. 11
»
Fig. 12
»»
STEP 1
Removefountaincomponentsfromtheirboxes
andplacefountaindrumonasturdy,level
surface.Makesurethedrumislevelsothatthe
chocolatewillowproperly.
STEP 2
Placethebasinontopofthedrumatan
angleandpushdownandturnclockwise45
degreestolockthebasinwithdrum.Tocheck
thefountainislevelplaceaspiritlevelonthe
basinrimatvariouslocations(Fig.5).Ifleveling
isneeded,raiseorloweraparticularsideofthe
fountainbyadjustingthefeet.
STEP 3
Placeaugerontopofthesquarecentershaftin
themiddleofbasin.(Fig.6)
STEP 4
Placethecentercolumnontothecentre
housinginthemiddleofthefountainbase(Fig.
7).Ensurethattheslotonthecolumnbaselines
upwiththelocatingpinontheinsideofthe
housing.
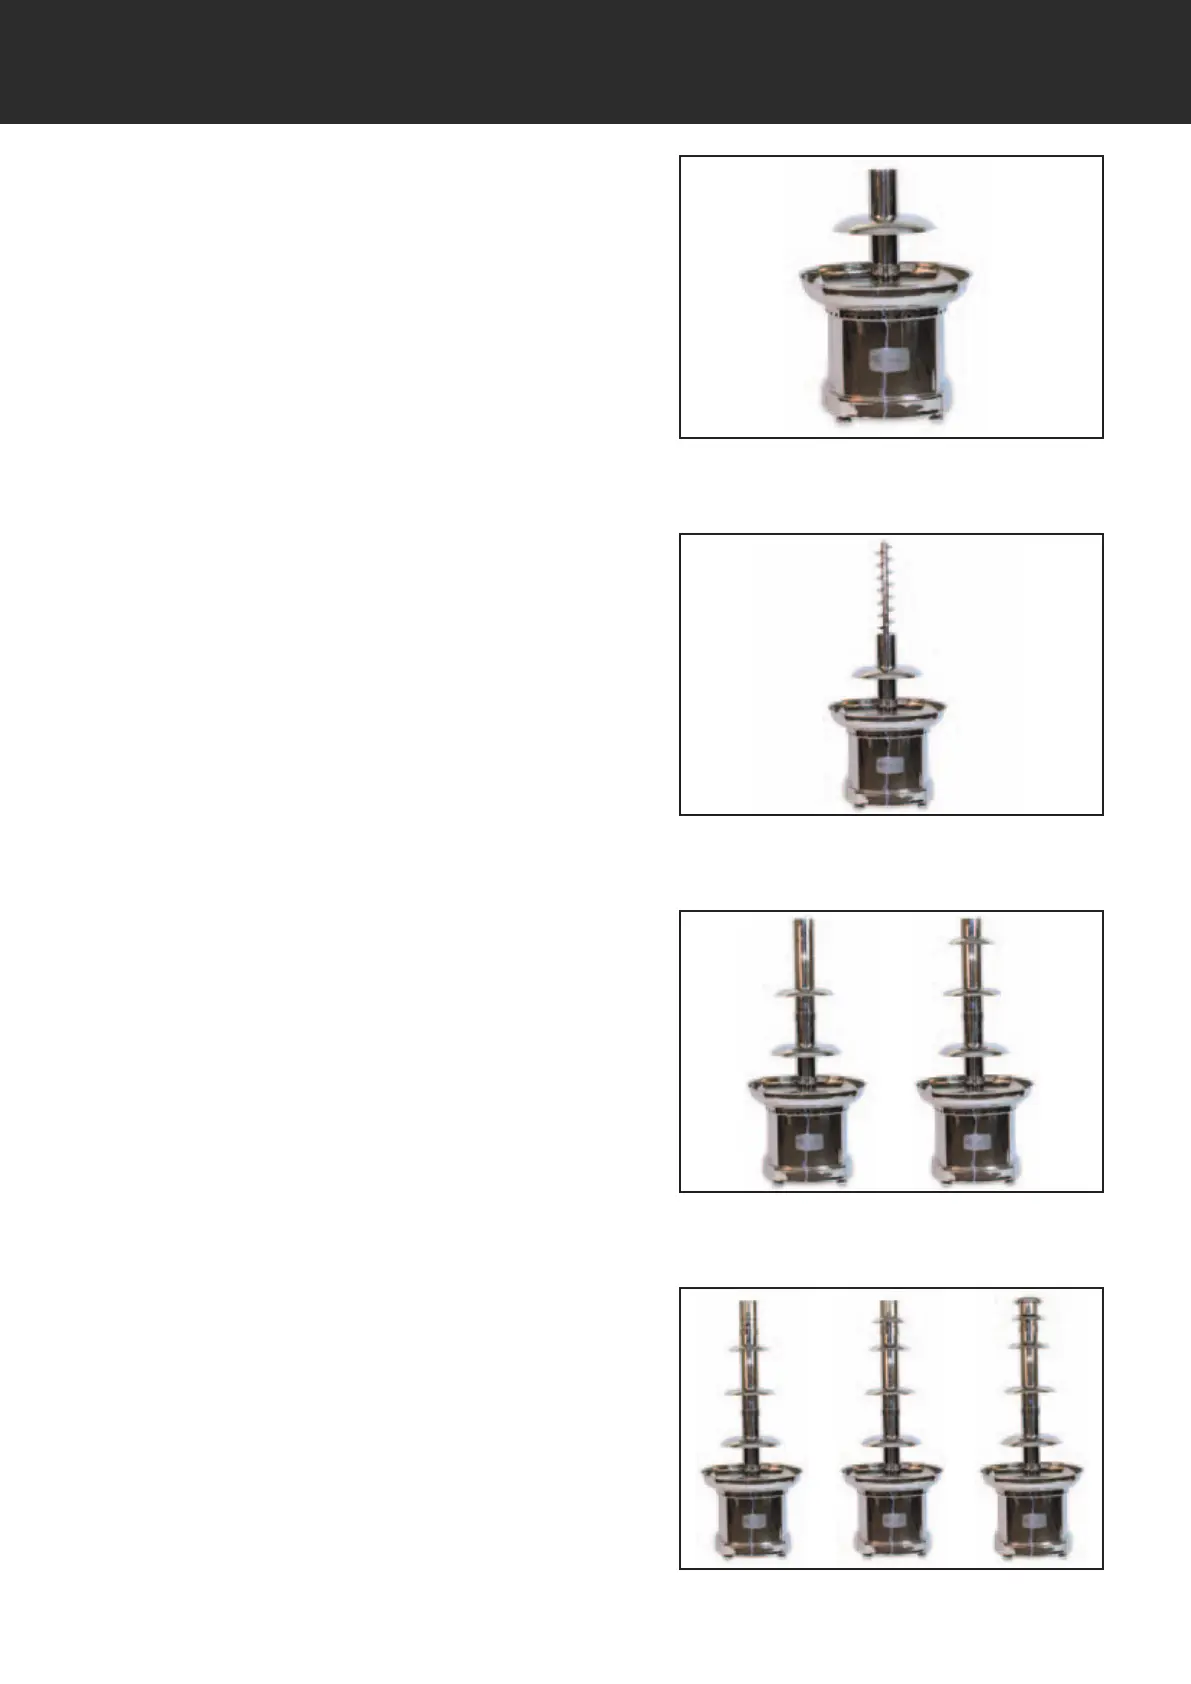
STEP 5
Placethelargetieronthecentercolumn
(Fig.9).
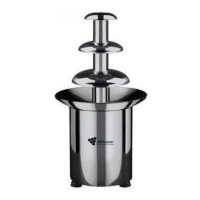
STEP 6
Placetheaugerextensionontopoftheauger
byinserting»themalepartintothefemalepart
andturningittillthepin
dropsintheslot(Fig.10).
Step 7
Placethecentercolumnextensionontotopof
thecentercolumnandturnituntilitsitsproperly
(Fig.11).
Step 8
Placethe2ndandthe3rdtiersontopofthe
extensionpiece(Fig.11).
Step 9
Placethetophatontopoftheextension
makingsurethattheaugerpinsitsinthemiddle
ofthetophatring.
Toincreasetheheightofthefountain,just
removethetophatandinserttheextra
extensionpieceandthe4thTier.Replacethe
tophatonthetopoftheextension.Theauger
willnownotreachthetopofthecolumn
extension;thiswillnotaffecttheowofthe
chocolate(Fig.12).