©2016 Johnson Level & Tool - Rev. 2 23
Y-Direction Accuracy Calibration
1. Turn the lock knob to the “OFF’ position.
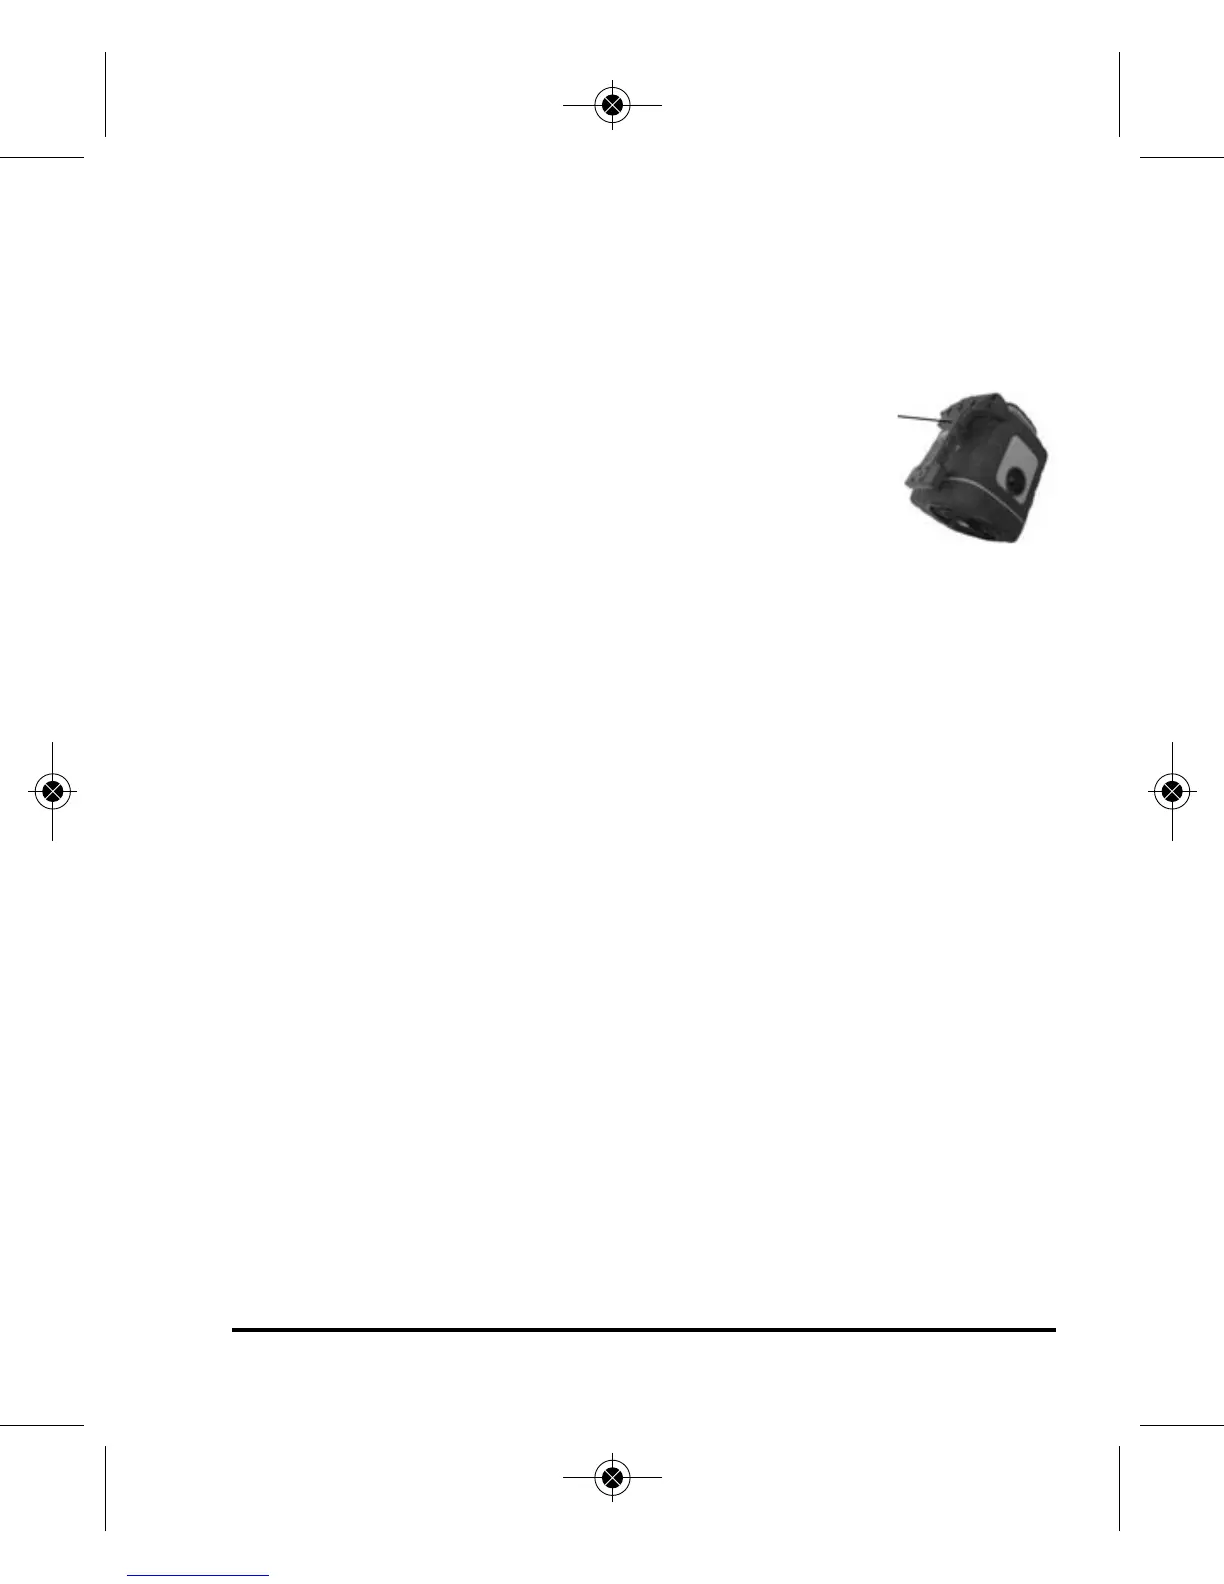
2. Screw off the Y-direction self-calibration aperture bolt located
behind the handle. Adjust the weight screw inside the instru-
ment core with a flathead screwdriver.
3. If point C is above point O, rotate the screwdriver
counterclockwise. If point C is under the point
O, rotate the screwdriver clockwise.
Note: After the unit is adjusted in either direction,
repeat both X and Y accuracy check to ensure both axis are within
specifications.
Note: Install the self-calibration aperture screw and rubber stopper
after finishing the accuracy self-check and calibration.
Accuracy Check for Plumb Beam
1. After completing the above steps to field adjust the rotary laser
output, double check the plumb beam output. Because the optics
for the plumb beam are shared with the optics for the rotary, if
the rotary is in calibration, the plumb beam should also be in cali-
bration, so this step is really a redundant check; no further adjust-
ment to the plumb beam is possible.
2. Place the instrument horizontally on a rotating tripod head so that
the plumb beam strikes the ceiling. The higher the ceiling, the
more accurate the check will be. We recommend a minimum
height of 10'; 25' is preferred.
3. Mark the point on the ceiling where the plumb beam hits.
4. Rotate the laser 90 degrees and again mark the spot where the
plumb beam hits.
1625i-English_Manuals 12/28/16 9:41 AM Page 23