28
ENGLISH
order to avoid this, it is possible to bring in outside air
directly to the stove by using an adapter (extra unit) that
is mounted to the air inlet of the stove. From there a
flexible hose is conducted out of the house. The
installation instruction for this is enclosed with the
installation unit.
Assembly prior to installation
The product is delivered in one package. Also included is
a loose handle for servicing the doors and paint for
touching up minor damages.
NB! Be aware of that the top plate is laying loose on the
top of the product, and shall not be fastened.
Insert the ash lip, which is stored inside the burn chamber,
into the grooves under the door.
The burn chamber also contains a heat shield, which is to
be mounted under the ash house. Unfold the heat shield
(see fig. 2a) and fasten it with the two screws attached to
the ash house (2b).
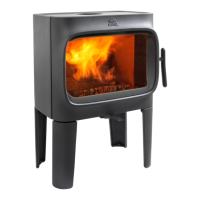
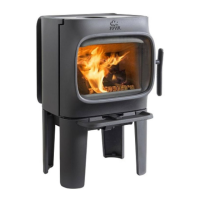
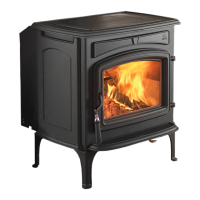
Control of functions (fig. 3)
When the product is set up,
always
check the control
functions. These shall move easily and function
satisfactorily.
Draught vent (A)
Left position = closed.
Right position = fully open.
Doorhandle (B)
Towards the left= open.
Towards the right=closed.
Ash door (C)
Use the loose handle, open the door byturning the knob
counter-clockwise one half rotation. Use a glove or similar
and pull out the tray.
Note! Only remove the ashes when the stove is cold.
Mounting of flue pipe
It is advisable to carry out a test assembly prior to making
a hole in the chimney. See fig. 1
for measures to wall made
of inflammable materials. The stove is installed with a 150
mm diameter flue pipe. This must be an approved thickness.
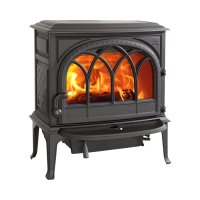
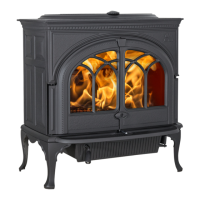
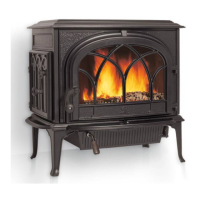
Jøtul F 400 is factory-assembled for a top flue outlet. If a
rear flue outlet is preferred, loosen the two screws on the
sides and rotate the connecting pipe 180
0
. Then fasten
the screws securely.
• The 150 mm diameter flue pipe is placed directly with
the narrowest outer end onto the product flue outlet.
There is a screw on each side of the product flue outlet
(fig. 4-A). These will be used to fasten the flue pipe.
• Indicate with marks where the screws hit the flue pipe
when the pipe is at the bottom of the flue outlet and
drill a 5,5 mm hole in the flue pipe for the screw.
• Use a gasket rope and cement to seal the space
between the flue pipe and the product flue outlet. Put
the gasket rope around the bottom part of the flue pipe
and fill the space in-between with cement.
• Fasten the flue pipe with the screws.
Note! It is important that the joints are completely sealed.
Air leakage etc. may lead to malfunction.
Connection to chimney
Drill a hole for the flue pipe. Distance from stove to
firewall/ chimney should be as shown in fig. 1. Always use
a chimney collar when connecting to chimney. Use the
supplier’s recommended chimney collar when connecting
to an element chimney. Follow the supplier’s assembly and
usage instructions closely with regard to mortar/furnace
cement before starting to use the fireplace.
Ensure that the flue pipe never slopes down towards the
chimney. It should at least be horizontal, preferably have
an incline of a few millimeters.
Note! A correct and sealed connection is very important
for the proper functioning of the product.
Be alert to the fact that it is particularly important that
connections have a certain flexibility. This is to prevent
setting of the house from leading to fissuration.
Operating instructions
Initial lighting and daily use
Jøtul F 400 is a clean-burning product and with additional
supplies of combustion air, it allows for afterburning of
hazardous gases and particles. It is important that the
system is used correctly.
The stove is equipped with certain functions that are
described in the chapter: Control of functions.
Initial lighting
Open the draught vent fully by pushing the vent all the
way to the right (fig. 3-A). Put in some crumpled
newspaper, kindling wood and firewood and start a small
fire. Add more firewood gradually and let the fire burn
briskly for a couple of hours. Let the fire die out and repeat
one more time.
Note! Odors when using the stove for the first time.
Painted products. The stove may emit an irritating gas
when used for the first time, and it may smell a little. The
gas is not toxic, but it is recommended to open a window
or a door to provide additional ventilation in the room.
Let the fire burn with a high draught until all traces of gas
have disappeared and no smoke or smells can be detected.