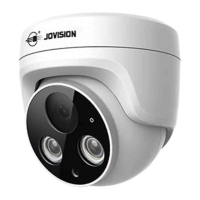
Jovision Network Camera Quick Start Guide
4
Before you start:
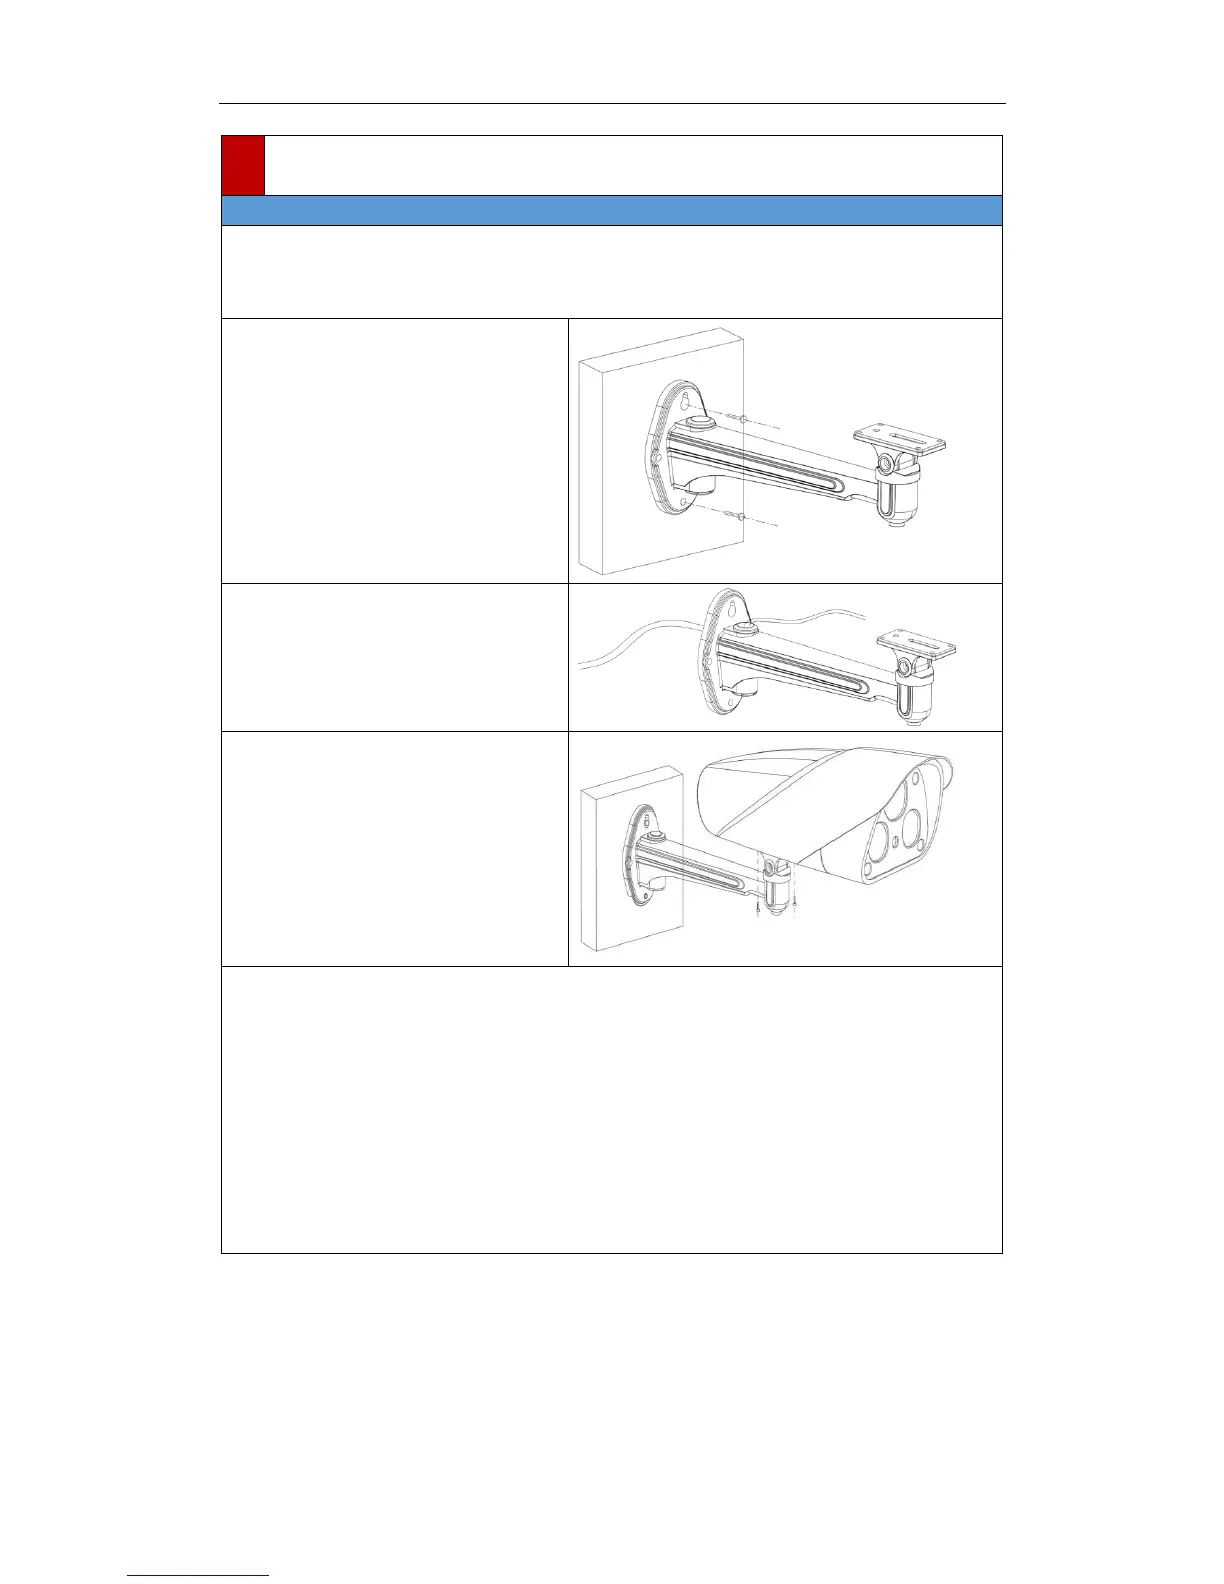
These box cameras can be installed to wall or ceiling. Wall mounting is taken as an example in
this section; if you adopt ceiling mounting, you can also take below procedure as a reference.
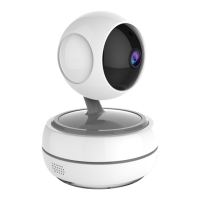
Steps:
1. Attach the wall mount (not provided)
to the wall and tighten the screws to fix
it.
2. Route the cables for the camera.
3. Fix the camera on the installed
bracket, installation is complete, as
shown on the right.
Notes:
The wall mount should be longer than 1/2 of the camera length.
For cement ceiling mounting, you need to use the expansion screw to fix the bracket. The
mounting hole of the expansion pipe on the wall should align with the mounting hole on
the bracket.
For wooden ceiling mounting, you can just use the self-tapping screw to fix the bracket.
The ceiling must be strong enough to withstand more than 3 times the weight of the
camera and the bracket.